teruiermirror
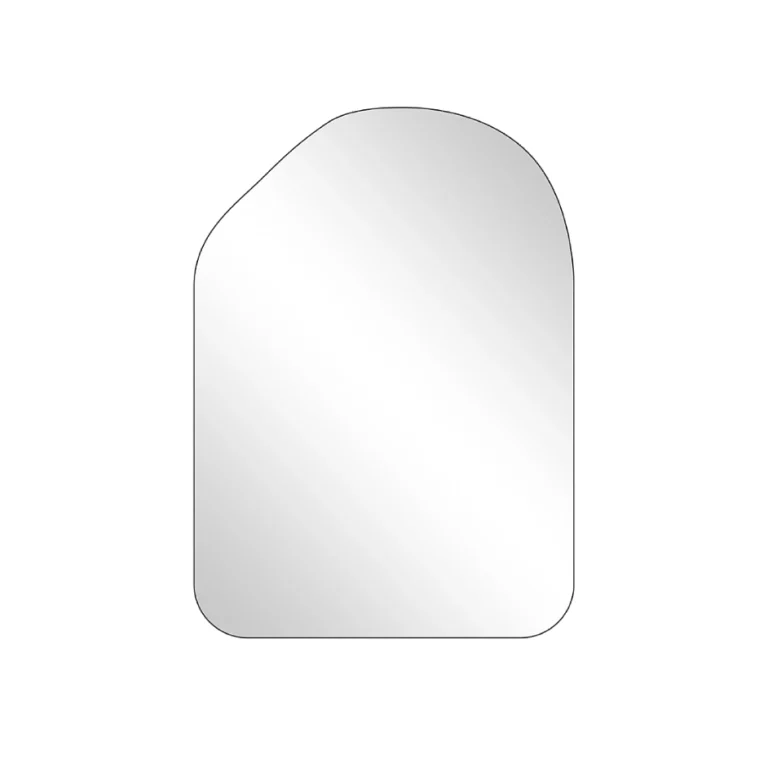
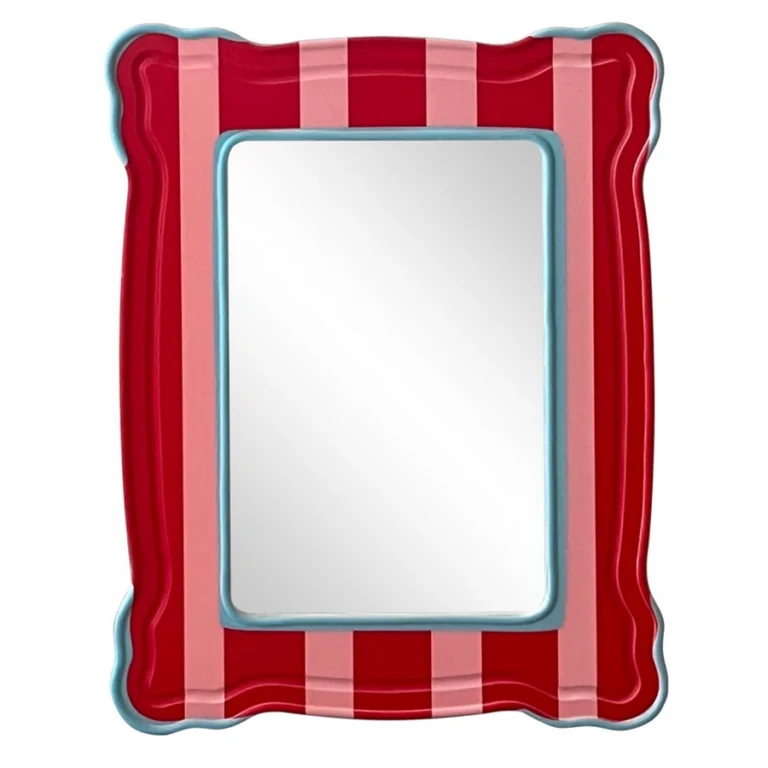
Photo frame inset custom mirrors
Photo frame inset custom mirrors
Creating a custom photo frame with inset mirrors can add a stylish and personalized touch to your decor. Here’s a step-by-step guide to help you achieve this:
Materials Needed:
-
Photo frame (wood, metal, or plastic – choose a size and style you like)
-
Mirror sheets or tiles (cut to fit your design)
-
Adhesive (mirror glue, epoxy, or strong double-sided tape)
-
Measuring tape & pencil
-
Craft knife or glass cutter (if cutting mirrors yourself)
-
Sandpaper (for smoothing edges)
-
Decorative elements (optional: beads, gems, paint)
-
Backing board (if needed for stability)
Steps to Create a Custom Mirror-Inset Photo Frame:
1. Plan Your Design
-
Decide where you want the mirrors placed (e.g., borders, corners, or a geometric pattern).
-
Measure the frame’s inner dimensions and mark where the mirrors will go.
2. Cut the Mirrors (If Needed)
-
If using mirror sheets, measure and mark the desired shapes (squares, triangles, etc.).
-
Score the mirror with a glass cutter and snap along the line (or have them pre-cut at a hardware store).
-
Smooth sharp edges with sandpaper.
3. Prepare the Frame
-
Remove the glass/backing from the frame.
-
Clean the surface where the mirrors will be placed.
-
If painting or decorating the frame, do this before attaching mirrors.
4. Attach the Mirrors
-
Apply adhesive (mirror glue or epoxy) or strong double-sided tape to the back of each mirror piece.
-
Press firmly into place on the frame and hold for a few seconds.
-
Let dry completely (follow adhesive instructions).
5. Add Decorative Touches (Optional)
-
Outline mirrors with small gems, beads, or metallic paint.
-
Use gold/silver leaf for an elegant touch.
-
Add LED strip lights for a backlit effect.
6. Reassemble the Frame
-
Once mirrors are secure, reinsert the photo backing and glass (if applicable).
-
Ensure the photo opening is still accessible.
7. Display Your Creation
-
Hang the frame or place it on a shelf to reflect light and add dimension.
Design Ideas:
-
Geometric Patterns: Hexagon or diamond-shaped mirrors.
-
Vintage Elegance: Small round mirrors with gold leaf accents.
-
Modern Minimalist: Thin mirror strips along the edges.
-
Eclectic Style: Mismatched mirror pieces in a mosaic.
Would you like help sourcing materials or refining a specific design?

Reviews
There are no reviews yet.