Location:
ChenDianHu Industrial Area, GanZhe Town, Minhou County,
Fuzhou City, Fujian Province, China
teruiermirror
windy city proof mirror setup
25-08-24 42 view
Of course. The "Windy City Proof" mirror setup is a clever and highly effective technique, especially popular in cities like Chicago where strong winds between tall buildings are a constant challenge. It's not about a specific product, but rather a method of installation and strategic product selection designed to combat wind-induced vibration and rotation. Here is a complete breakdown of the Windy City Proof mirror setup. The Core Problem: Why Mirrors Fail in the Wind In high-rise environments, wind doesn't just hit a building; it gets channeled, accelerated, and creates vortices around it. This causes two main issues for a balcony mirror: Vibration: The mirror acts like a sail, catching the wind and vibrating at a high frequency. This creates a blurry, unusable reflection and creates constant noise. Rotation: The wind forces can be strong enough to spin the mirror on its mount, turning it away from the desired viewing angle. The Windy City Proof Solution: A Multi-Pronged Approach A true Windy City Proof setup addresses both problems through hardware and technique. 1. The Mount: This is the Most Critical Part Forget standard mirror mounts or flimsy brackets. You need an industrial-grade solution. Heavy-Duty Swivel Mount: The gold standard is a heavy-duty, locking swivel mount designed for commercial use. Look for mounts used for security mirrors, traffic mirrors, or large displays. Key Features to Look For: Locking Mechanism: This is non-negotiable. It must have a bolt, lever, or knob that you can tighten to completely lock the swivel in place, preventing any rotation. Robust Construction: Thick, powder-coated steel or cast aluminum. Avoid thin, lightweight aluminum. Large Load Rating: The mount should be rated for a weight at least 2-3 times the weight of your mirror. This ensures zero flex or play. Recommended Type: A "Locking Gimbal Mount" or "Locking Pan/Tilt Mount" is often the perfect style. 2. The Mirror: Choosing the Right One Not all mirrors are created equal for outdoor use. Material: Acrylic (Plexiglas) is mandatory, not glass. Why Acrylic? It's significantly lighter (putting less strain on the mount), much more impact-resistant (won't shatter from debris or if it gets knocked), and safer for a balcony environment. Shape: A round mirror is superior to a square or rectangular one for wind resistance. Wind flows around a circular object with less force and vibration than a flat surface with hard edges. Size: Be reasonable. A 24" to 36" diameter mirror is typically the largest you'd want to go. Larger sizes become exponentially more difficult to secure. 3. The Installation: Over-Engineer It How you install the mount is just as important as the mount itself. Surface: Mount directly to a solid structural wall (brick, concrete, sturdy wood framing). Do not mount solely to vinyl siding, hollow vinyl soffits, or thin stucco. Fasteners: Use heavy-duty lag bolts or concrete anchors that are long enough to penetrate deeply into the structural material. For Wood…
Of course. The “Windy City Proof” mirror setup is a clever and highly effective technique, especially popular in cities like Chicago where strong winds between tall buildings are a constant challenge.
It’s not about a specific product, but rather a method of installation and strategic product selection designed to combat wind-induced vibration and rotation.
Here is a complete breakdown of the Windy City Proof mirror setup.
The Core Problem: Why Mirrors Fail in the Wind
In high-rise environments, wind doesn’t just hit a building; it gets channeled, accelerated, and creates vortices around it. This causes two main issues for a balcony mirror:
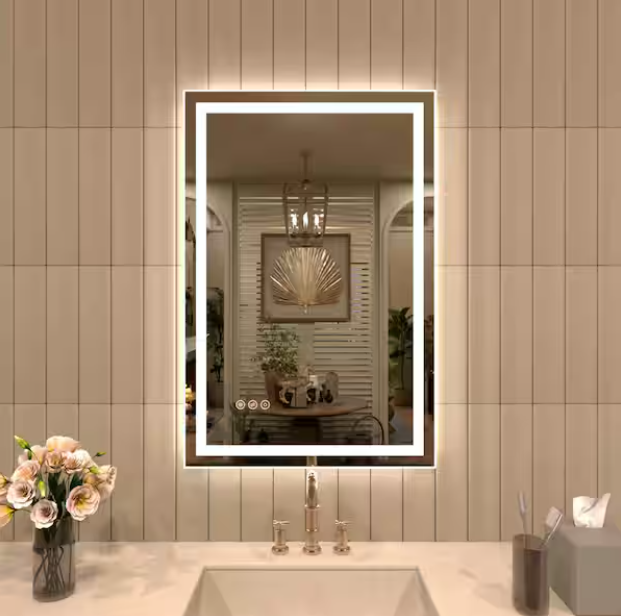
Vibration: The mirror acts like a sail, catching the wind and vibrating at a high frequency. This creates a blurry, unusable reflection and creates constant noise.
Rotation: The wind forces can be strong enough to spin the mirror on its mount, turning it away from the desired viewing angle.
The Windy City Proof Solution: A Multi-Pronged Approach
A true Windy City Proof setup addresses both problems through hardware and technique.
1. The Mount: This is the Most Critical Part
Forget standard mirror mounts or flimsy brackets. You need an industrial-grade solution.
Heavy-Duty Swivel Mount: The gold standard is a heavy-duty, locking swivel mount designed for commercial use. Look for mounts used for security mirrors, traffic mirrors, or large displays.
Key Features to Look For:
Locking Mechanism: This is non-negotiable. It must have a bolt, lever, or knob that you can tighten to completely lock the swivel in place, preventing any rotation.
Large Load Rating: The mount should be rated for a weight at least 2-3 times the weight of your mirror. This ensures zero flex or play.
Recommended Type: A “Locking Gimbal Mount” or “Locking Pan/Tilt Mount” is often the perfect style.
2. The Mirror: Choosing the Right One
Not all mirrors are created equal for outdoor use.
Material:Acrylic (Plexiglas) is mandatory, not glass.
Why Acrylic? It’s significantly lighter (putting less strain on the mount), much more impact-resistant (won’t shatter from debris or if it gets knocked), and safer for a balcony environment.
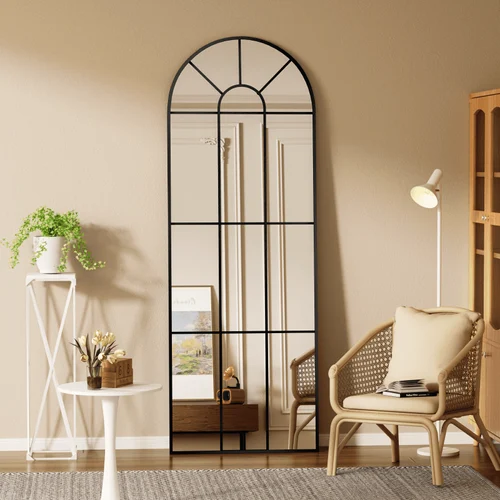
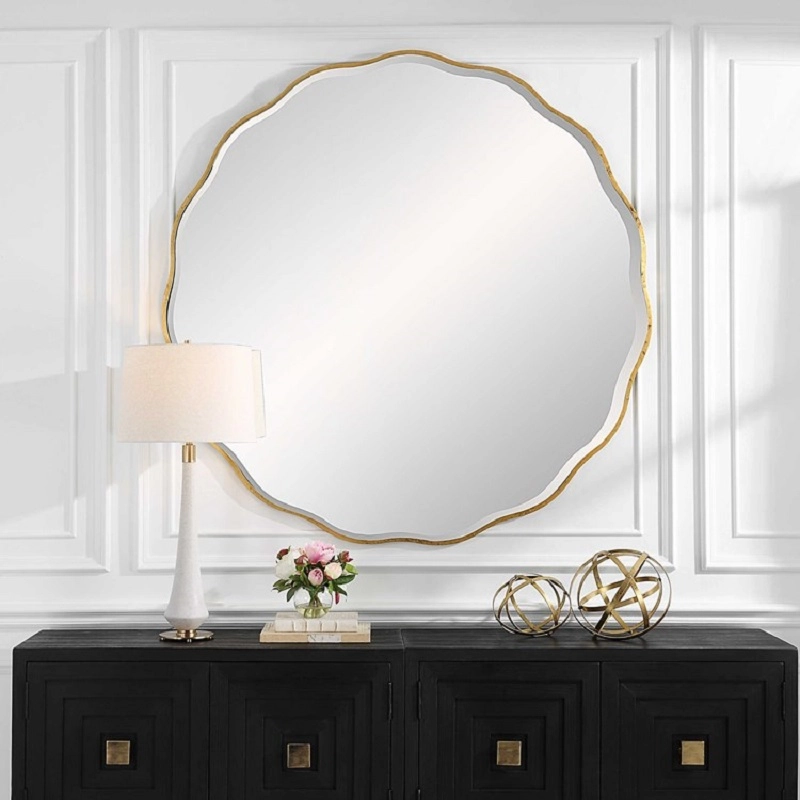
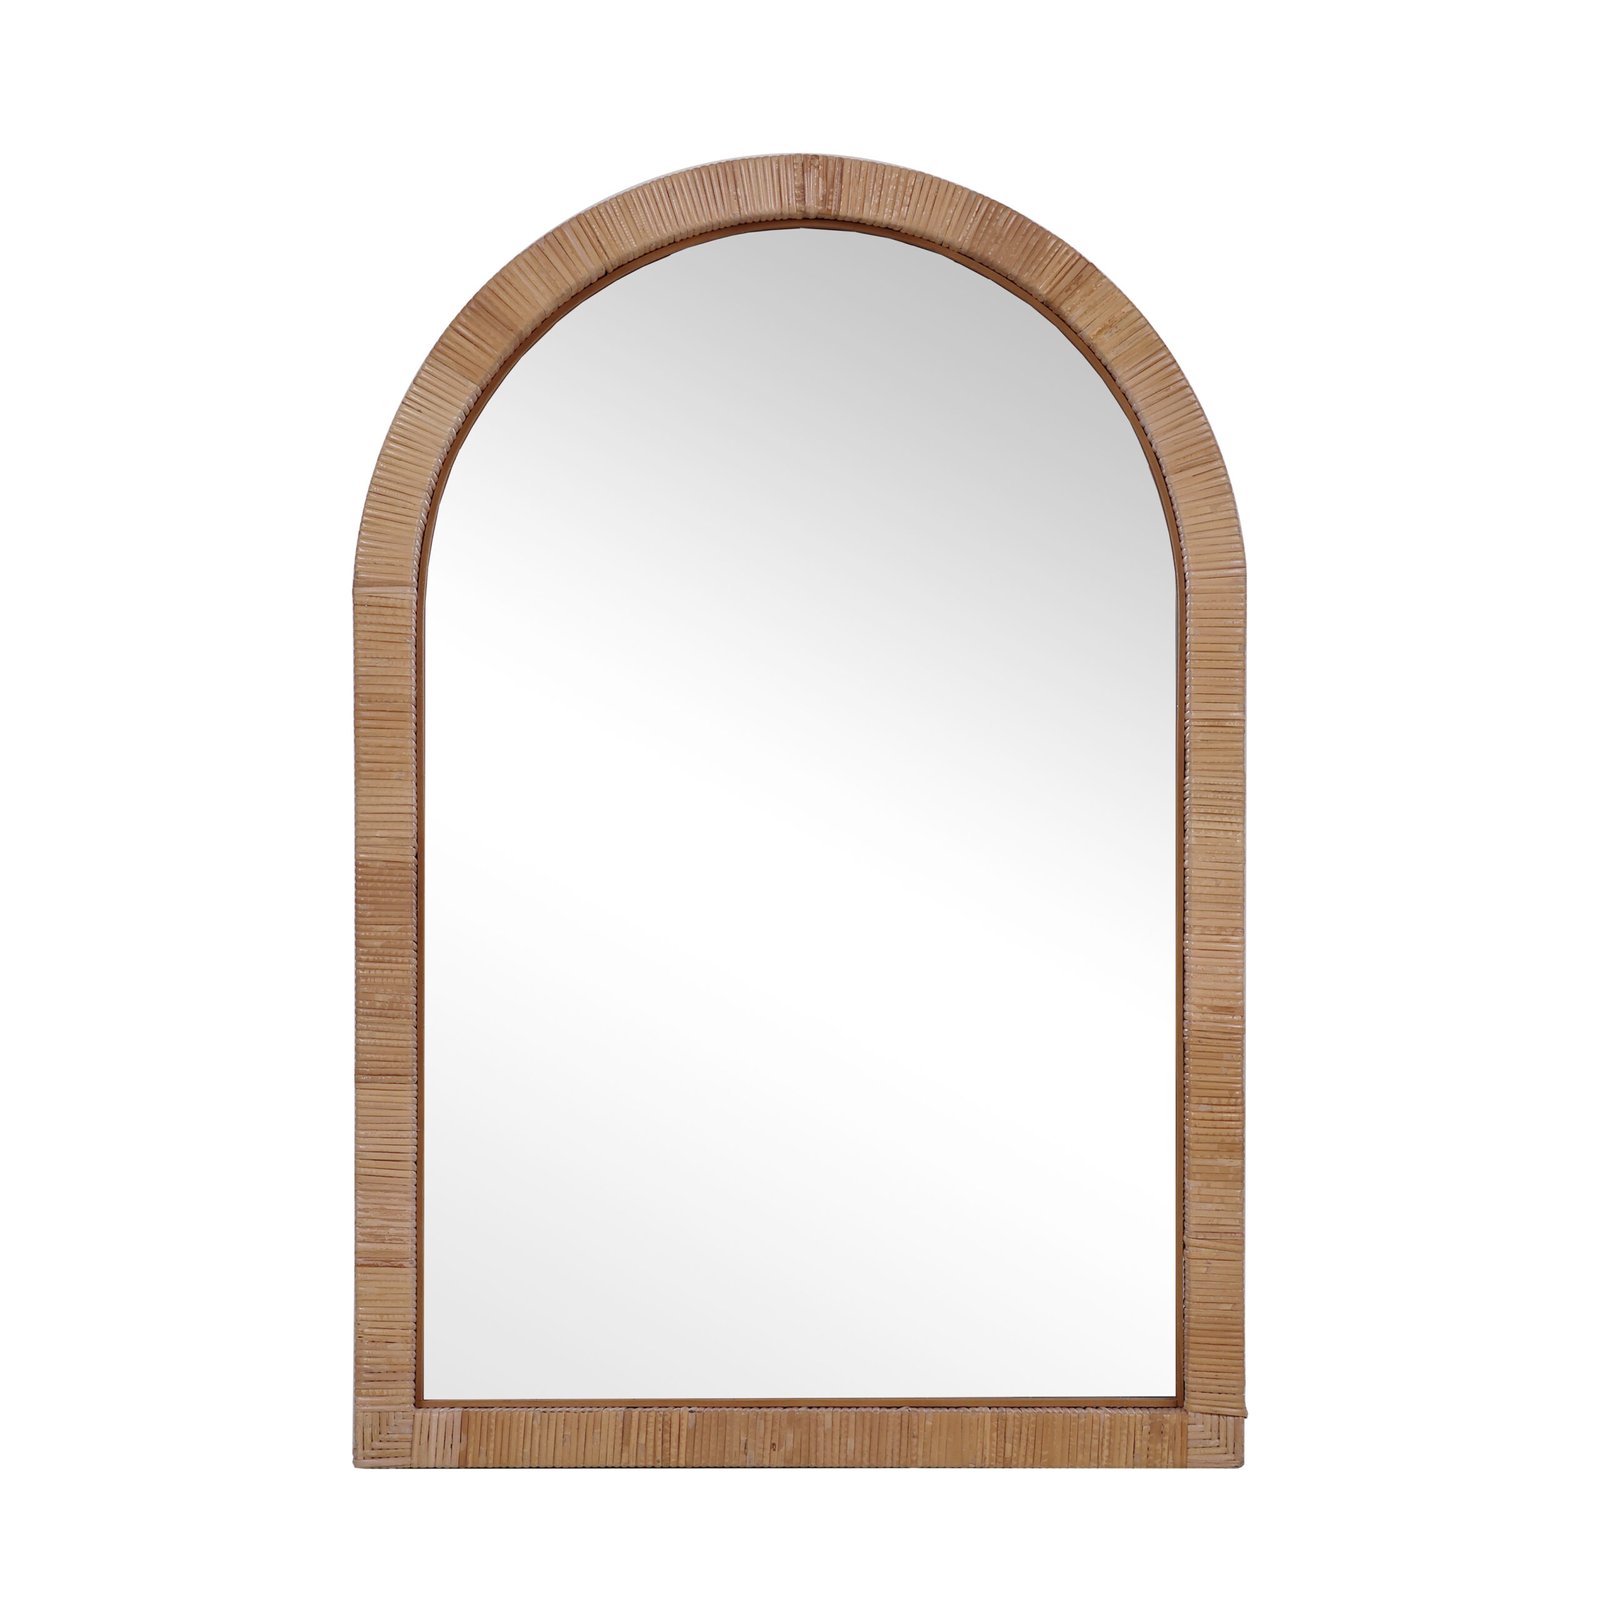
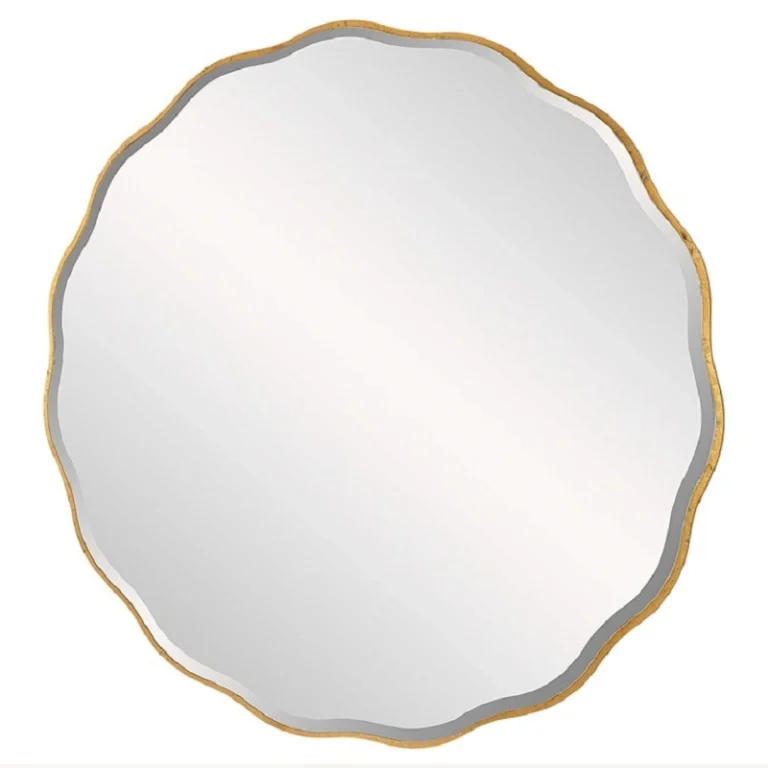
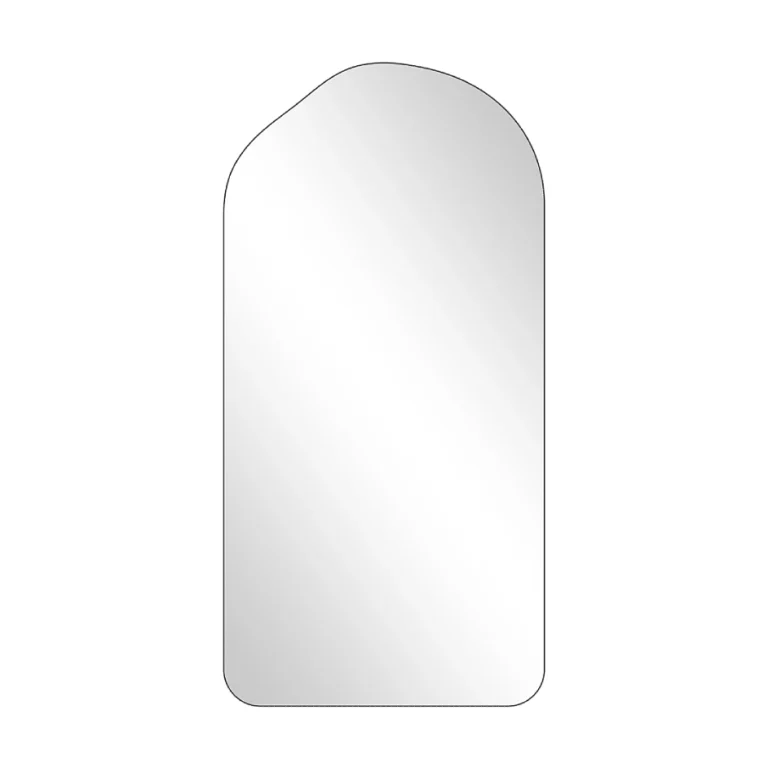
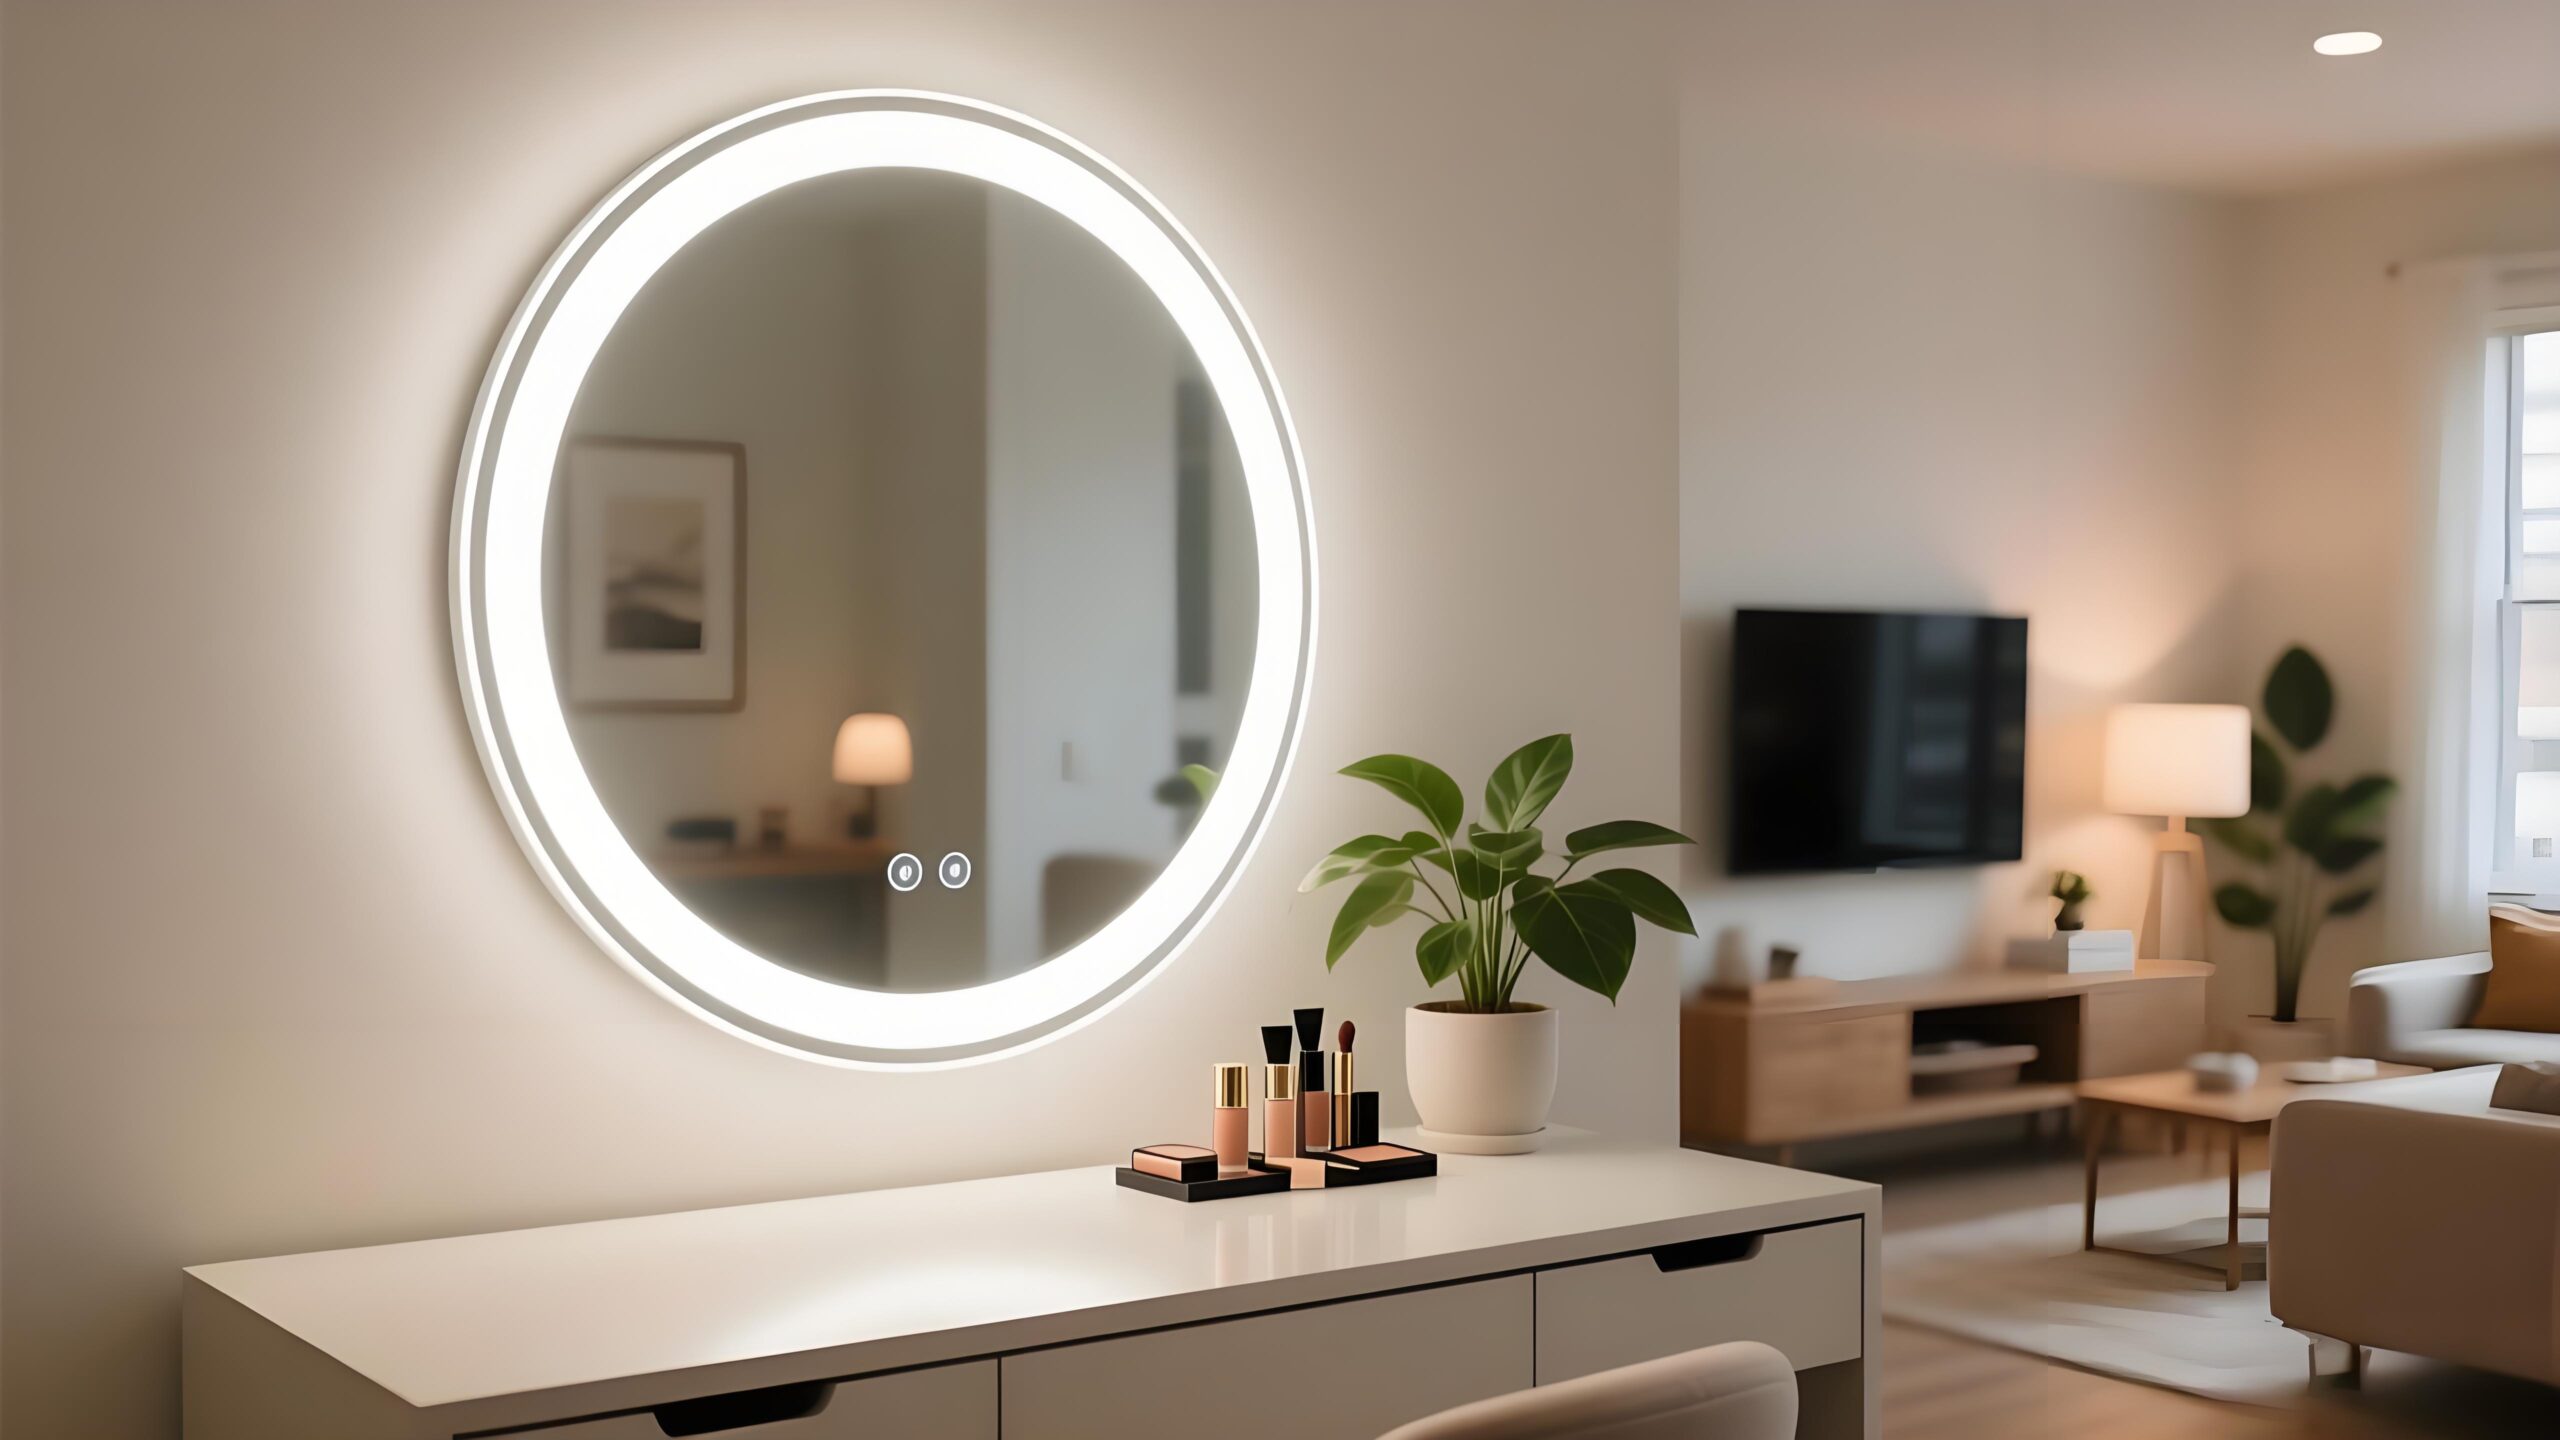
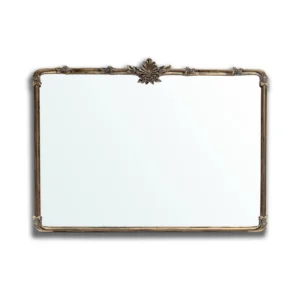
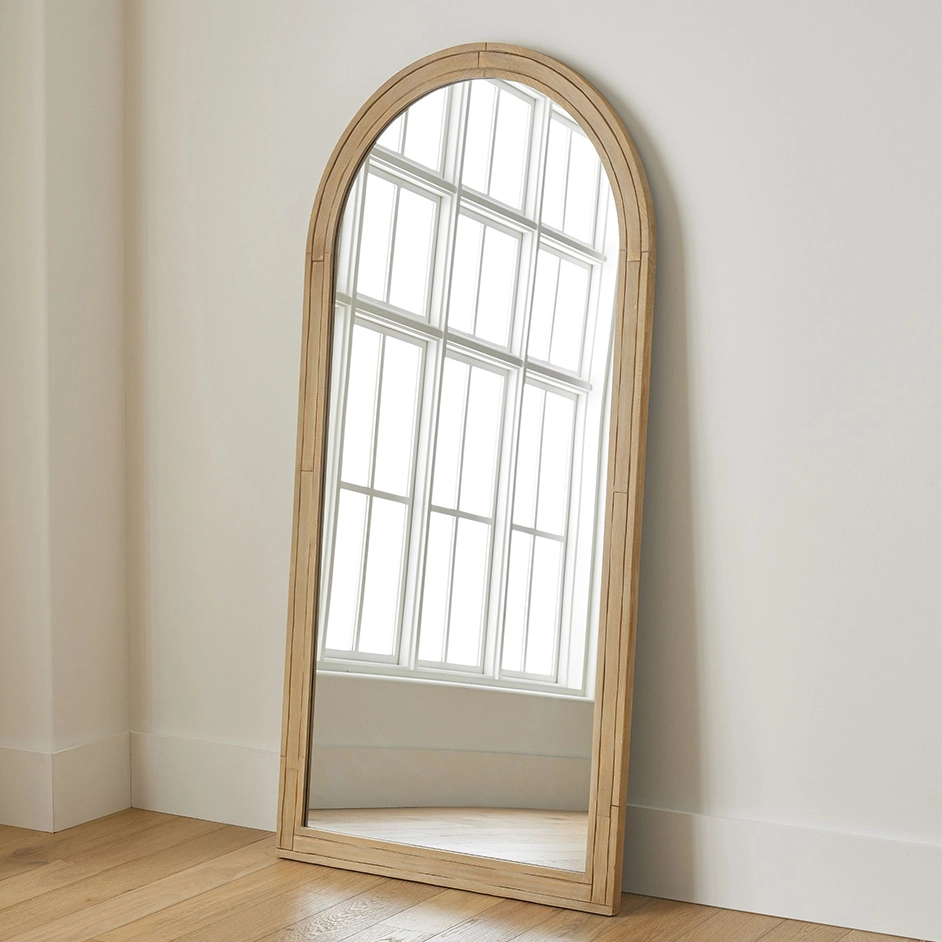
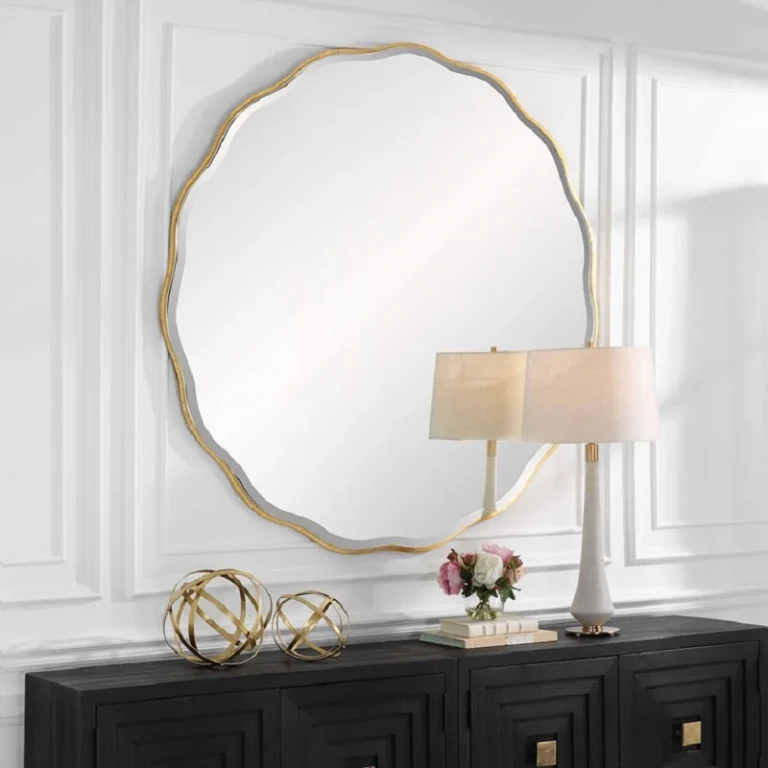
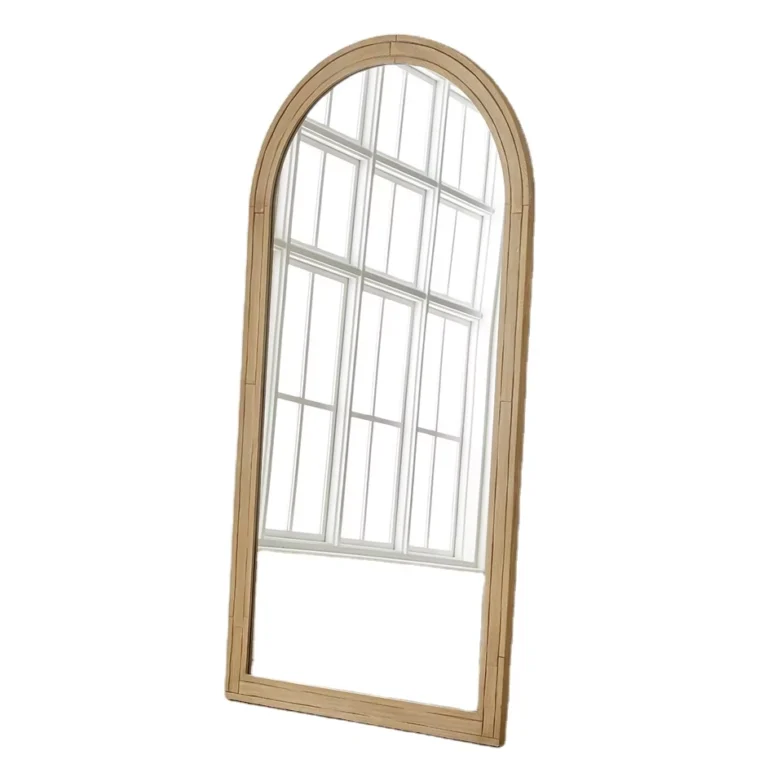
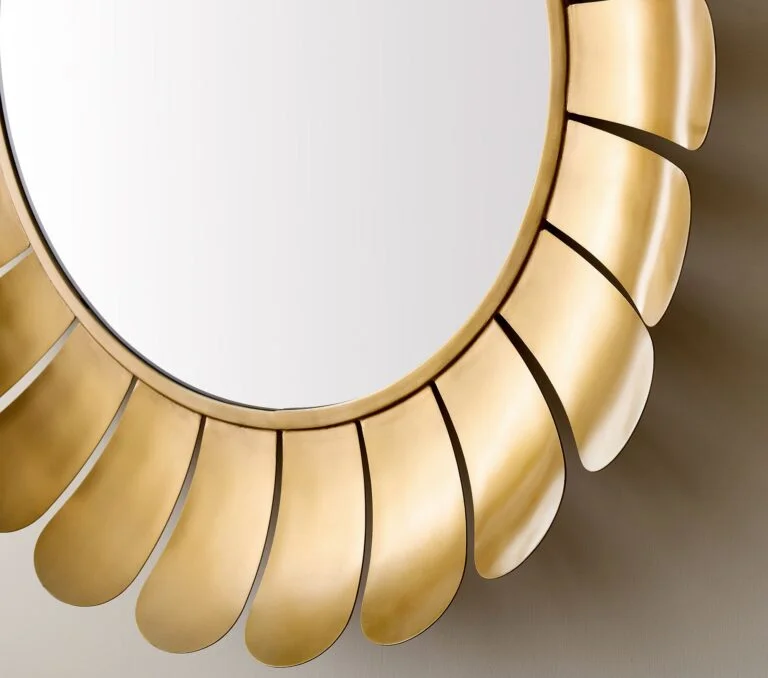
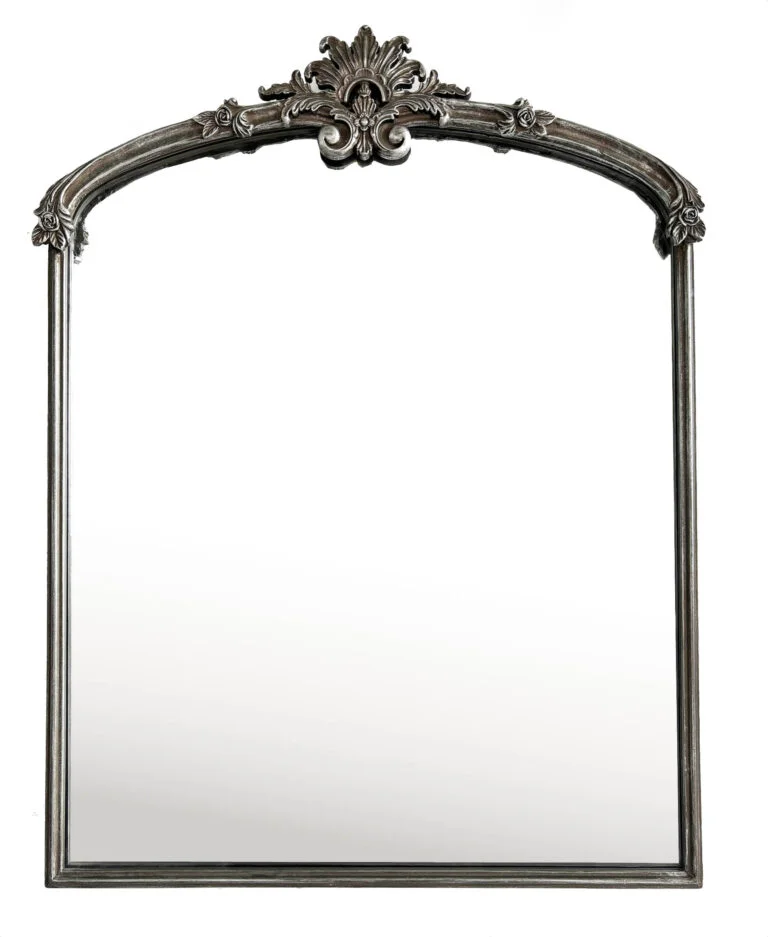
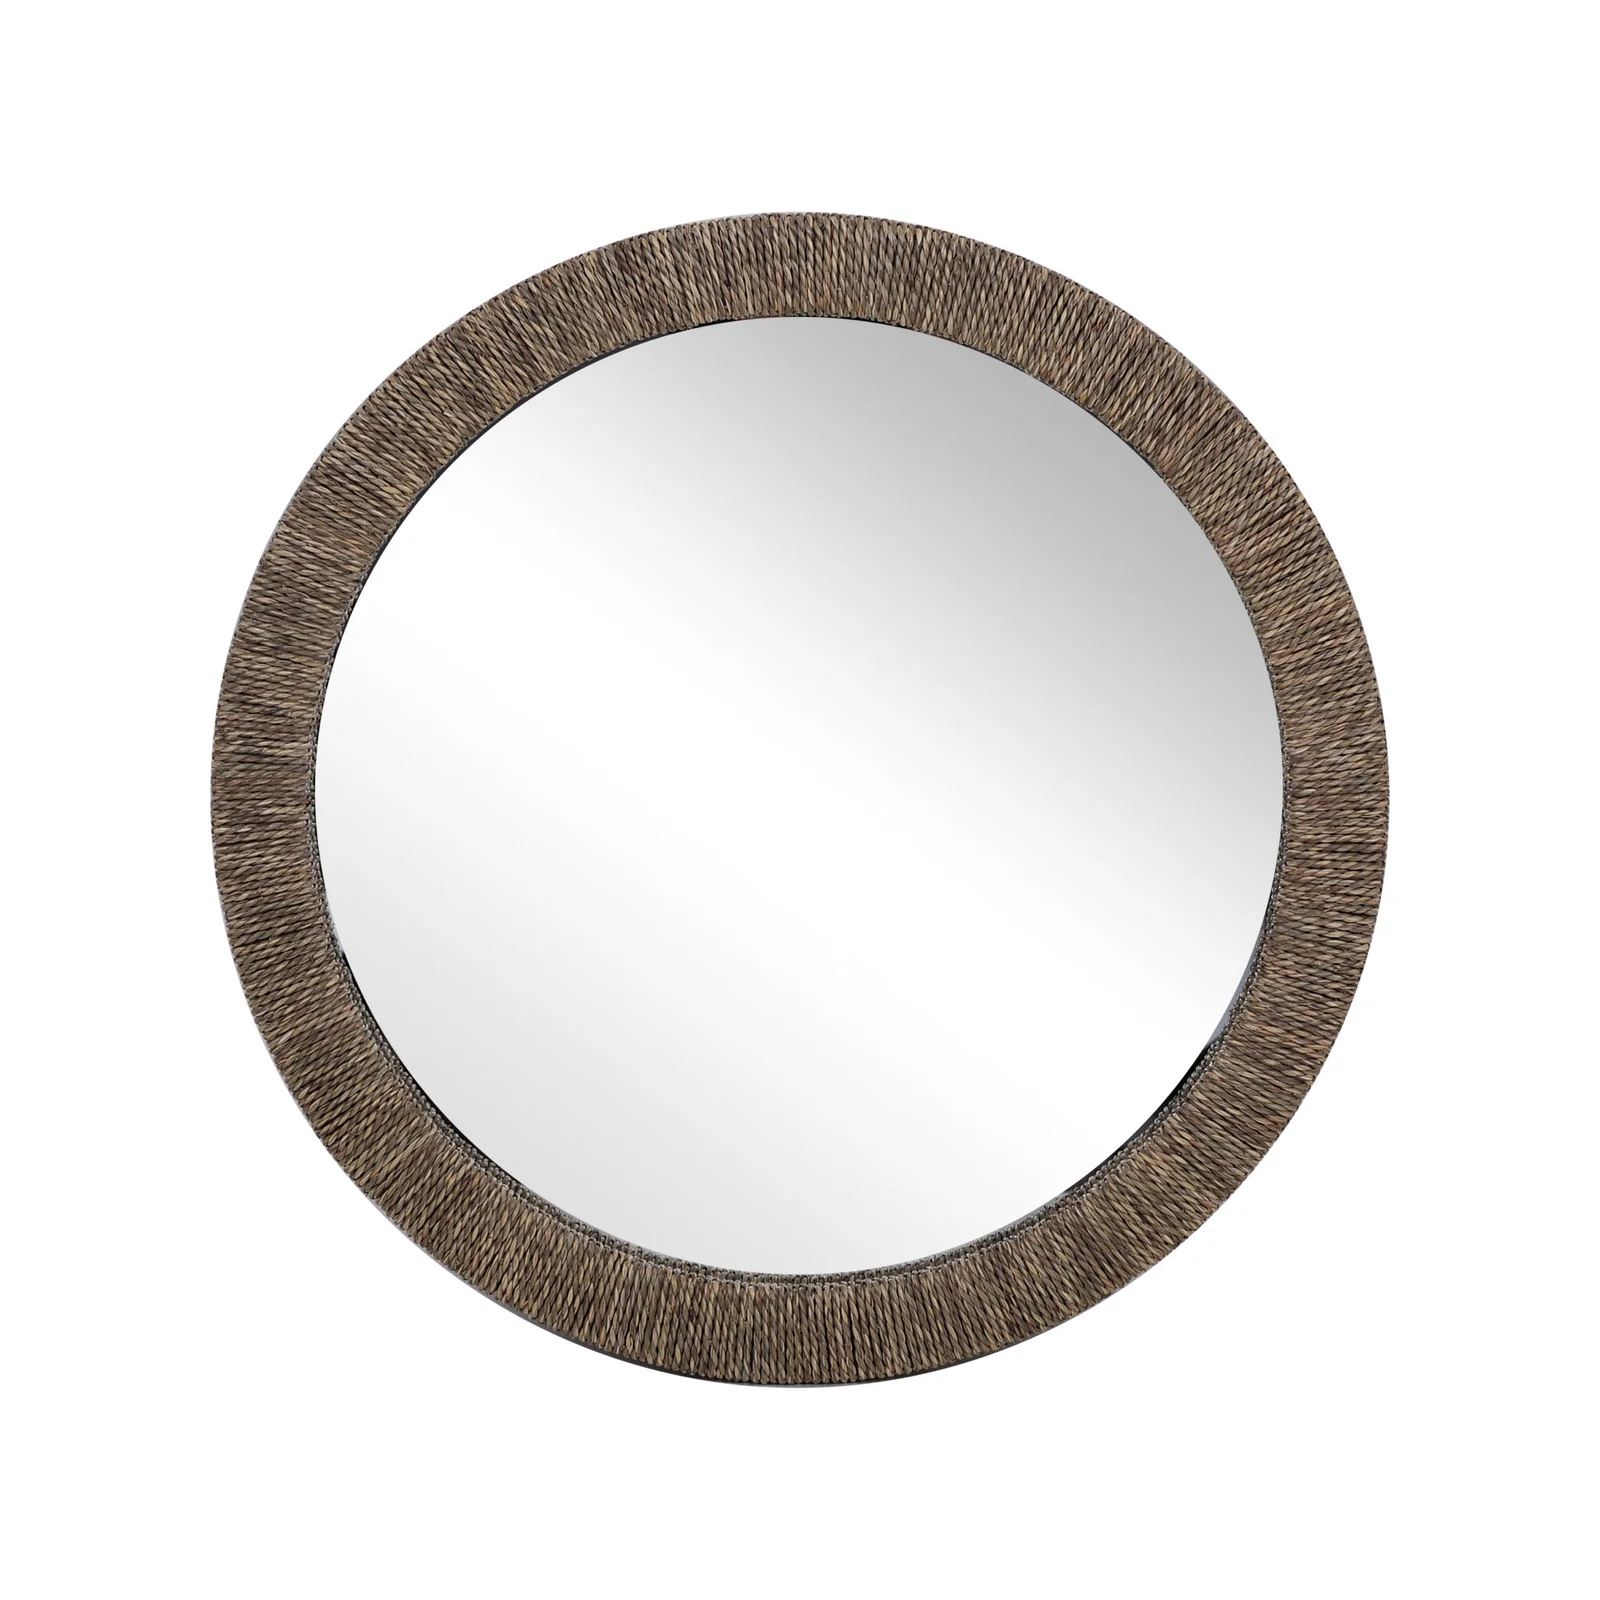
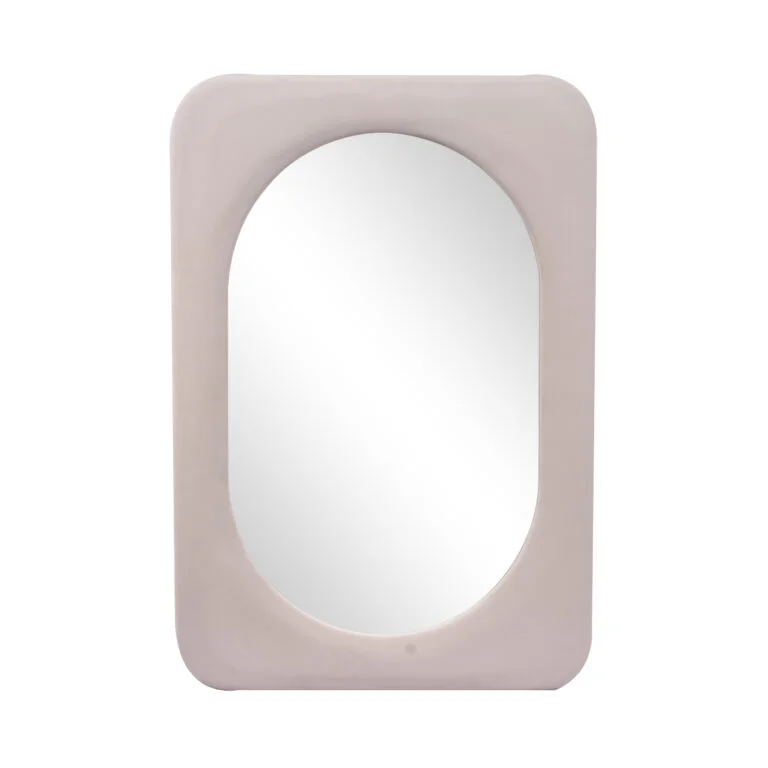
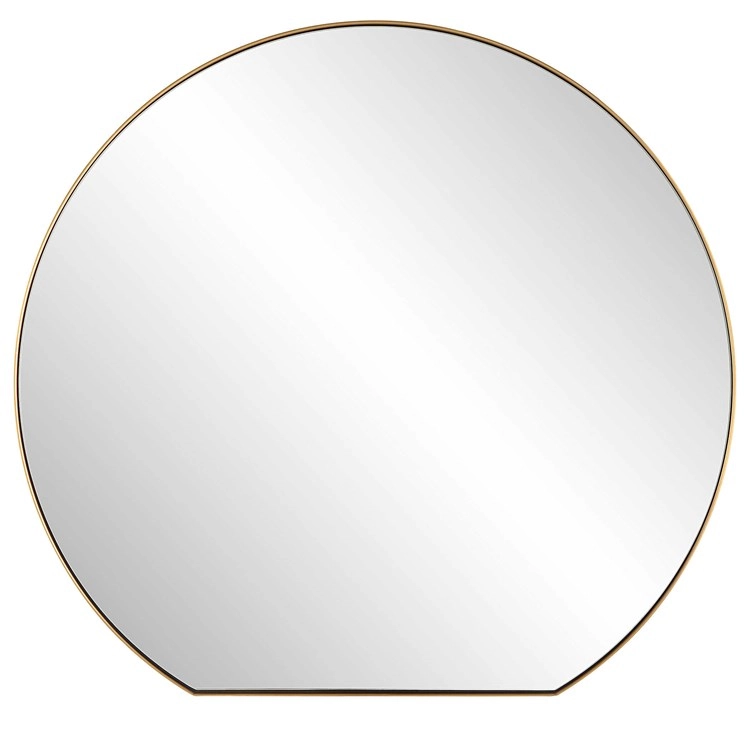
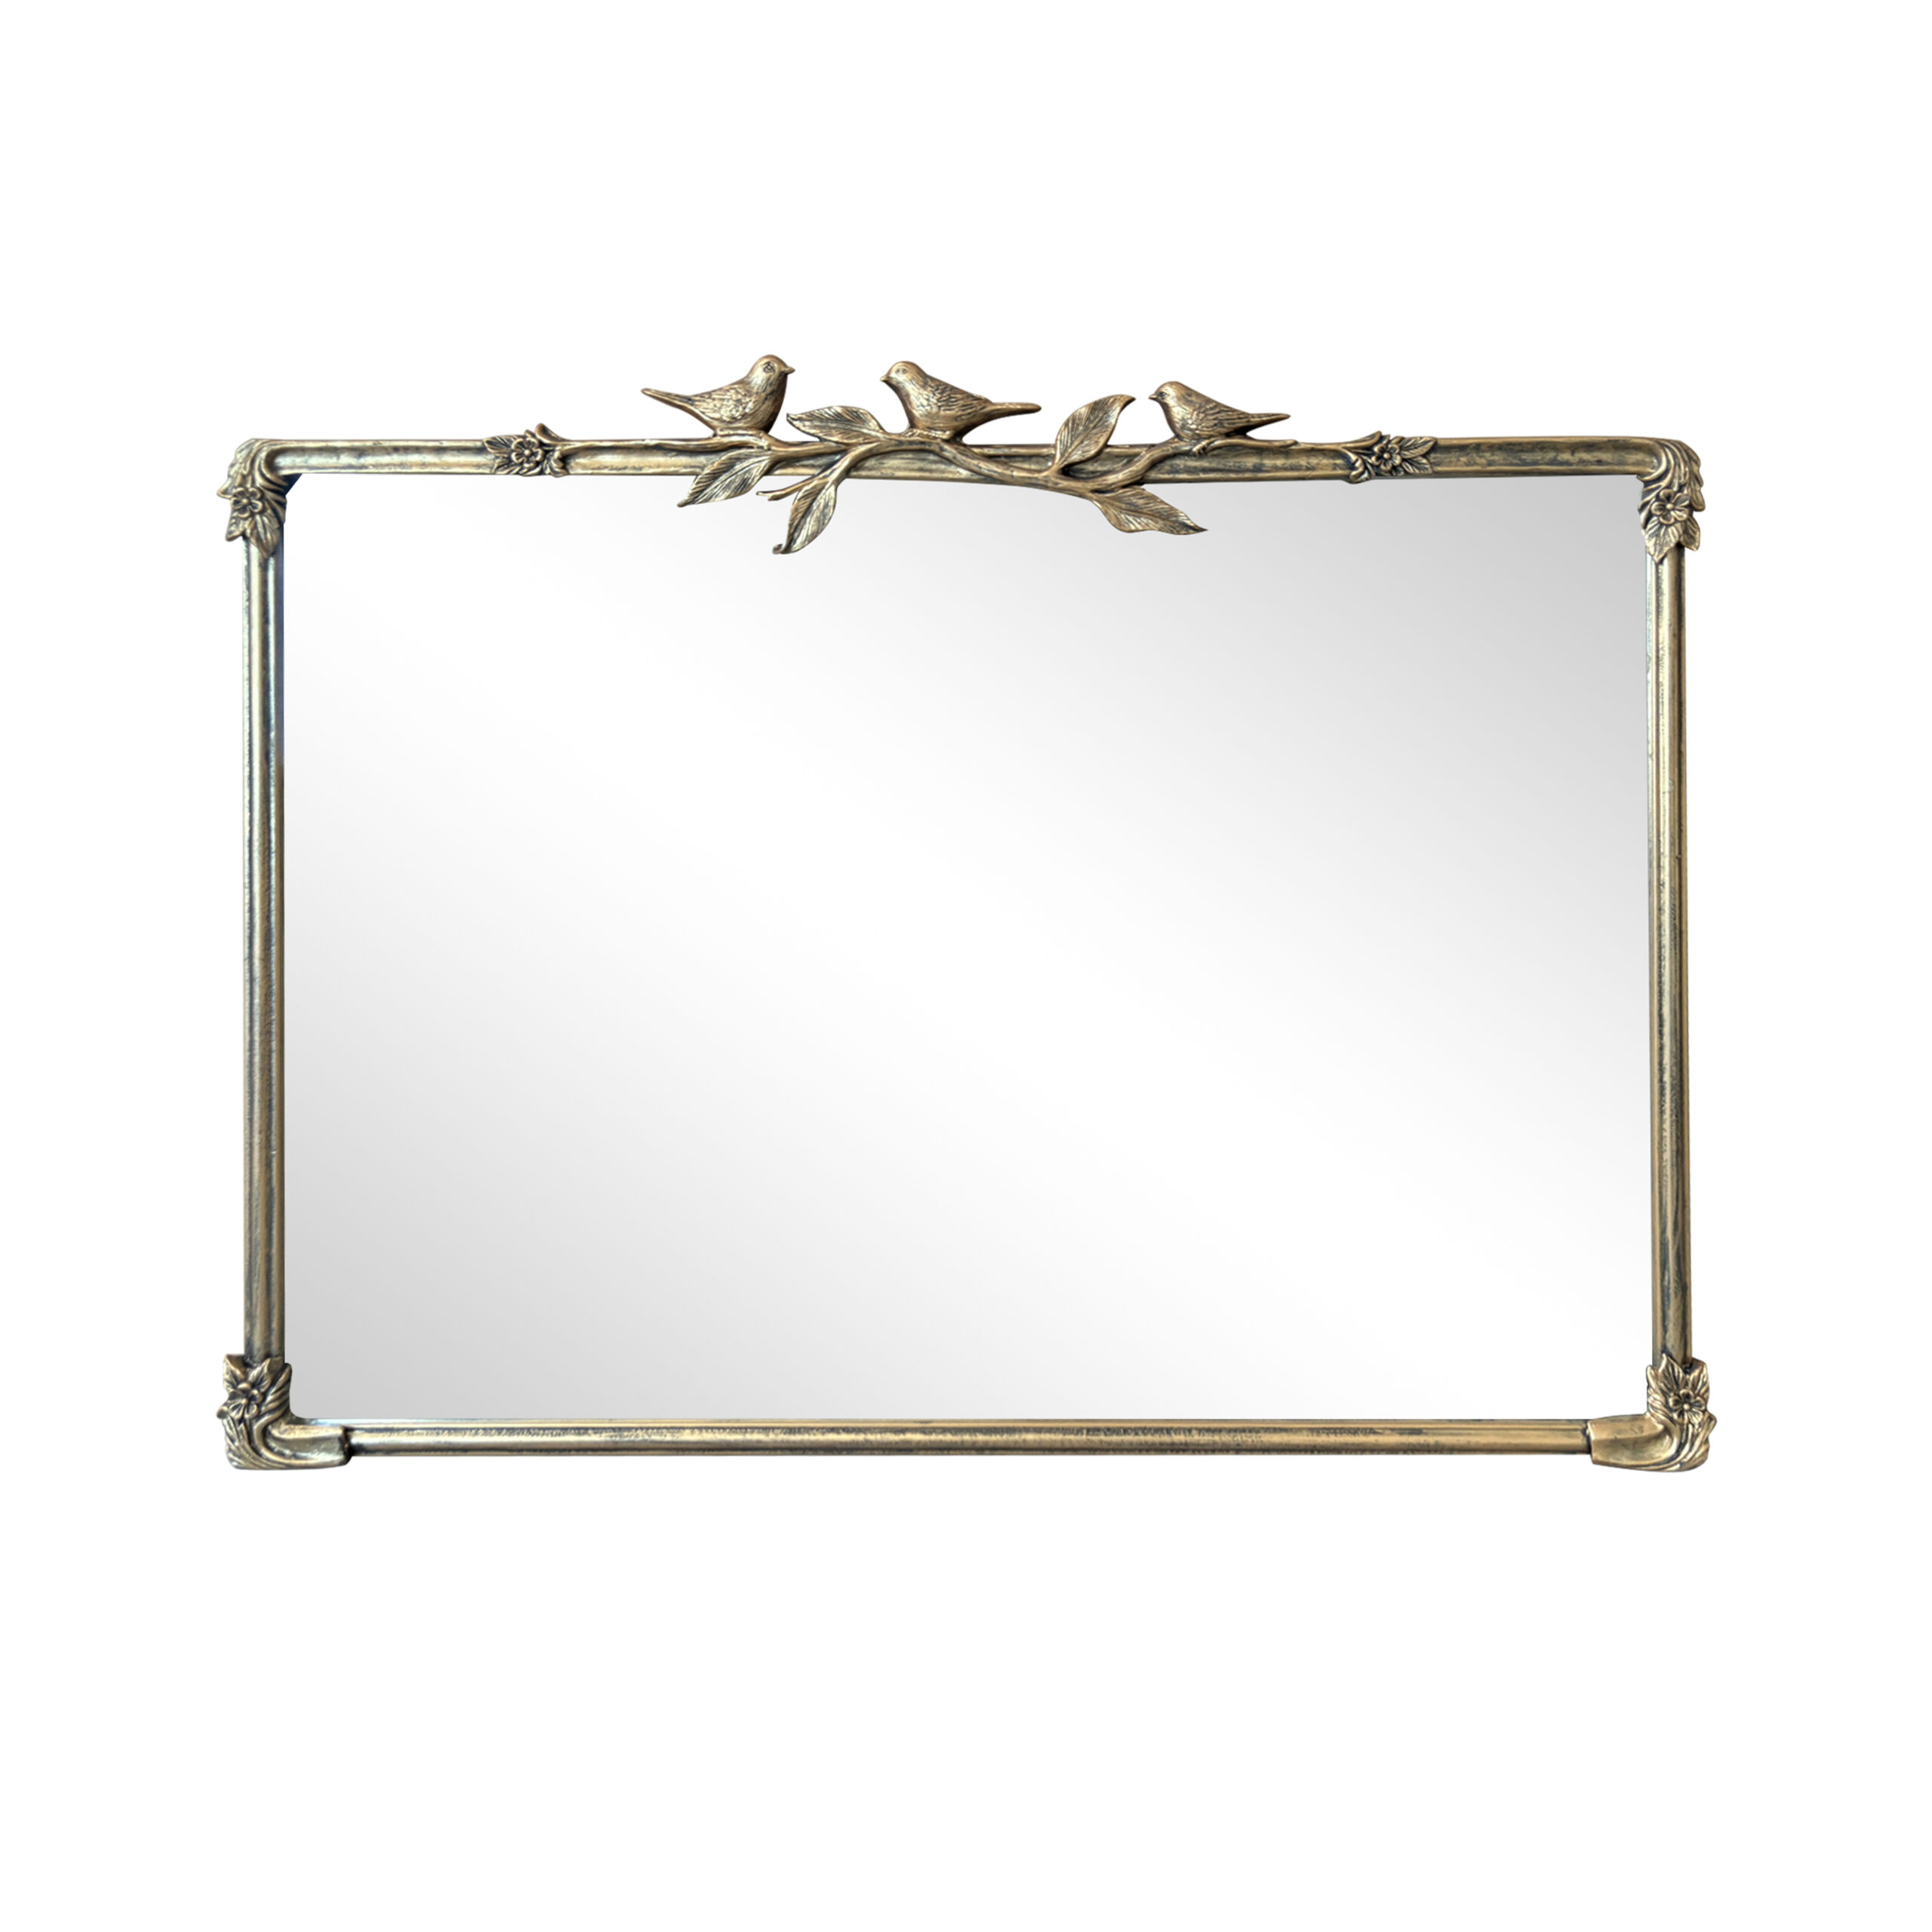
Shape: A round mirror is superior to a square or rectangular one for wind resistance. Wind flows around a circular object with less force and vibration than a flat surface with hard edges.
Size: Be reasonable. A 24″ to 36″ diameter mirror is typically the largest you’d want to go. Larger sizes become exponentially more difficult to secure.
3. The Installation: Over-Engineer It
How you install the mount is just as important as the mount itself.
Surface: Mount directly to a solid structural wall (brick, concrete, sturdy wood framing). Do not mount solely to vinyl siding, hollow vinyl soffits, or thin stucco.
Fasteners: Use heavy-duty lag bolts or concrete anchors that are long enough to penetrate deeply into the structural material.
For Wood Framing: Use 3/8″ x 3″ lag bolts with washers.
For Brick/Concrete: Use 3/8″ x 3″ wedge anchors or sleeve anchors.
Sealing: After drilling your pilot holes, apply a bead of high-quality silicone sealant (like GE Silicone II) into the hole and around the base of the anchor before tightening. This prevents water intrusion, which can cause damage over time.
Step-by-Step Setup Guide
Assemble Your Kit:
Acrylic round mirror (e.g., 30″ diameter)
Heavy-duty locking swivel mount (e.g., rated for 100 lbs)
Appropriate lag bolts or concrete anchors
Silicone sealant
Drill with correct bits (masonry bit for brick/concrete)
Wrench for lag bolts
Level
Mark and Drill:
Hold the mount’s base plate against the wall in the desired location. Use a level to ensure it’s perfectly straight.
Mark the drilling holes.
Drill the pilot holes to the correct diameter and depth for your anchors.
Seal and Secure:
Squirt silicone into each hole.
Place the mount over the holes, apply a dab of silicone on the threads of your anchors, and secure the mount to the wall. Tighten the bolts very firmly.
Attach the Mirror:
Attach the mirror’s backing plate or U-bolt to the mirror itself, if it isn’t already.
Have a helper hold the mirror while you attach it to the swivel arm on the wall mount.
Tighten all nuts and bolts on the mount.
Aim and LOCK:
Swivel the mirror to the perfect viewing angle.
Tighten the mount’s locking mechanism as tightly as you can. This is the step that makes it “Windy City Proof.” There should be zero ability to move the mirror by hand when it’s locked.
Product Recommendations (Look for these styles)
Mounts: Search for “heavy-duty locking mirror mount,” “security mirror bracket,” or “commercial display mount.” Brands like Locking Casters or commercial hardware suppliers are good sources.
Mirrors: Search for “outdoor acrylic mirror round.” Many online retailers (Amazon, Wayfair) and landscape/patio stores carry them.
By following this guide—strong locking mount + acrylic mirror + solid installation—you will create a mirror setup that will stay perfectly still and clear even on the windiest days in Chicago or any other city.
Generally speaking, our order requirements are as follows: the minimum order quantity (MOQ) for large items is 50 pieces, for regular items it is 100 pieces, for small items it is 500 pieces, and for very small items (such as ceramic decorations) the MOQ is 1,000 pieces. Orders exceeding $100,000 will receive a 5% discount. The delivery timeline is determined based on the specific order quantity and production schedule. Typically, we are able to complete delivery within two months.


-scaled.jpg)


Leave a Reply