Location:
ChenDianHu Industrial Area, GanZhe Town, Minhou County,
Fuzhou City, Fujian Province, China
teruiermirror
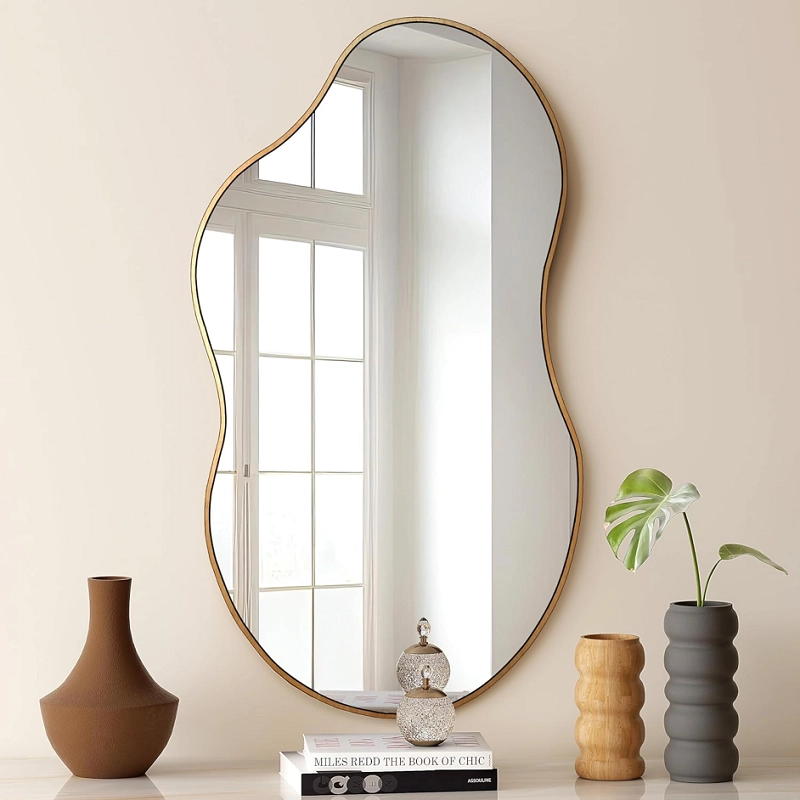
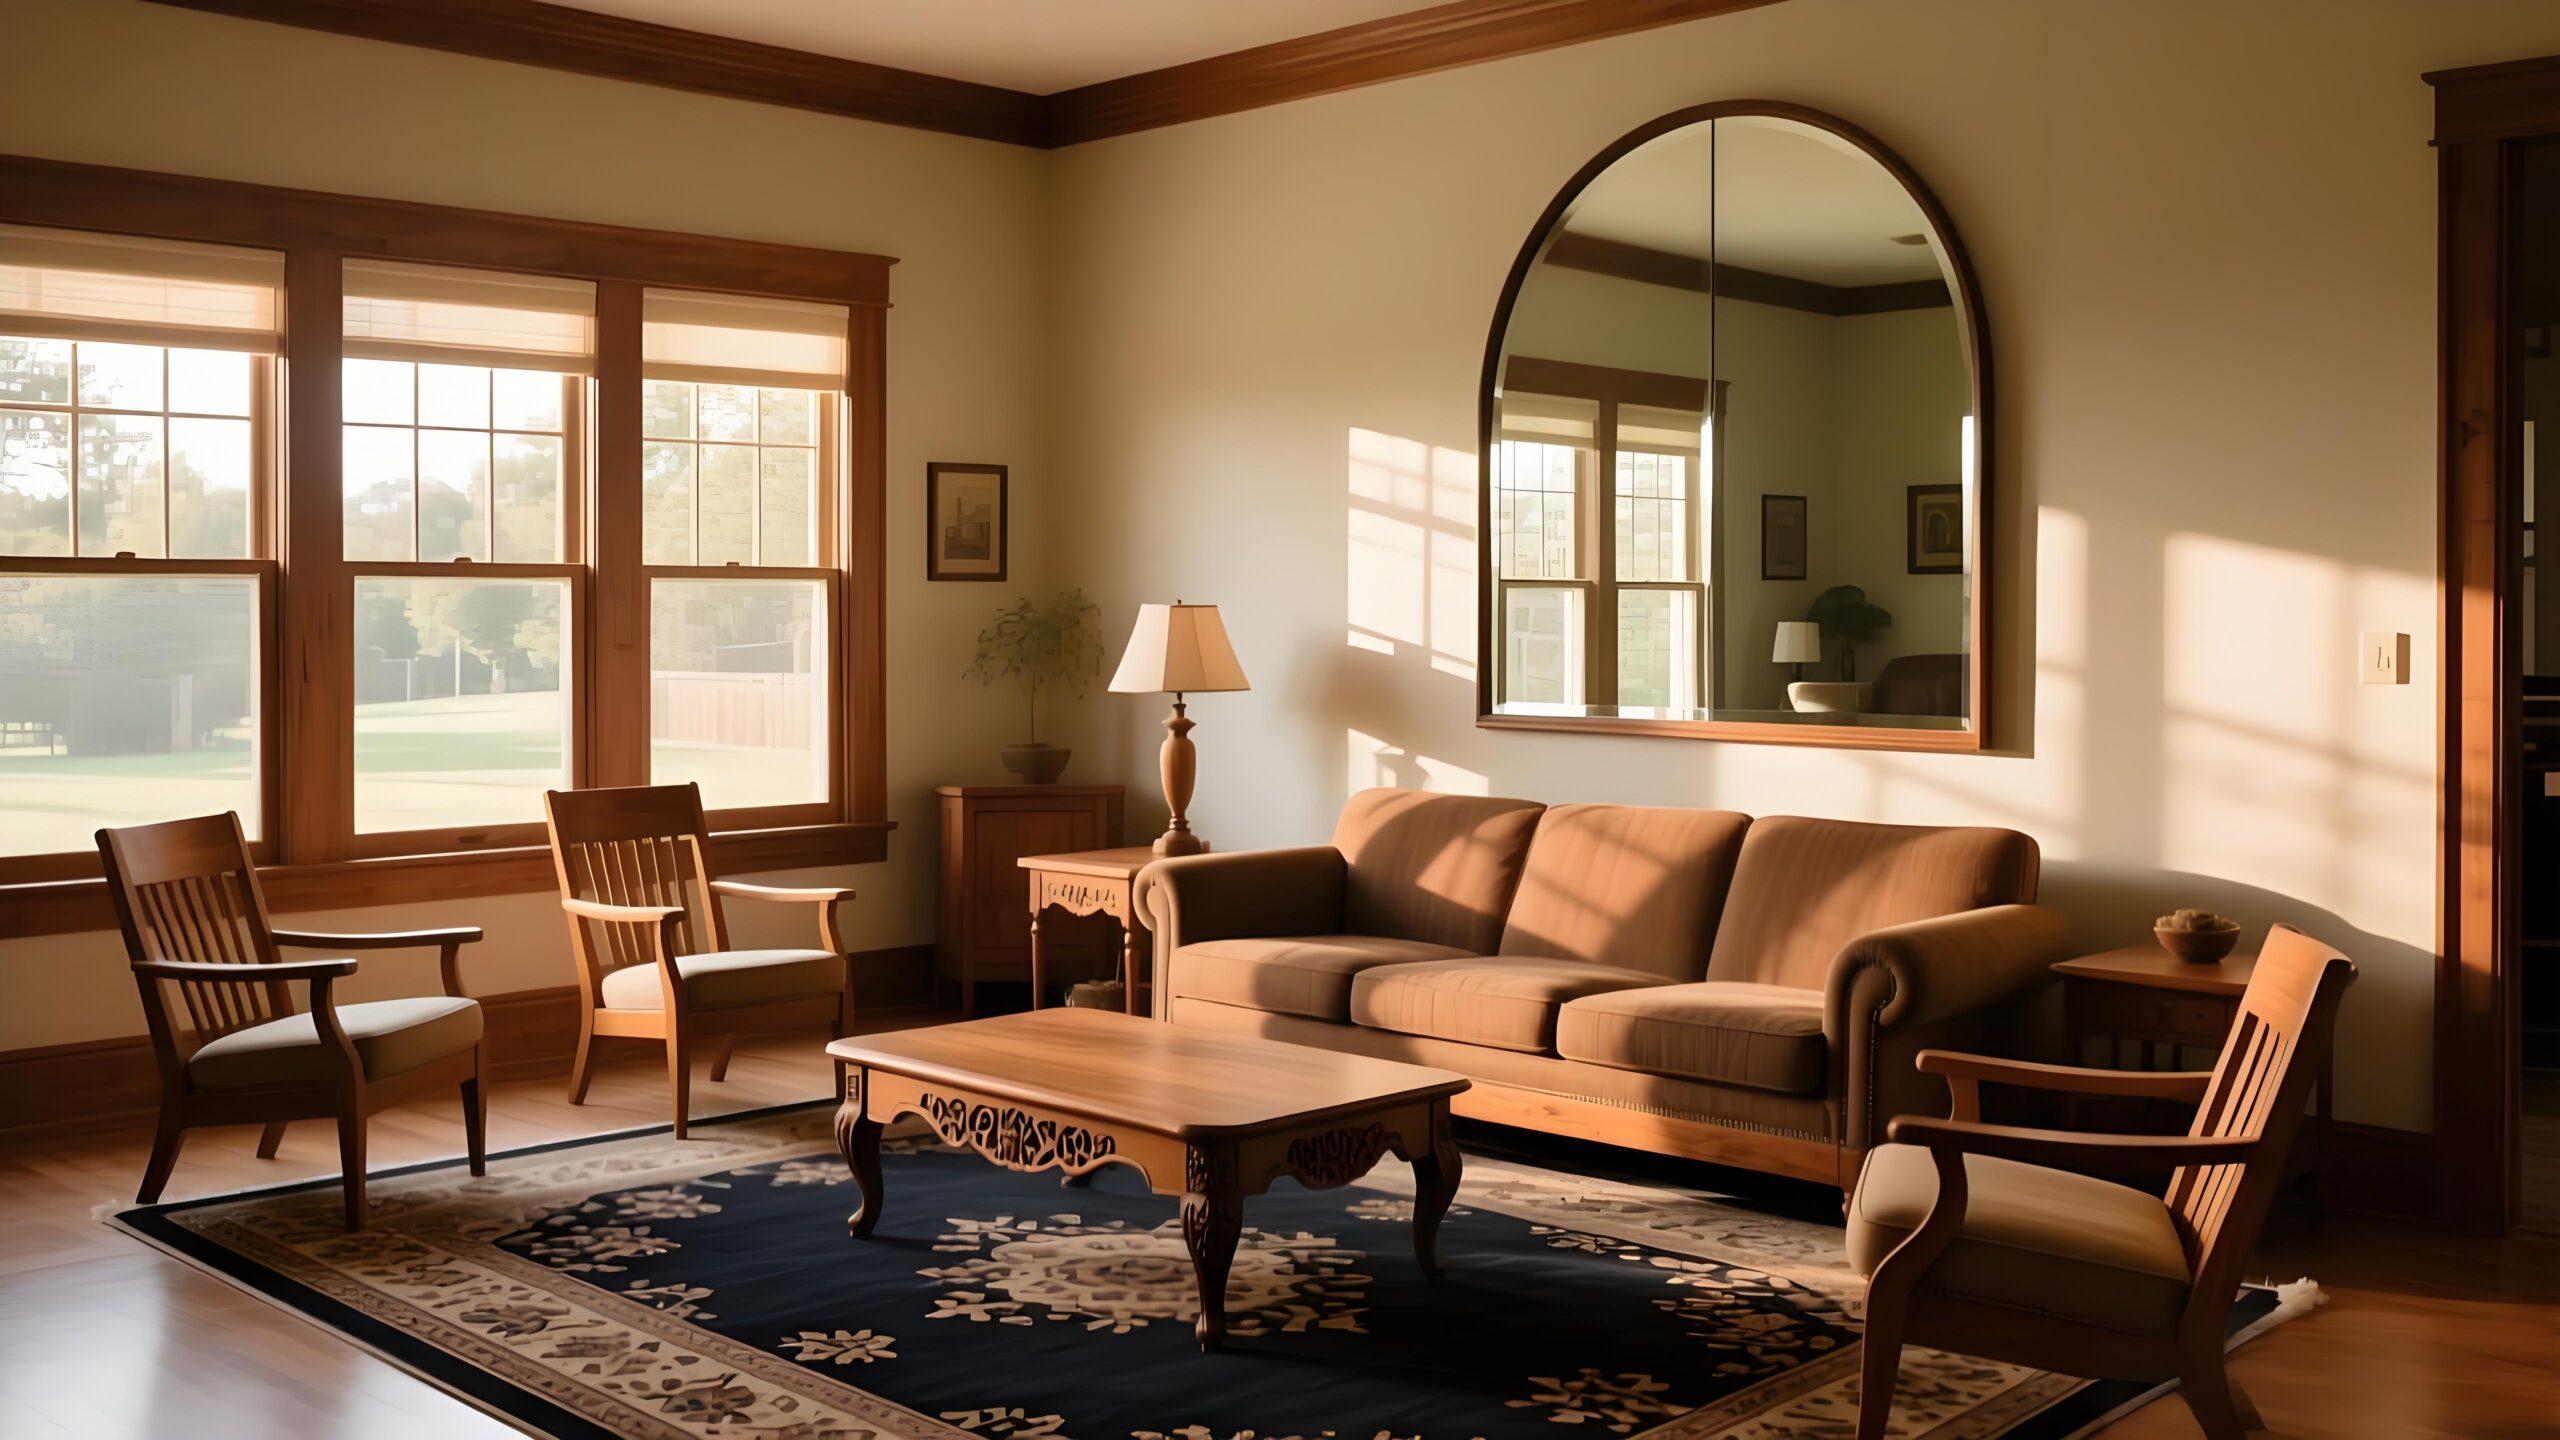
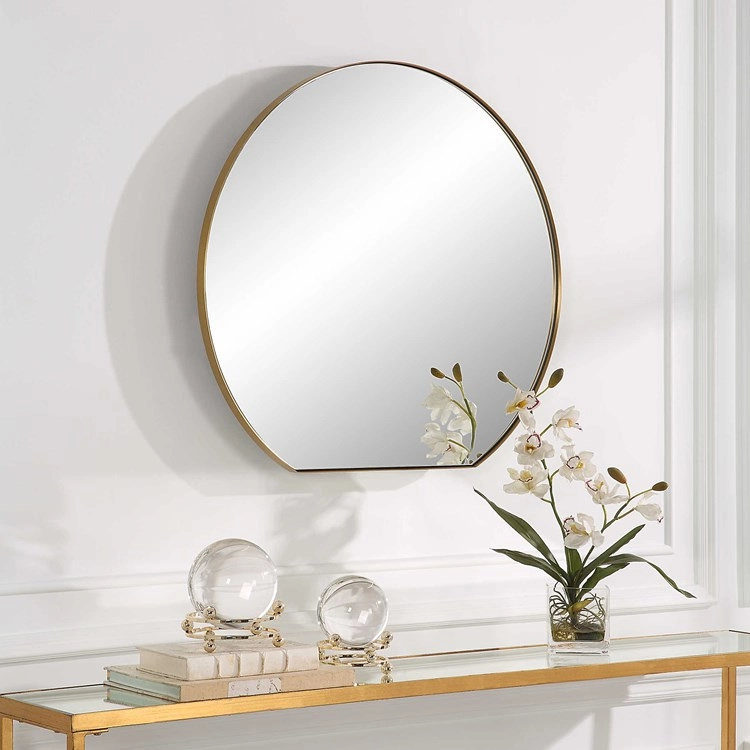
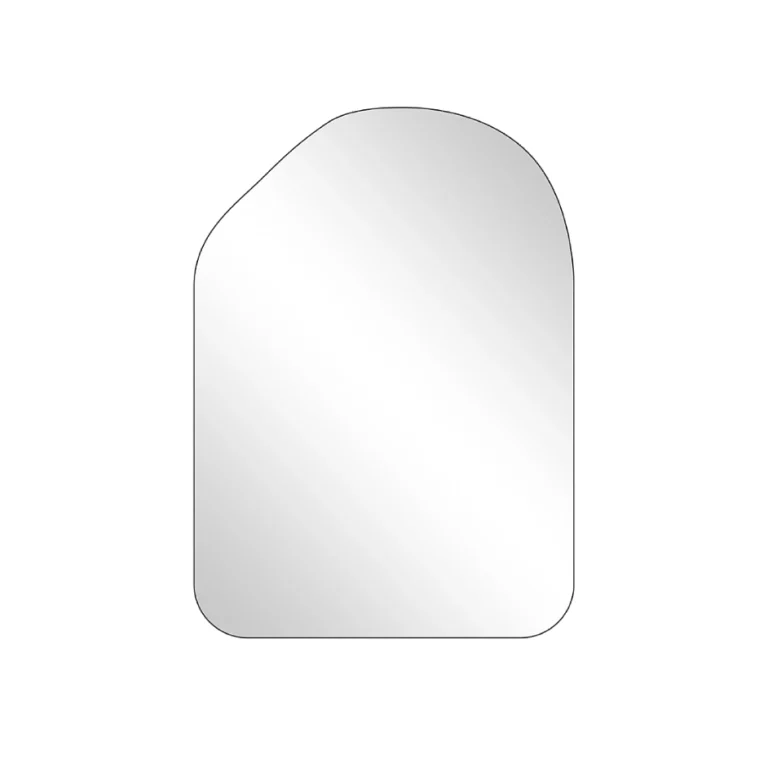
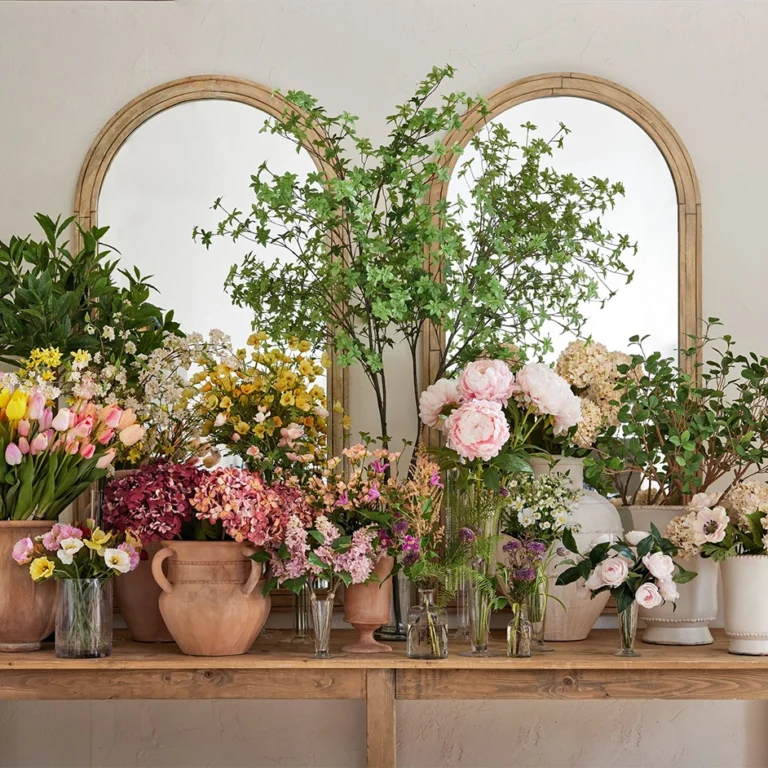
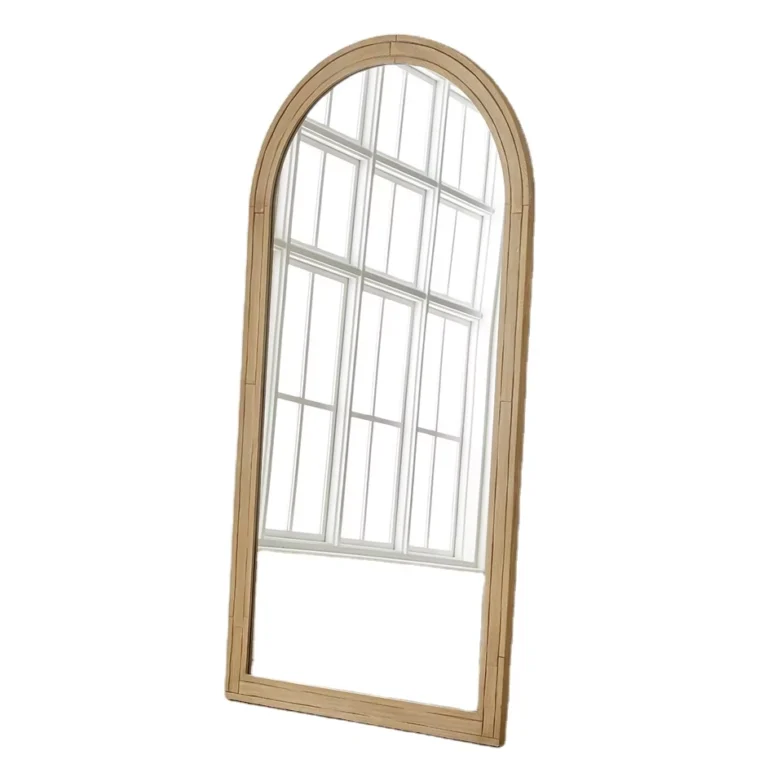
Driftwood wall mirror
25-08-22 43 view
Of course! A driftwood wall mirror is a fantastic project that brings a touch of coastal, rustic, or organic modern style to any room. Here’s a comprehensive guide covering everything from inspiration and styles to a step-by-step DIY tutorial. Inspiration & Styles First, decide on the overall look you want to achieve. Driftwood is incredibly versatile. Rustic & Organic: This style embraces the natural, irregular shapes of the wood. The frame is asymmetrical, with pieces of varying sizes and textures, often with the bark still on. Ideal for: Bathrooms, cabins, beach houses, living rooms with a cozy, natural vibe. Modern & Minimalist: Here, the driftwood is used in a more structured way. Pieces might be cut to similar lengths and arranged in a clean, geometric pattern (like a sunburst, hexagon, or a simple square frame). Ideal for: Entryways, bedrooms, modern spaces that need a textural element. Coastal & Nautical: This is the classic beachy look. Often incorporates other elements like seashells, sea glass, or rope accents. The frame is usually light-colored and weathered. Ideal for: Bathrooms, porches, any space where you want a relaxed, seaside feel. Bohemian & Eclectic: A more free-form and artistic approach. The mirror might be an unusual shape (like a circle or oval), and the driftwood could be combined with other materials like macrame, metal, or painted details. Ideal for: Living rooms, bedrooms, spaces with a collected, personal feel. How to Make a Driftwood Wall Mirror (DIY Guide) This is a rewarding project that doesn't require advanced woodworking skills. What You'll Need: A plain mirror: You can buy a unframed mirror from a hardware store or repurpose an old one. Round mirrors work beautifully with driftwood. Driftwood: Collected from beaches (where it's legal) or purchased from craft stores, online marketplaces, or garden centers. Strong adhesive: A high-temp hot glue gun with plenty of glue sticks is great for most pieces. For very heavy pieces, use a strong epoxy or construction adhesive like E6000 or Liquid Nails. Plywood or sturdy cardboard: To use as a base for attaching the mirror and driftwood (optional but recommended for stability). Jute twine or thin wire: For securing tricky pieces. Tools: Scissors, sandpaper (optional), a saw (if you need to cut pieces to length). Safety gear: Gloves to protect your hands from splinters. Step-by-Step Process: Prepare the Driftwood: Clean it: Scrub all pieces with a stiff brush and soapy water to remove sand, salt, and debris. A quick soak in a water/bleach solution (1 part bleach to 9 parts water) can kill any mold or insects. Rinse thoroughly and let it dry completely in the sun for a day or two. Sand it (optional): Lightly sand any extremely rough or splintery areas for safety and a smoother finish. Prepare the Base (Highly Recommended): If your mirror is thin or fragile,…
Of course! A driftwood wall mirror is a fantastic project that brings a touch of coastal, rustic, or organic modern style to any room. Here’s a comprehensive guide covering everything from inspiration and styles to a step-by-step DIY tutorial.
Inspiration & Styles
First, decide on the overall look you want to achieve. Driftwood is incredibly versatile.
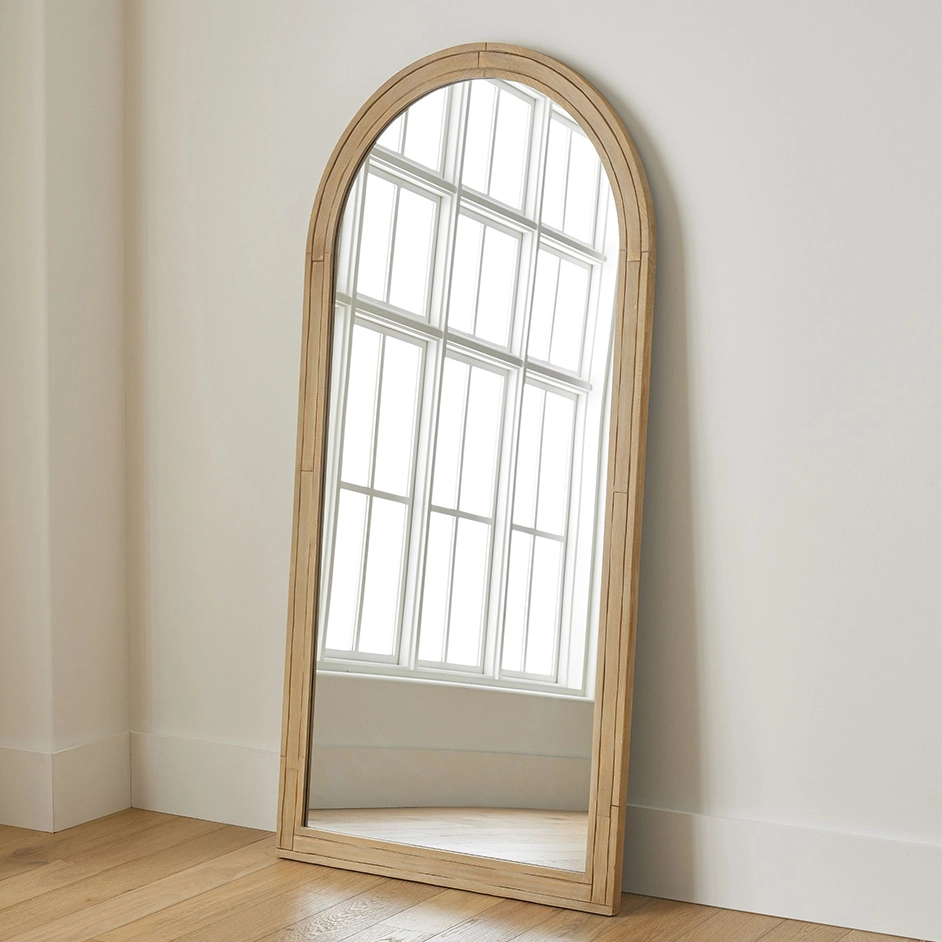
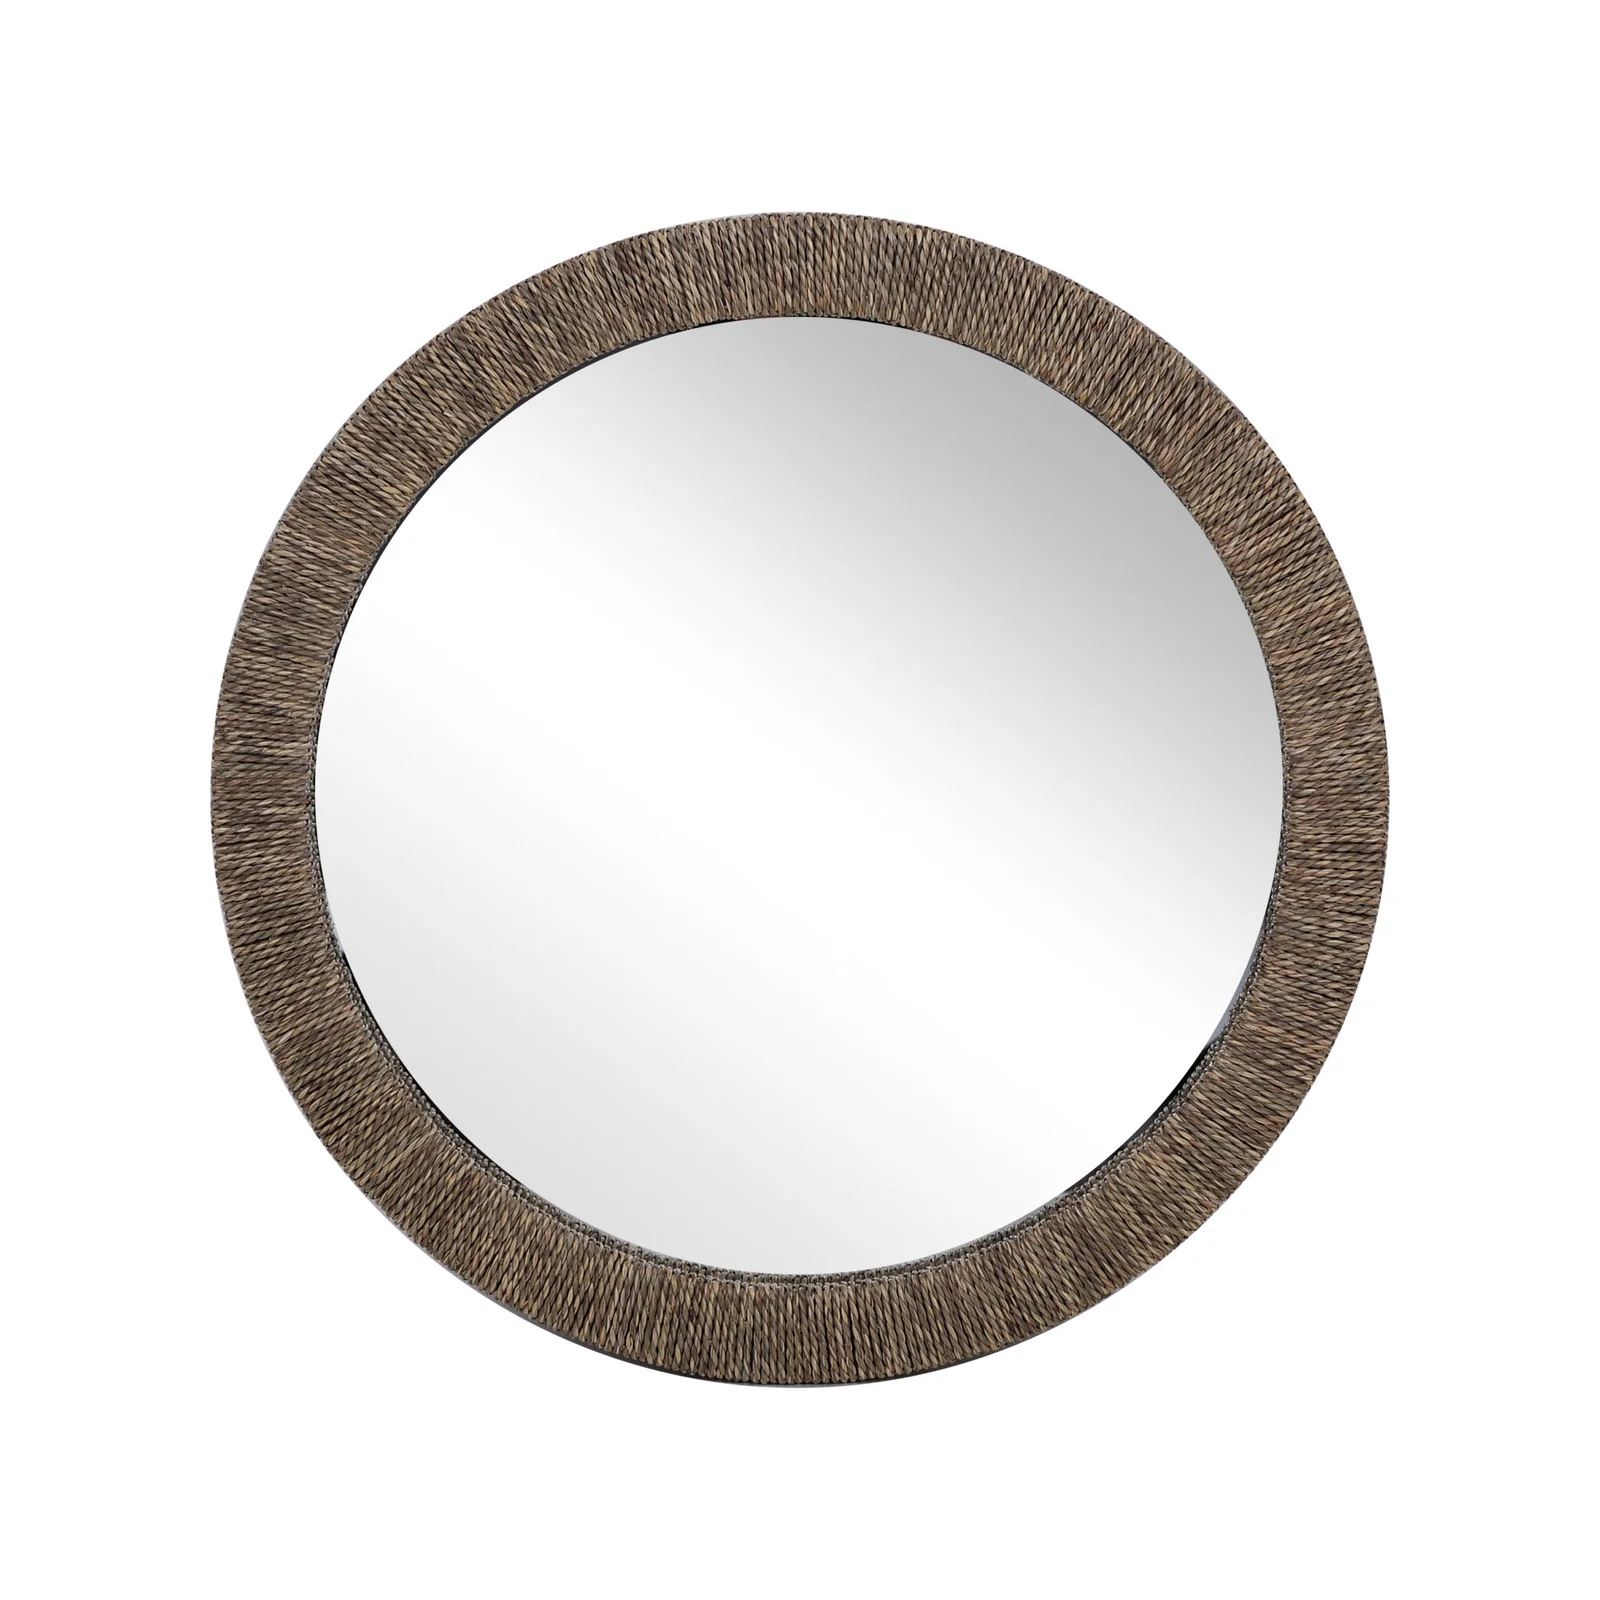
Rustic & Organic: This style embraces the natural, irregular shapes of the wood. The frame is asymmetrical, with pieces of varying sizes and textures, often with the bark still on.
Ideal for: Bathrooms, cabins, beach houses, living rooms with a cozy, natural vibe.
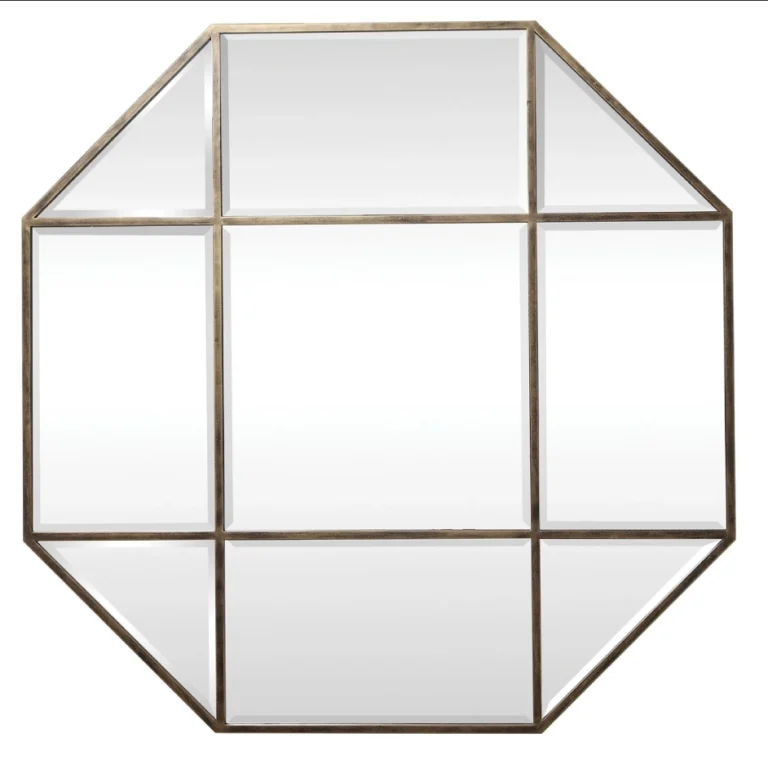
Modern & Minimalist: Here, the driftwood is used in a more structured way. Pieces might be cut to similar lengths and arranged in a clean, geometric pattern (like a sunburst, hexagon, or a simple square frame).
Ideal for: Entryways, bedrooms, modern spaces that need a textural element.
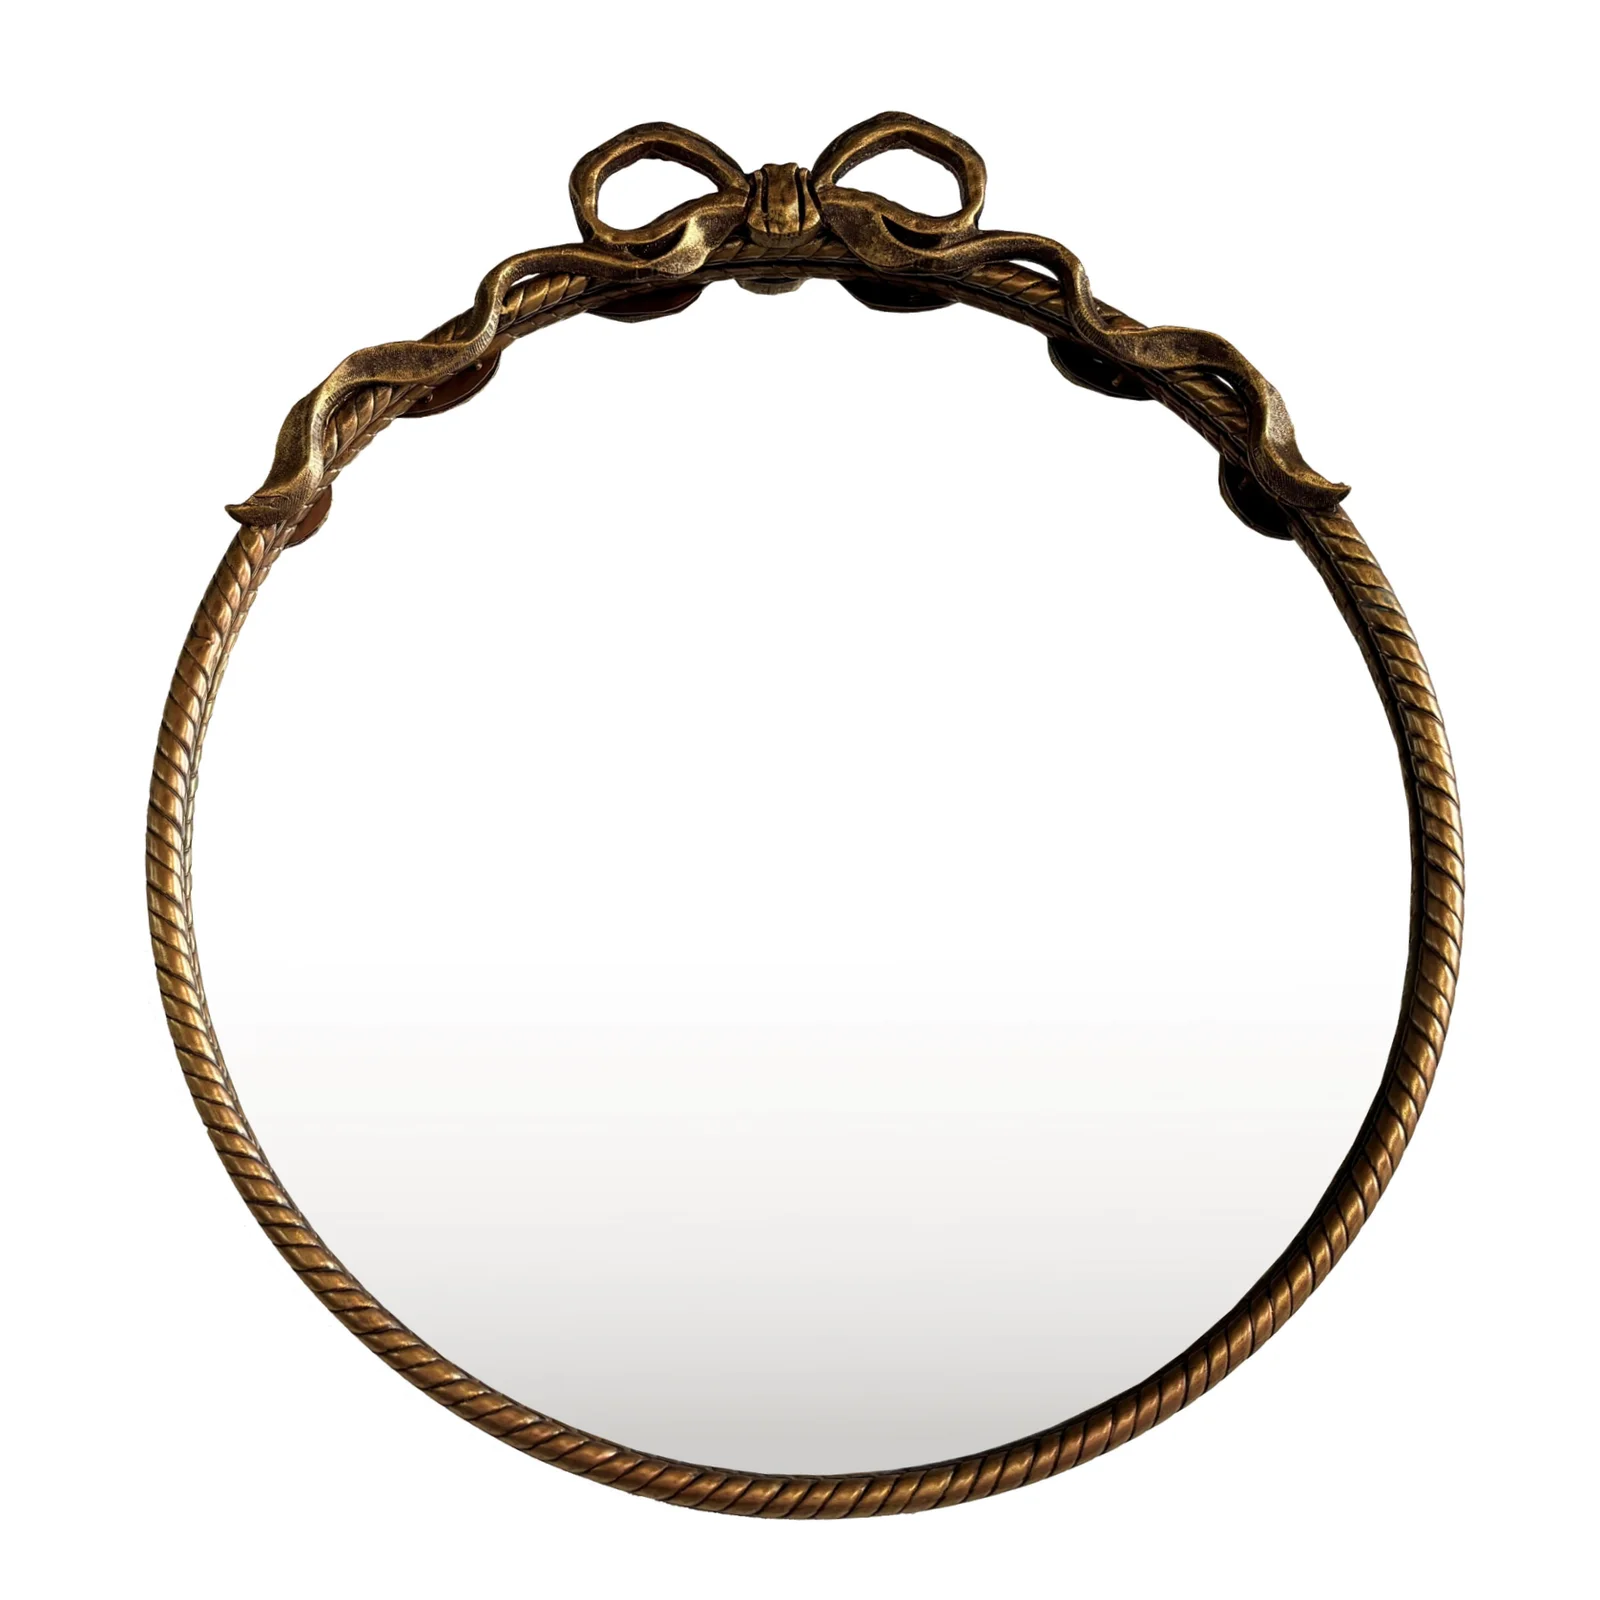
Coastal & Nautical: This is the classic beachy look. Often incorporates other elements like seashells, sea glass, or rope accents. The frame is usually light-colored and weathered.
Ideal for: Bathrooms, porches, any space where you want a relaxed, seaside feel.
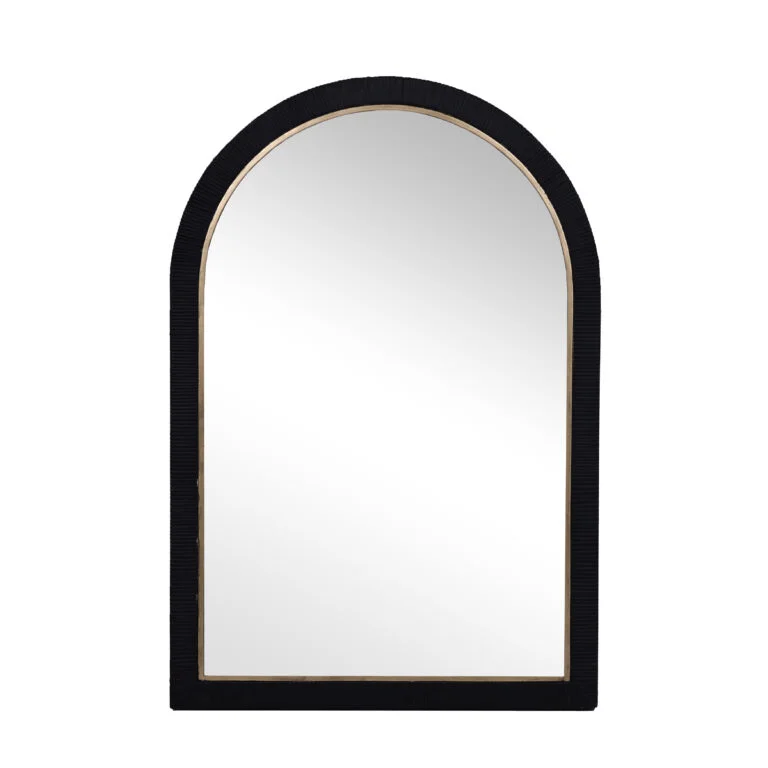
Bohemian & Eclectic: A more free-form and artistic approach. The mirror might be an unusual shape (like a circle or oval), and the driftwood could be combined with other materials like macrame, metal, or painted details.
Ideal for: Living rooms, bedrooms, spaces with a collected, personal feel.
How to Make a Driftwood Wall Mirror (DIY Guide)
This is a rewarding project that doesn’t require advanced woodworking skills.
What You’ll Need:
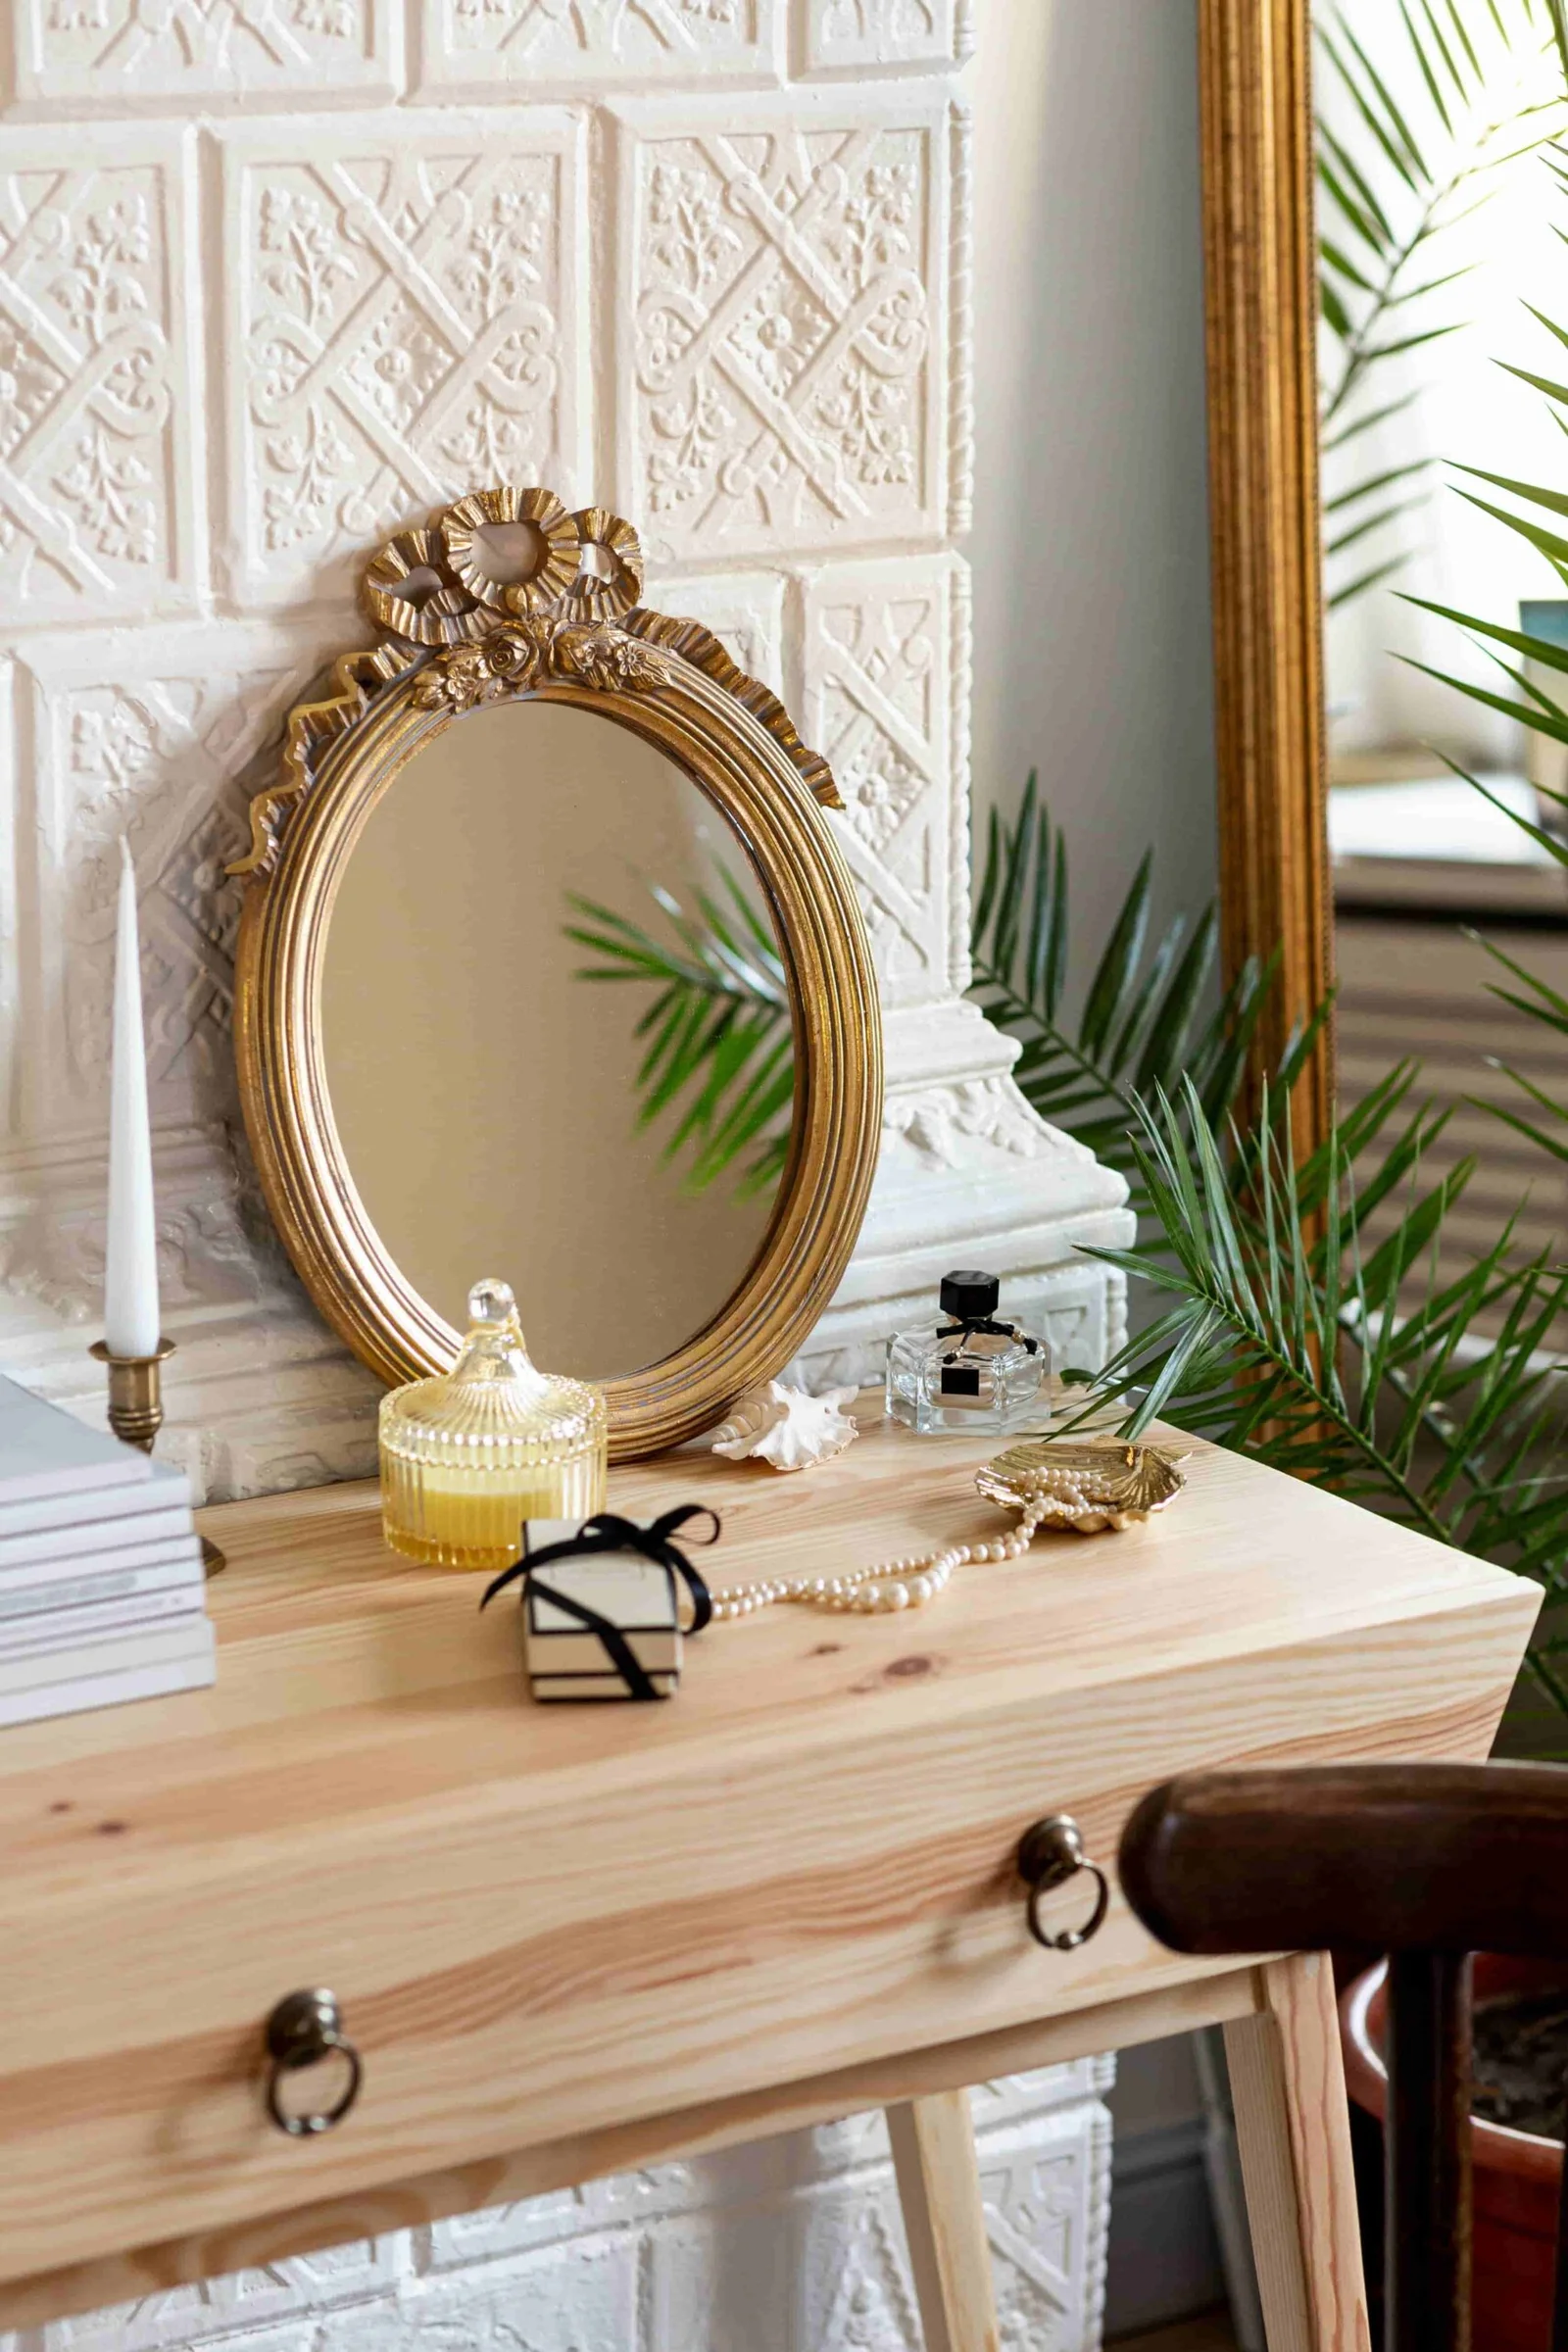
A plain mirror: You can buy a unframed mirror from a hardware store or repurpose an old one. Round mirrors work beautifully with driftwood.
Driftwood: Collected from beaches (where it’s legal) or purchased from craft stores, online marketplaces, or garden centers.
Strong adhesive: A high-temp hot glue gun with plenty of glue sticks is great for most pieces. For very heavy pieces, use a strong epoxy or construction adhesive like E6000 or Liquid Nails.
Plywood or sturdy cardboard: To use as a base for attaching the mirror and driftwood (optional but recommended for stability).
Jute twine or thin wire: For securing tricky pieces.
Tools: Scissors, sandpaper (optional), a saw (if you need to cut pieces to length).
Safety gear: Gloves to protect your hands from splinters.
Step-by-Step Process:
Prepare the Driftwood:
Clean it: Scrub all pieces with a stiff brush and soapy water to remove sand, salt, and debris. A quick soak in a water/bleach solution (1 part bleach to 9 parts water) can kill any mold or insects. Rinse thoroughly and let it dry completely in the sun for a day or two.
Sand it (optional): Lightly sand any extremely rough or splintery areas for safety and a smoother finish.
Prepare the Base (Highly Recommended):
If your mirror is thin or fragile, gluing directly to the glass can be risky. Instead, attach the mirror to a piece of plywood or very sturdy cardboard cut to the same size using a strong adhesive. This creates a stable base for the driftwood. You can paint the edge of the base a neutral color to blend in.
Plan Your Layout:
This is the most important creative step! Lay your mirror on a flat surface.
Arrange the driftwood pieces around it. Play with different patterns:
Layering: Place larger, flatter pieces on the bottom and layer smaller ones on top.
Direction: Line up all pieces horizontally, vertically, or in a radial pattern (pointing outward from the center).
Step back and look at your design from different angles before gluing.
Attach the Driftwood:
Work on one piece at a time. Apply a generous amount of hot glue or epoxy to the back of a driftwood piece.
Press it firmly onto the base (or the back edge of the mirror if you’re not using a base) and hold for 30-60 seconds until the glue sets.
Tip: For extra security, especially on heavy pieces, you can reinforce them with a wrap of jute twine or thin wire around the piece and the base, hiding it on the back.
Continue piece by piece, working your way around the mirror. Overlap the ends to hide the base and create a cohesive look.
Create a Hanging Mechanism:
Once the frame is complete and the glue is fully cured (check adhesive instructions for drying time), flip it over.
Attach D-rings or a sawtooth picture hanger to the wooden base or the strongest part of the driftwood frame. For a very heavy mirror, use a French cleat for maximum security.
Crucial: Always ensure the hanging hardware is attached to the wood, not just the glass.
Let it Cure and Hang:
Let the entire piece sit flat for 24 hours to allow all the adhesives to fully cure.
Find a stud in your wall or use a heavy-duty drywall anchor to hang your beautiful new mirror securely.
Where to Find Driftwood
The Beach: The best source for authentic, free driftwood. Always check local regulations; many beaches prohibit the removal of natural materials.
Craft Stores: Stores like Michaels, Hobby Lobby, and Joann often sell small bags of driftwood.
Online: Amazon, Etsy, and eBay have vendors selling driftwood in various sizes and bundles.
Landscaping/Garden Centers: They sometimes sell larger pieces for decorative purposes.
Tips for Success
Mix Textures: Use a variety of thick, thin, smooth, and rough pieces for visual interest.
Emptiness is Okay: You don’t have to cover every inch. Gaps can add to the rustic, organic charm.
Weight Consideration: A large driftwood mirror can get very heavy. Plan your hanging method accordingly from the start.
No Driftwood? You can achieve a similar look with fallen twigs and branches from your yard. Clean them and optionally give them a weathered look with a light white or gray wash of paint.
Enjoy the process of creating a unique piece of functional art for your home
Generally speaking, our order requirements are as follows: the minimum order quantity (MOQ) for large items is 50 pieces, for regular items it is 100 pieces, for small items it is 500 pieces, and for very small items (such as ceramic decorations) the MOQ is 1,000 pieces. Orders exceeding $100,000 will receive a 5% discount. The delivery timeline is determined based on the specific order quantity and production schedule. Typically, we are able to complete delivery within two months.


-scaled.jpg)


Leave a Reply