Location:
ChenDianHu Industrial Area, GanZhe Town, Minhou County,
Fuzhou City, Fujian Province, China
teruiermirror
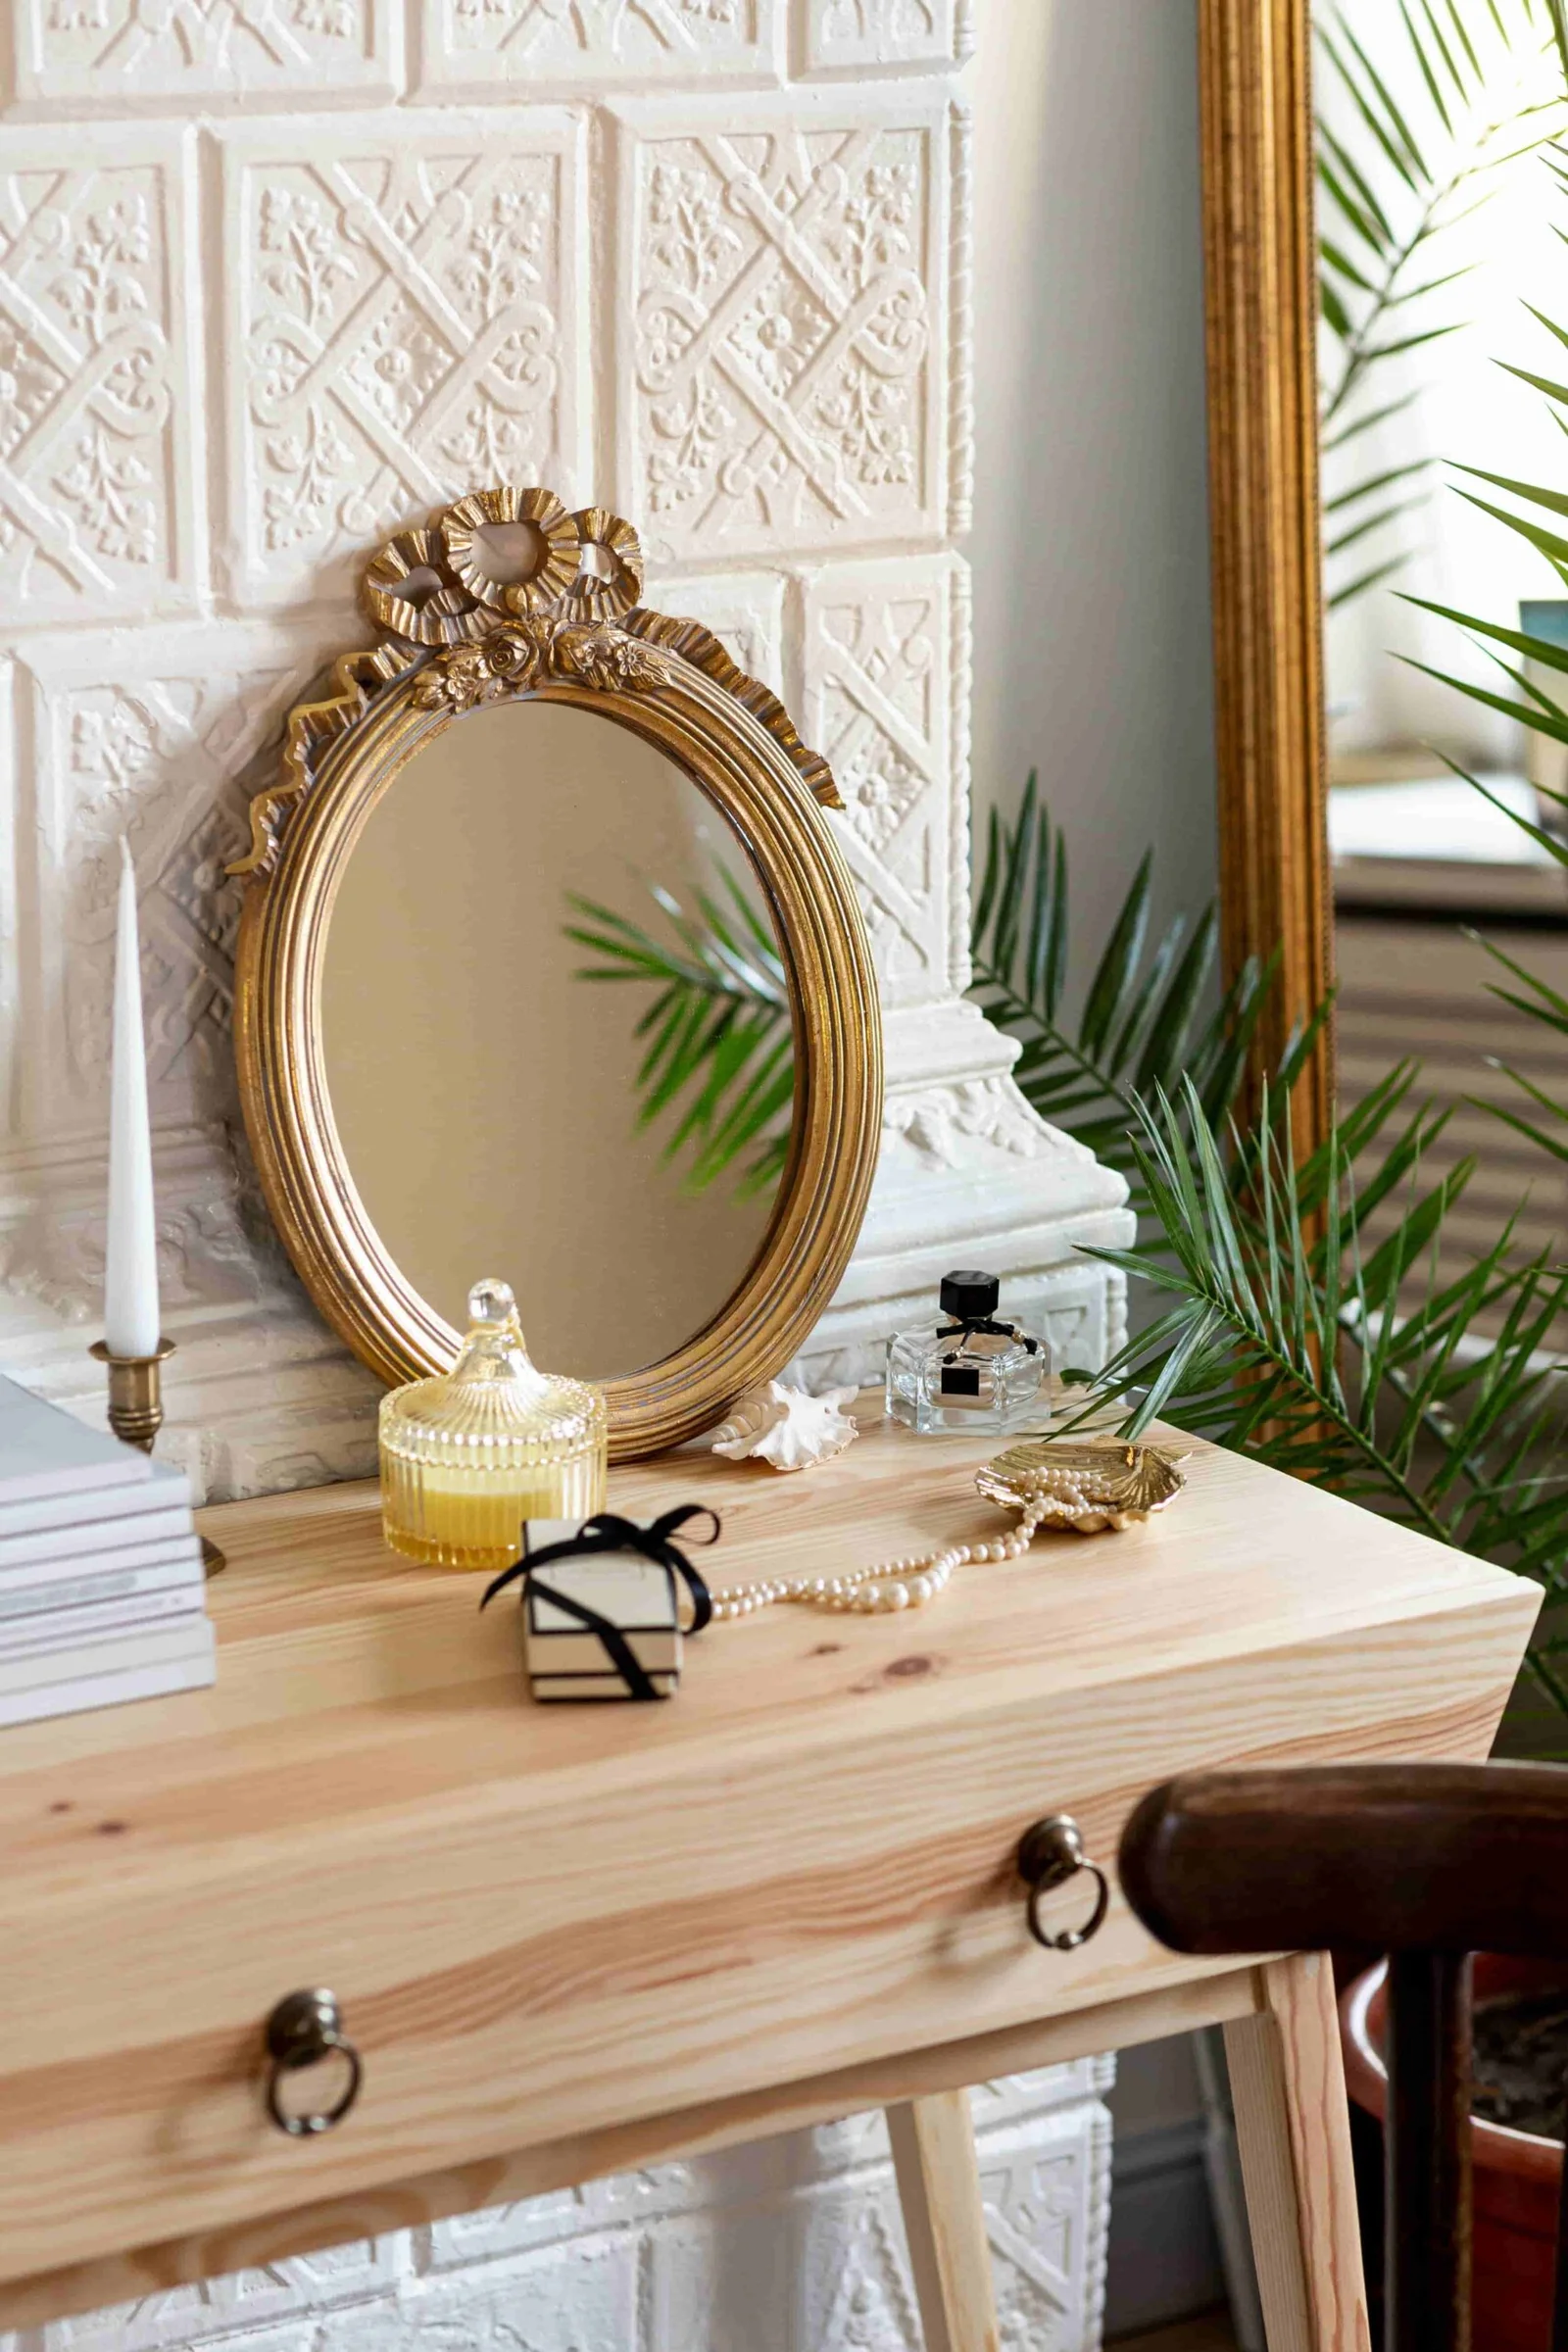
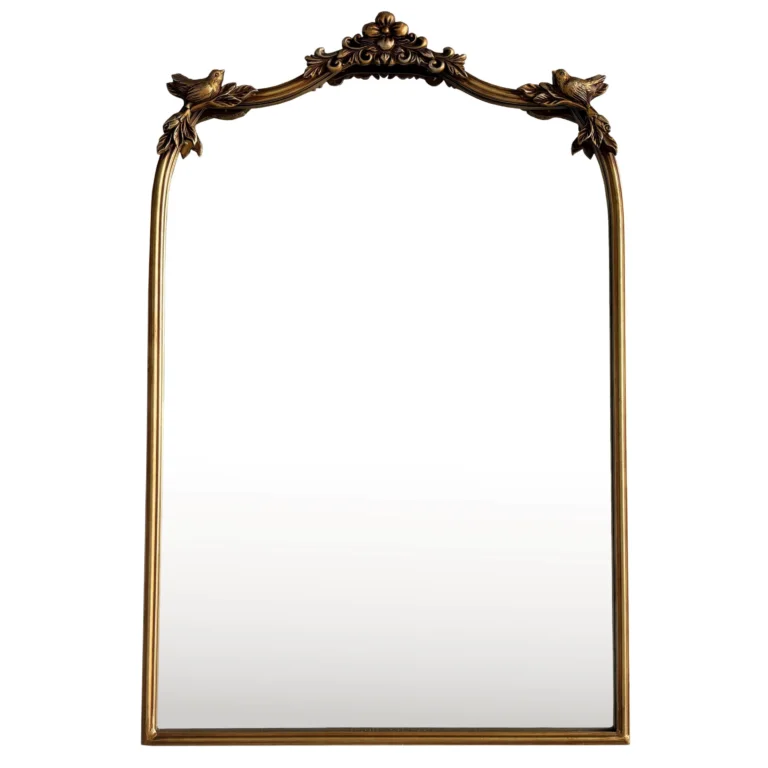
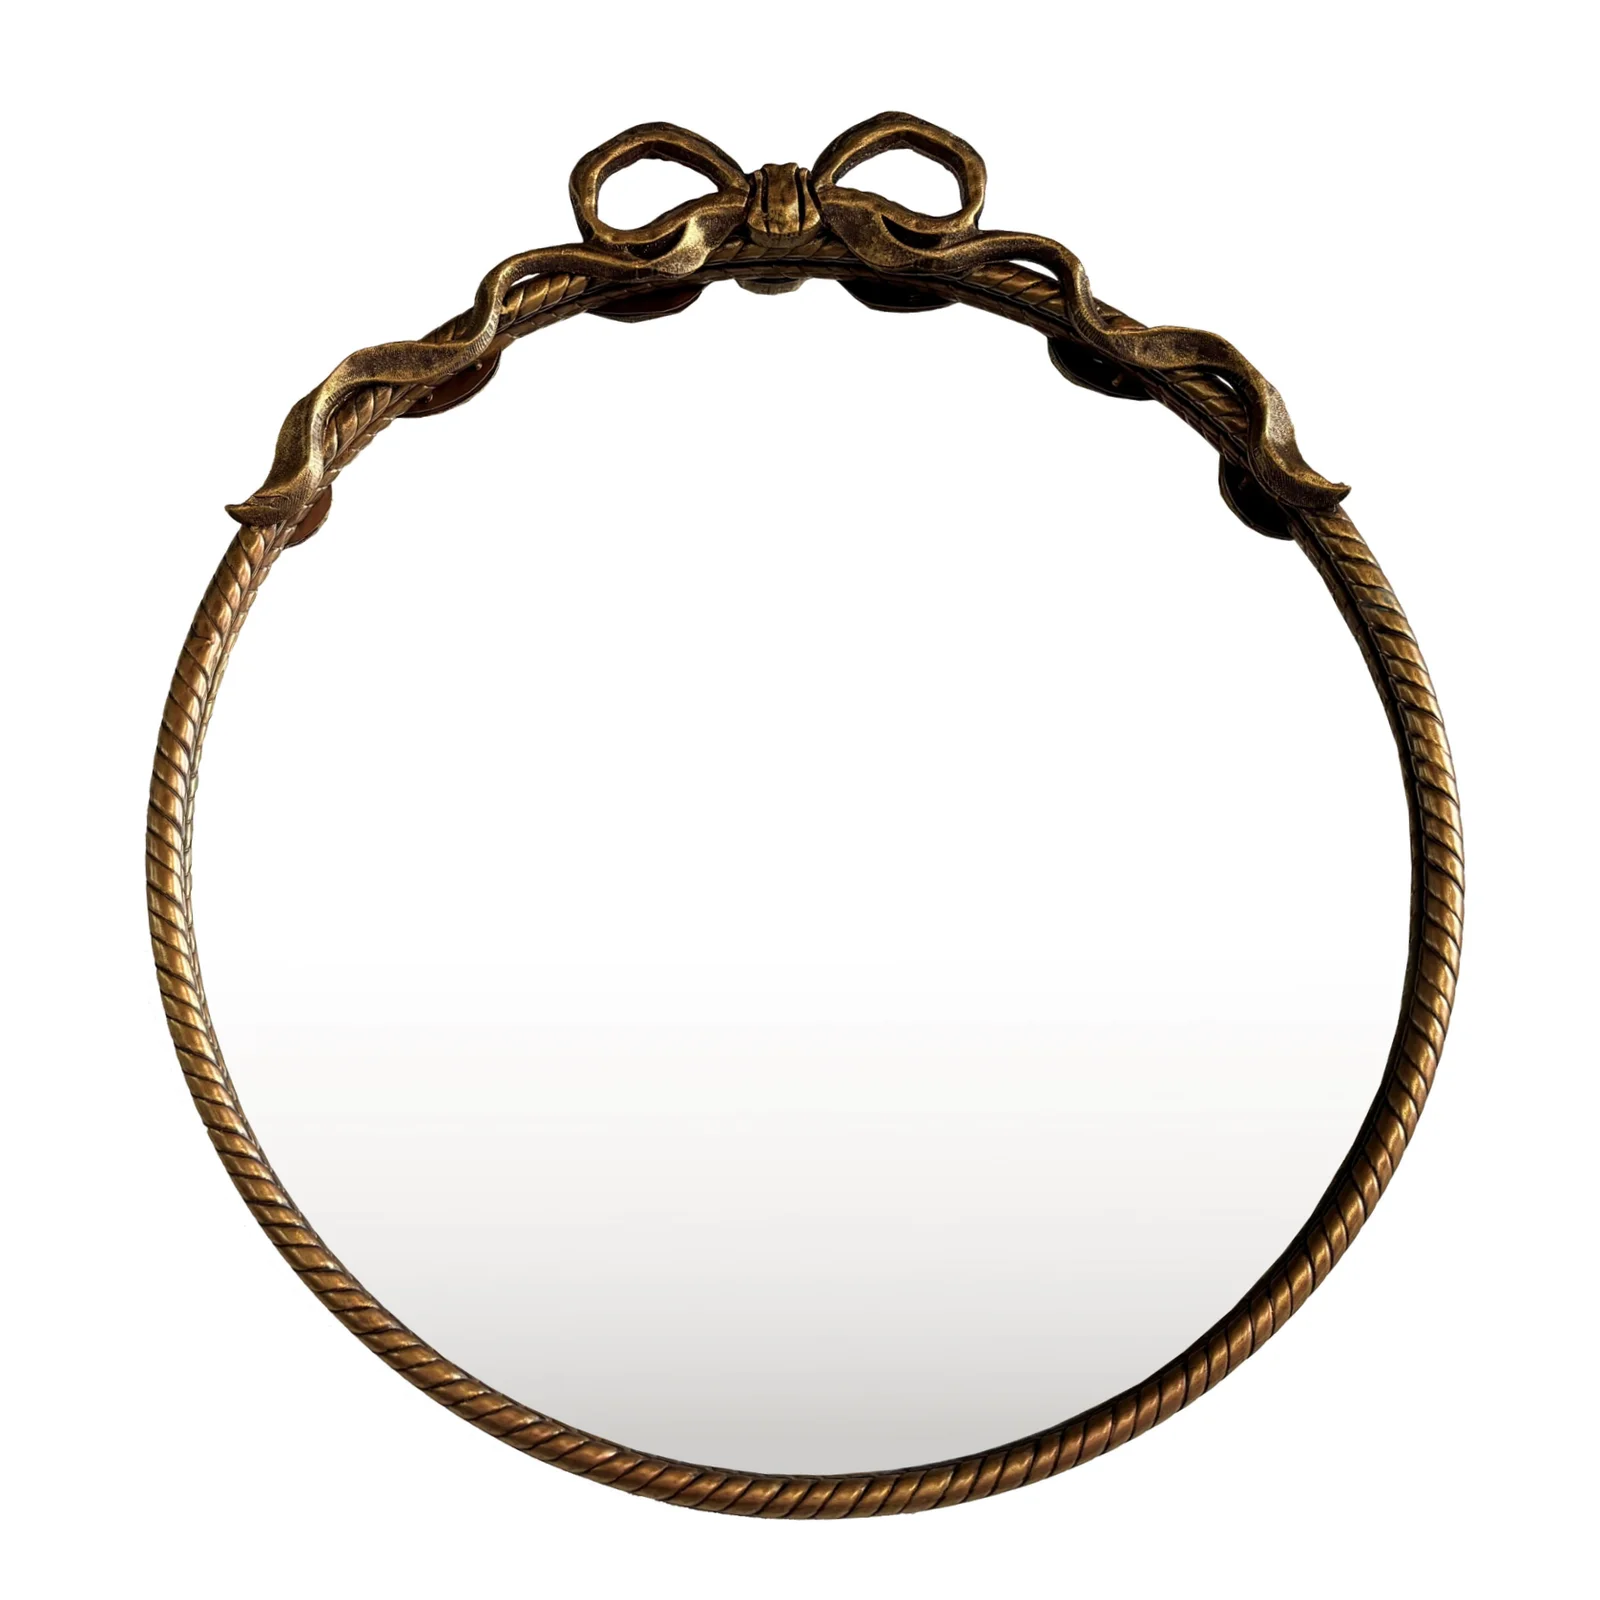
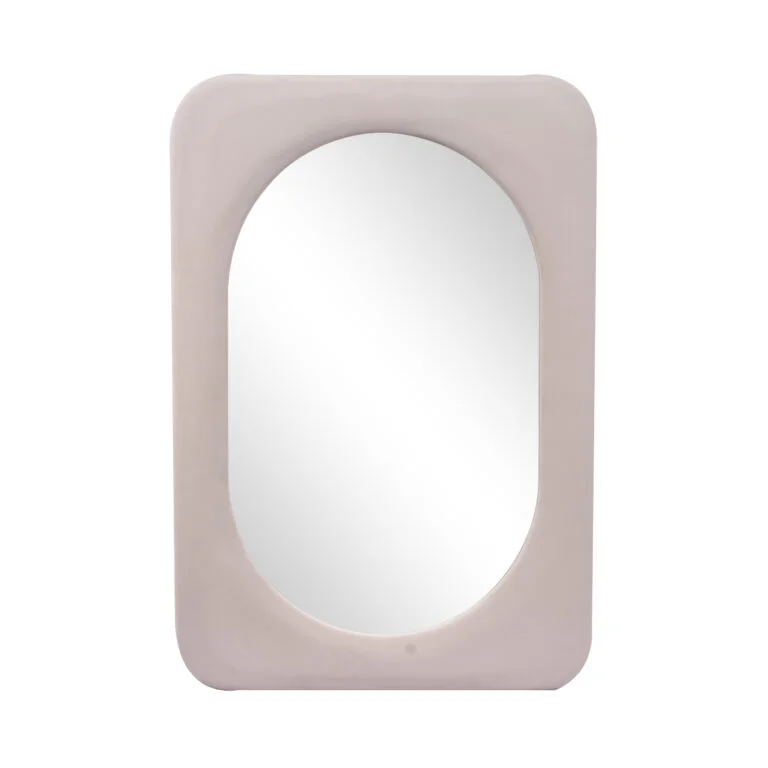
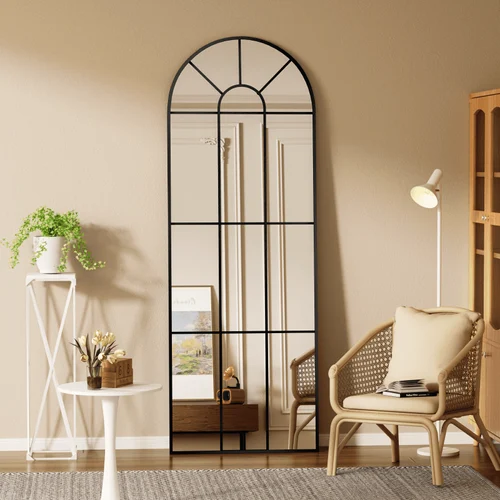
Iron pipe mirror
25-08-22 42 view
Of course. The term "iron pipe mirror" refers to a popular and stylish DIY project or industrial design element where a mirror is set into or framed by iron pipe, mimicking the look of plumbing fixtures. Here’s a comprehensive breakdown of what it is, why it's popular, and how it's made. What is an Iron Pipe Mirror? An iron pipe mirror is a mirror whose frame is constructed from black iron pipe and fittings (elbows, tees, flanges, unions, etc.) commonly used in plumbing and gas lines. The raw, industrial aesthetic of the pipe contrasts with the reflective surface of the glass to create a unique decorative piece. They are most commonly used as: Bathroom Vanity Mirrors Full-Length Leaner Mirrors Decorative Wall Mirrors (in living rooms, entryways, bedrooms) Restaurant, Bar, or Commercial Decor Why Are They So Popular? Industrial Aesthetic: They are a cornerstone of the industrial, loft, and steampunk design styles. The black iron provides a strong, masculine, and utilitarian look. Durability: Iron pipe is extremely strong and sturdy. A well-built pipe mirror is heavy and very durable. Customizability: The modular nature of pipe fittings allows you to create almost any size or shape—square, rectangle, hexagon, or even more complex designs. DIY-Friendly: The construction is straightforward. It involves basic assembly rather than complex woodworking or metal fabrication, making it an accessible project for many. Unique Style: It’s a conversation piece. It’s not a mirror you’ll find in every big-box store. Key Components You'll Need: Mirror: Can be a plain, unframed mirror cut to your desired size at a glass shop. For a common look, it's often mounted behind the pipe framework. Black Iron Pipe: Available in various diameters (1/2", 3/4", and 1" are most common) and pre-cut lengths at hardware stores like Home Depot or Lowe's. Pipe Fittings: These form the corners and structure. Floor Flanges: The most common way to attach the frame to the wall. The frame is built, and flanges are screwed into the wall studs. Elbows (90°): For creating square corners. Tees: Often used for crossbars or more complex designs. Unions: Can be used for a decorative centerpiece or to make assembly easier. Thread Sealant: This is crucial. You must use a thread sealant to lock the pipes in place and prevent them from slowly loosening over time. Do not use Teflon tape—it makes the joints too slippery and prevents them from being tightened at perfect angles. Use a thread-locking compound like Loctite 577 or a pipe dope that is safe for metal-on-metal connections. Wall Anchors & Screws: Heavy-duty anchors (like toggle bolts) are essential if you can't hit a stud, as these mirrors can be very heavy. How to Build a Basic Rectangular Iron Pipe Mirror Design Principle: The mirror sits behind the pipe frame. The frame is built as a rectangle slightly smaller than the mirror itself, so…
Of course. The term “iron pipe mirror” refers to a popular and stylish DIY project or industrial design element where a mirror is set into or framed by iron pipe, mimicking the look of plumbing fixtures.
Here’s a comprehensive breakdown of what it is, why it’s popular, and how it’s made.
What is an Iron Pipe Mirror?
An iron pipe mirror is a mirror whose frame is constructed from black iron pipe and fittings (elbows, tees, flanges, unions, etc.) commonly used in plumbing and gas lines. The raw, industrial aesthetic of the pipe contrasts with the reflective surface of the glass to create a unique decorative piece.
They are most commonly used as:
Bathroom Vanity Mirrors
Full-Length Leaner Mirrors
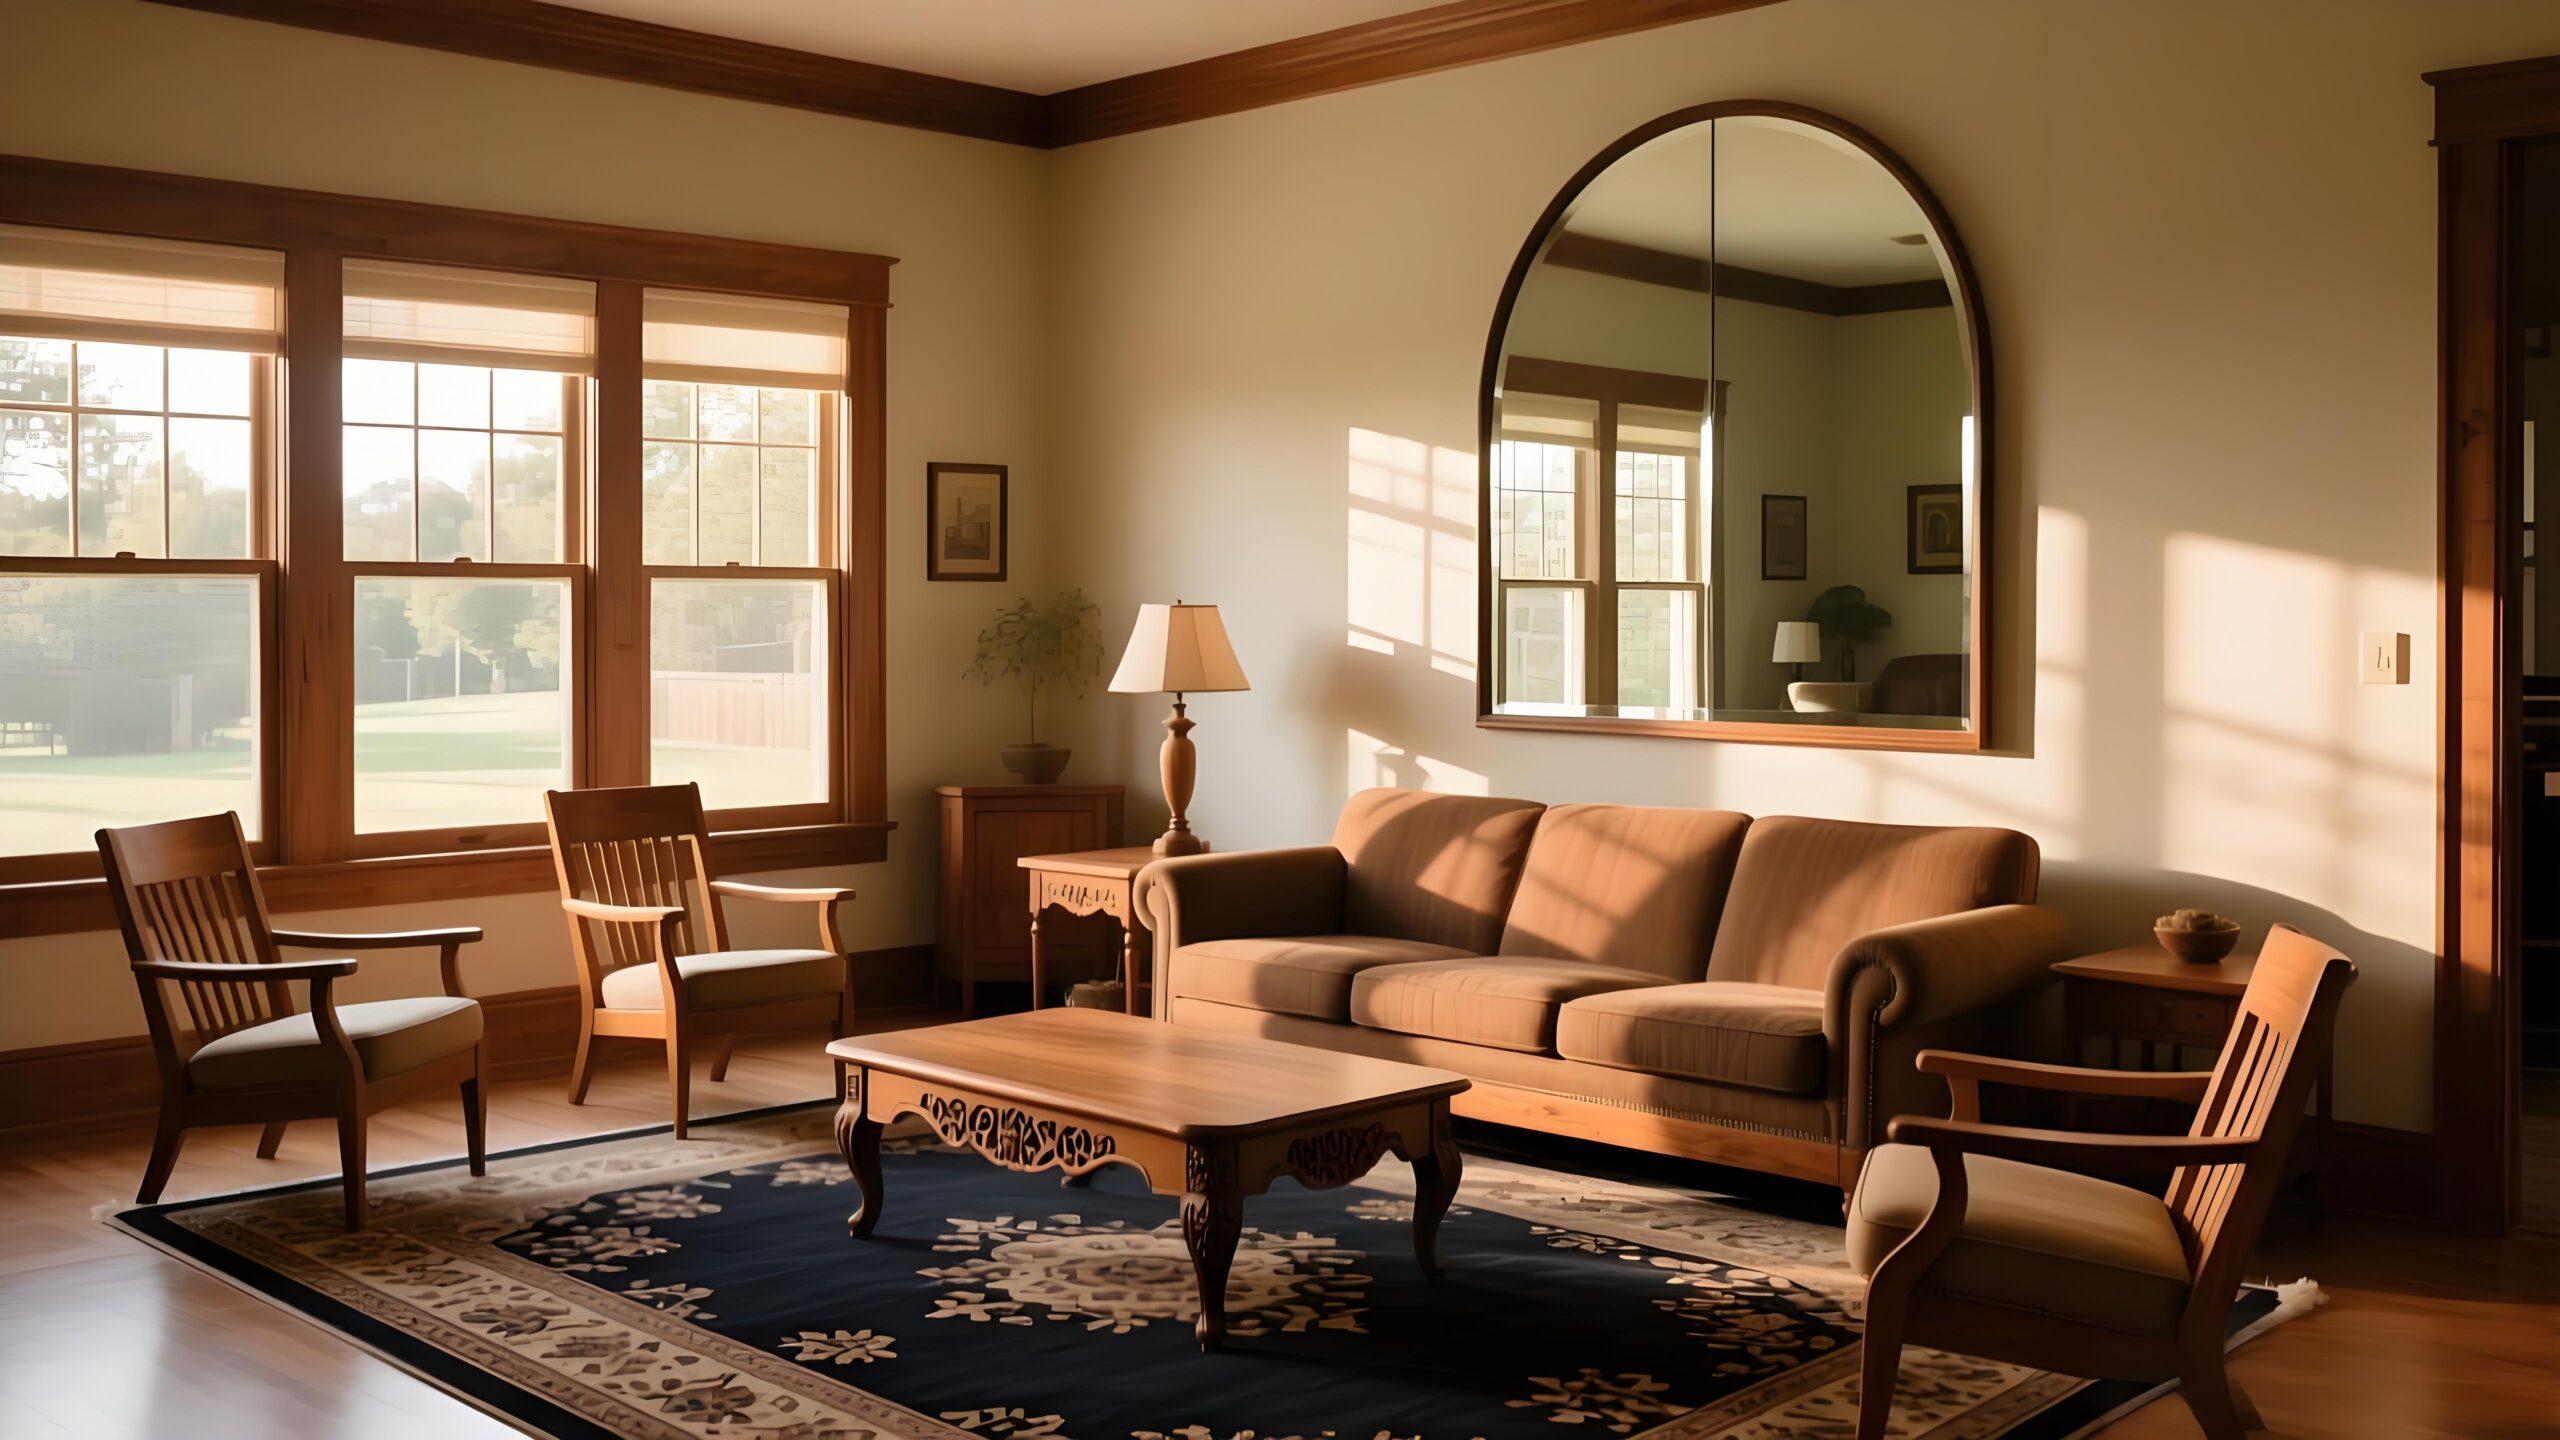
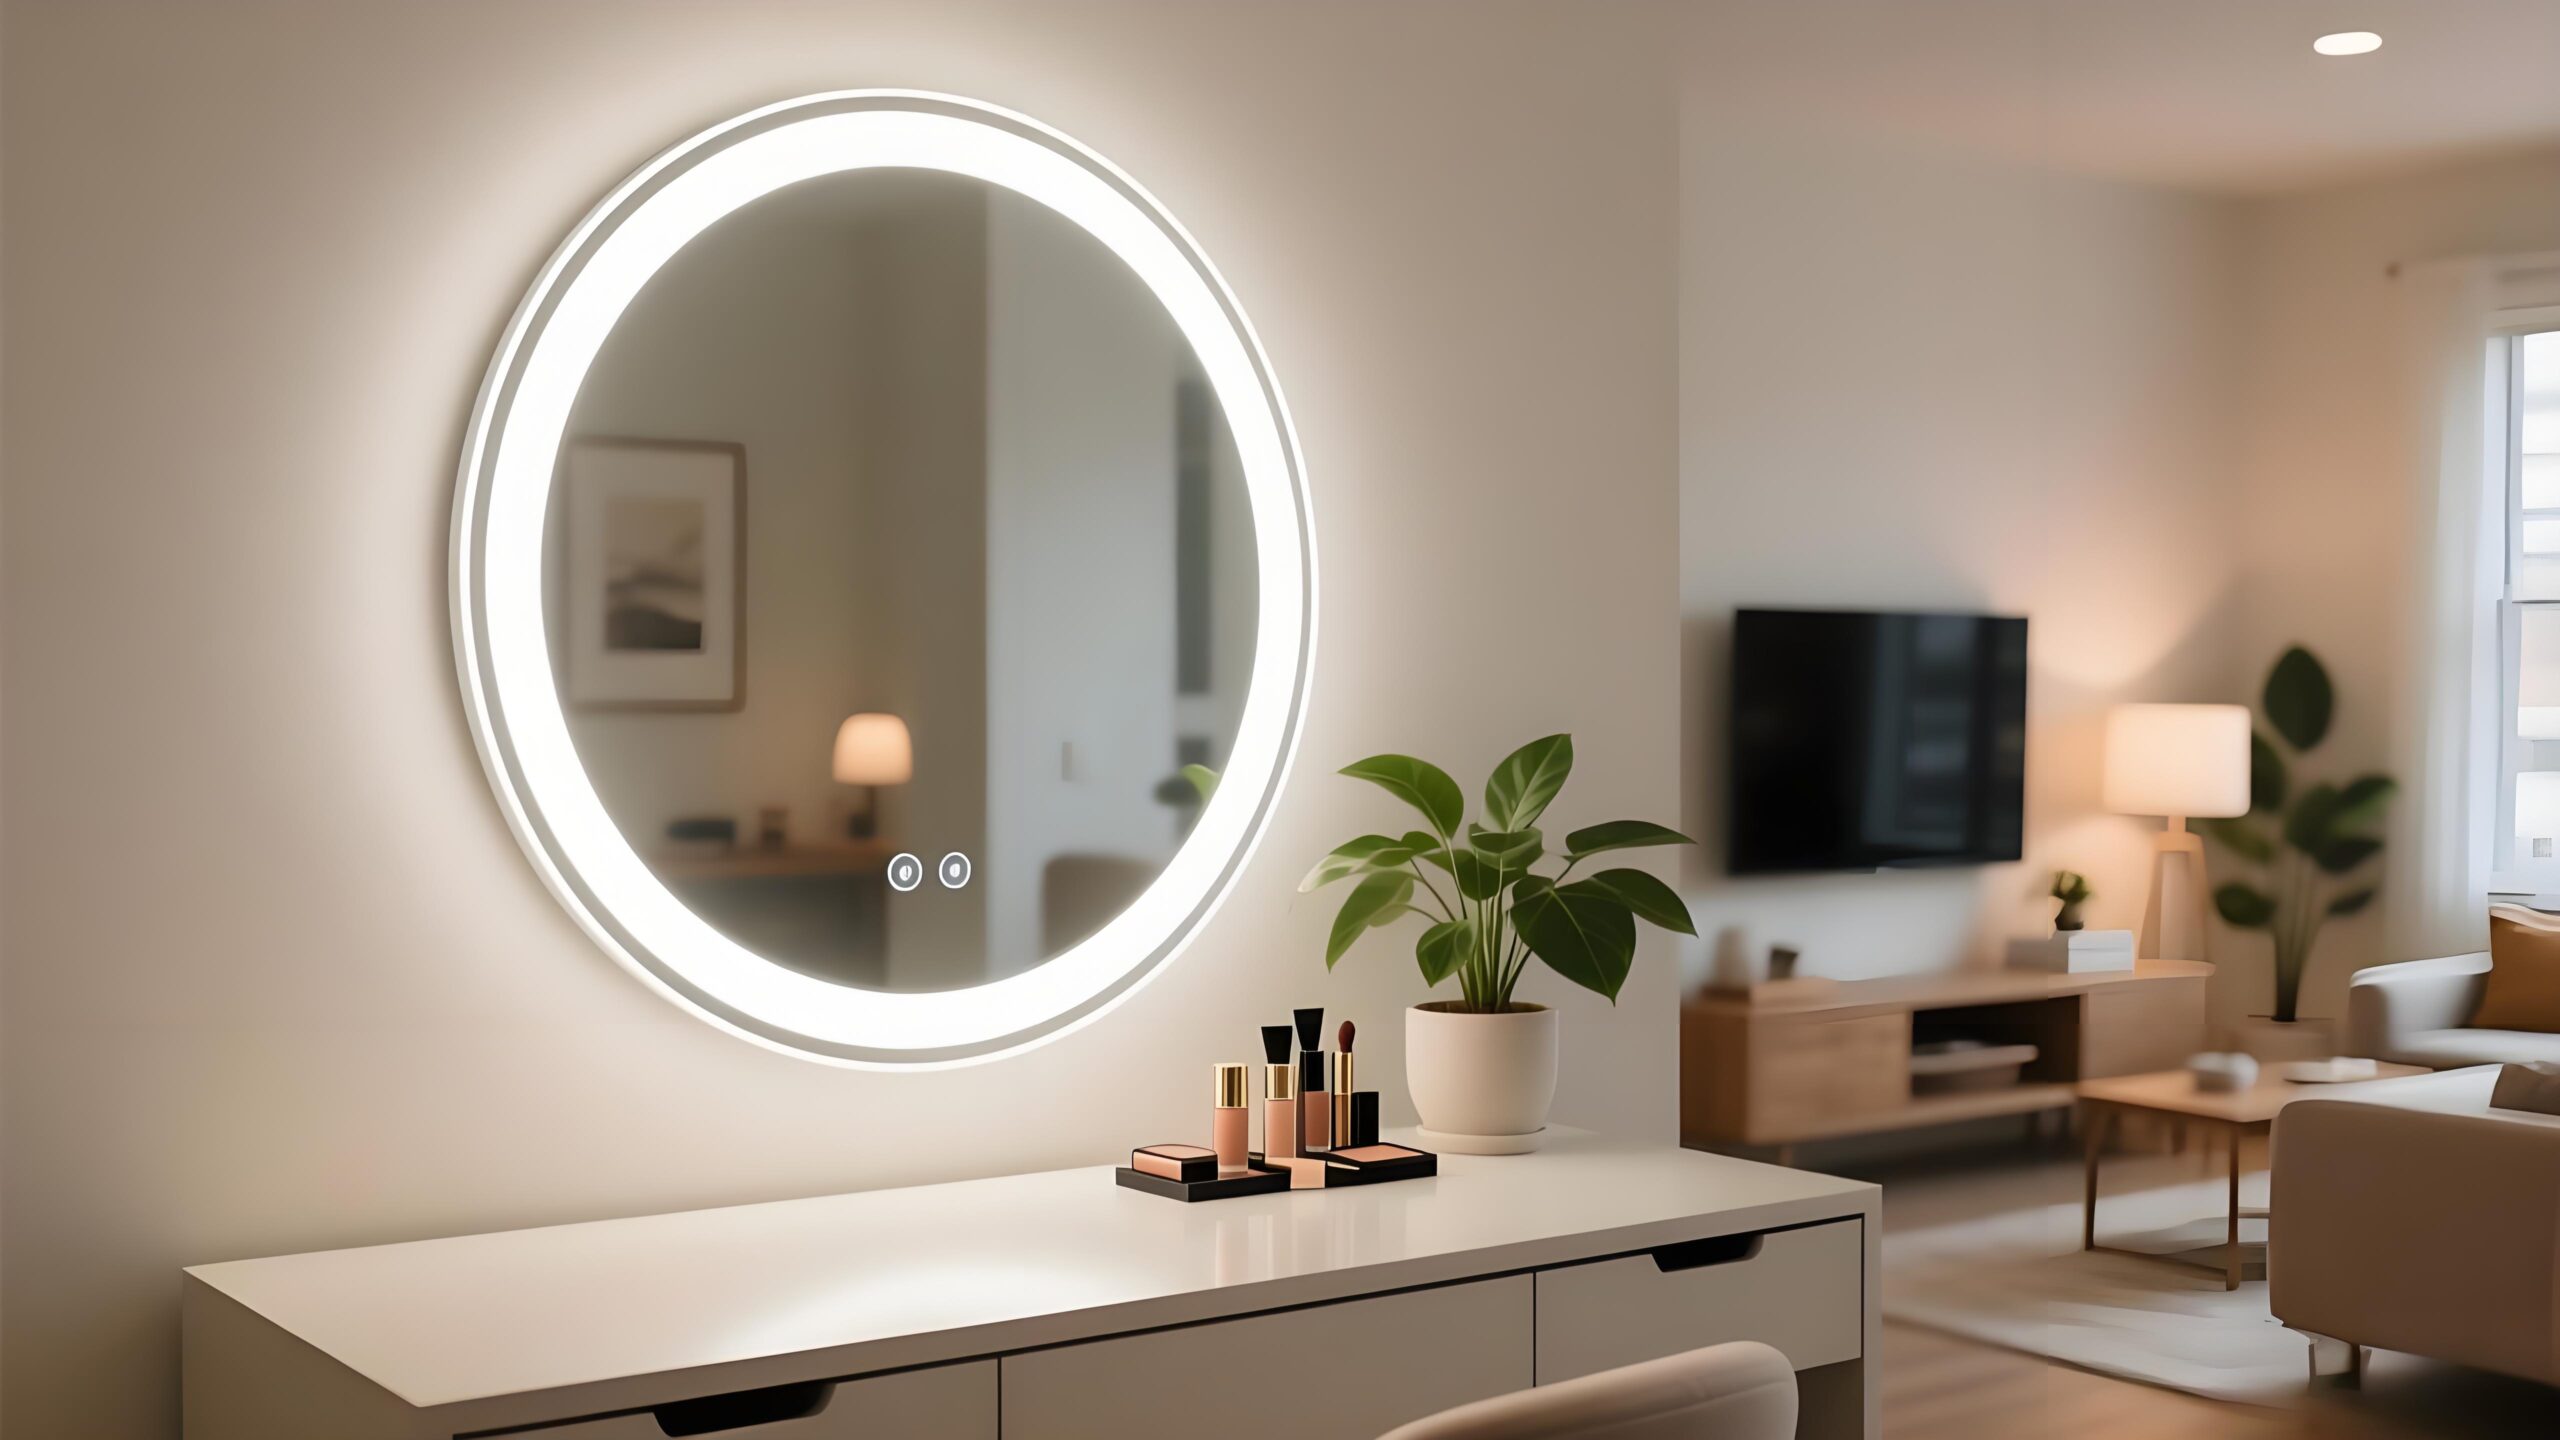
Decorative Wall Mirrors (in living rooms, entryways, bedrooms)
Restaurant, Bar, or Commercial Decor
Why Are They So Popular?
Industrial Aesthetic: They are a cornerstone of the industrial, loft, and steampunk design styles. The black iron provides a strong, masculine, and utilitarian look.
Durability: Iron pipe is extremely strong and sturdy. A well-built pipe mirror is heavy and very durable.
Customizability: The modular nature of pipe fittings allows you to create almost any size or shape—square, rectangle, hexagon, or even more complex designs.
DIY-Friendly: The construction is straightforward. It involves basic assembly rather than complex woodworking or metal fabrication, making it an accessible project for many.
Unique Style: It’s a conversation piece. It’s not a mirror you’ll find in every big-box store.
Key Components You’ll Need:
Mirror: Can be a plain, unframed mirror cut to your desired size at a glass shop. For a common look, it’s often mounted behind the pipe framework.
Black Iron Pipe: Available in various diameters (1/2″, 3/4″, and 1″ are most common) and pre-cut lengths at hardware stores like Home Depot or Lowe’s.
Pipe Fittings: These form the corners and structure.
Floor Flanges: The most common way to attach the frame to the wall. The frame is built, and flanges are screwed into the wall studs.
Elbows (90°): For creating square corners.
Tees: Often used for crossbars or more complex designs.
Unions: Can be used for a decorative centerpiece or to make assembly easier.
Thread Sealant:This is crucial. You must use a thread sealant to lock the pipes in place and prevent them from slowly loosening over time. Do not use Teflon tape—it makes the joints too slippery and prevents them from being tightened at perfect angles. Use a thread-locking compound like Loctite 577 or a pipe dope that is safe for metal-on-metal connections.
Wall Anchors & Screws: Heavy-duty anchors (like toggle bolts) are essential if you can’t hit a stud, as these mirrors can be very heavy.
How to Build a Basic Rectangular Iron Pipe Mirror
Design Principle: The mirror sits behind the pipe frame. The frame is built as a rectangle slightly smaller than the mirror itself, so the mirror’s edges are visible and held in place.
Steps:
Design & Measure: Decide on the final outer dimensions of your mirror. Your pipe frame’s internal dimensions should be about 1-2 inches smaller than your mirror on all sides. This creates a “lip” that holds the mirror.
Cut the Pipe: Calculate the lengths of pipe needed for the top/bottom and sides. Remember: the fittings will add to the overall outer dimension. It’s often best to dry-assemble (without sealant) first to check measurements.
Dry Fit: Assemble the entire frame without sealant on a flat surface to ensure everything fits together squarely and the mirror sits nicely in the “lip.”
Disassemble and Apply Sealant: Disassemble one joint at a time. Apply thread sealant to the male threads and screw the pieces together, tightening them to the correct orientation. Work your way around the frame. Wipe away any excess sealant immediately.
Attach Wall Mounts: Once the frame is assembled, attach floor flanges to the back of the frame at the points where you want to secure it to the wall. Typically, one in each top corner is sufficient for smaller mirrors; larger ones may need one on each corner.
Mount the Mirror: This is a two-person job.
Hold the heavy mirror against the wall and mark the mounting holes for the flanges. Ensure it’s level!
Drill pilot holes and install appropriate wall anchors.
Place the mirror back on the wall. Have one person hold it steady.
Lift the pipe frame and carefully slide it over the mirror.
Align the flanges with the holes in the wall and drive the screws through the flanges into the wall anchors. As you tighten, the frame will clamp the mirror securely against the wall.
Important Considerations & Tips
Weight: These mirrors are extremely heavy. The pipe itself is weighty, and a large mirror adds significant mass. You must secure it to wall studs or use serious heavy-duty drywall anchors.
Finishing: The iron pipe will have a slightly oily coating to prevent rust. Thoroughly clean and degrease all pipes and fittings with mineral spirits before assembly. You can also give it a light coat of clear matte spray sealant to prevent future rust and to keep it from leaving marks on the wall, though some people appreciate the natural patina that develops over time.
Cost: While DIY, this is not always a “cheap” project. Black iron pipe and fittings can be surprisingly expensive, especially for larger mirrors. Price out your design before committing.
Alternatives: For a lighter and less expensive version, some people use black galvanized pipe. It has a similar look but is not as rough or industrial. You can also find faux iron pipe made from lighter materials like ABS plastic designed to look like the real thing.
In summary, an iron pipe mirror is a striking, customizable, and durable statement piece that brings a robust industrial character to any space it occupies.
Generally speaking, our order requirements are as follows: the minimum order quantity (MOQ) for large items is 50 pieces, for regular items it is 100 pieces, for small items it is 500 pieces, and for very small items (such as ceramic decorations) the MOQ is 1,000 pieces. Orders exceeding $100,000 will receive a 5% discount. The delivery timeline is determined based on the specific order quantity and production schedule. Typically, we are able to complete delivery within two months.


Leave a Reply