- Mirror Manufacturer USA-Custom Bathroom & LED Mirror Factory
- Mirrors French
- Mirror Austrian
- Canadian mirrors
- Mirrors British
- Mirror Dutch
- Mirror Hungarian
- Mirror Belgian
- Mirror Slovak
- Mirror Luxembourg
- Mirror Romanian
- Mirror Swiss
- Mirror Bulgarian
- Mirror Croatian
- Mirror Irish
- Mirror Serbian
- Mirror Swedish
- Mirrors Norwegian
- Mirrors Finnish
- Mirrors Danish
- Mirrors Icelandic
- Mirrors Greek
- Mirrors German
- Maltese mirrors
- Mirrors Italian
- Mirrors Cypriot
- Mirrors Spanish
- Mirrors Polish
- Mirrors Portuguese
- Mirrors Czech
Wall-Mounted Mirror Installation Guide
Wall-Mounted Mirror Installation Guide
Installing a wall-mounted mirror requires attention to key steps and precautions to ensure safety, aesthetics, and durability.
1. Tools and Materials Preparation
-
Mirror: Check its size, shape, and whether it has mounting holes or hooks on the back.
-
Mounting Hardware: Wall anchors, mirror clips, adhesive hooks, or heavy-duty adhesive strips (choose based on mirror type).
-
Tools: Drill, level, measuring tape, pencil, screwdriver, safety goggles.
-
Additional Supplies: Waterproof adhesive (for bathroom mirrors), foam pads (to prevent vibration).
2. Installation Steps
A. Positioning and Measuring
-
Determine Height: Typically, the mirror’s center should be 1.5–1.6 meters (5–5.2 ft) from the floor (adjust based on user height).
-
Mark the Spot: Use a pencil to mark the top edge or hook positions, then verify with a level.
-
Avoid Wiring/Pipes: Use a stud finder to ensure no electrical wires or plumbing are behind the drilling spot.
B. Mounting Method Selection
-
Framed or Pre-Drilled Mirrors:
-
Drill holes, insert wall anchors, screw in mirror clips or hooks, then hang the mirror securely.
-
-
Frameless or No-Hole Mirrors:
-
Heavy-Duty Adhesive Strips: Clean the wall and mirror back, apply adhesive, and press firmly (let cure for 24 hours).
-
Hidden Brackets: Install L-shaped brackets or metal channels to hold the mirror.
-
-
Bathroom Mirrors: Use waterproof adhesive or stainless steel hardware to prevent moisture damage.
C. Post-Installation Check
-
Gently shake the mirror to test stability.
-
Recheck with a level to ensure it’s straight.
-
Apply silicone sealant around edges (for bathrooms).
3. Important Notes
-
Safety First: Heavy mirrors (≥5 kg / 11 lbs) must use screws—never rely solely on adhesive.
-
Wall Type Considerations:
-
Solid Walls: Standard wall anchors work.
-
Hollow/Drywall: Use toggle bolts or drywall anchors.
-
-
Shatterproofing: Opt for tempered glass or apply safety film.
4. Troubleshooting
-
Tilting Mirror: Adjust hooks or add foam pads for balance.
-
Adhesive Failure: Clean surfaces and replace with strong adhesives like 3M VHB tape.
-
Wall Damage: Apply painter’s tape before drilling to minimize cracks.
5. Creative Ideas
-
Multi-Mirror Designs: Arrange small mirrors in geometric patterns.
-
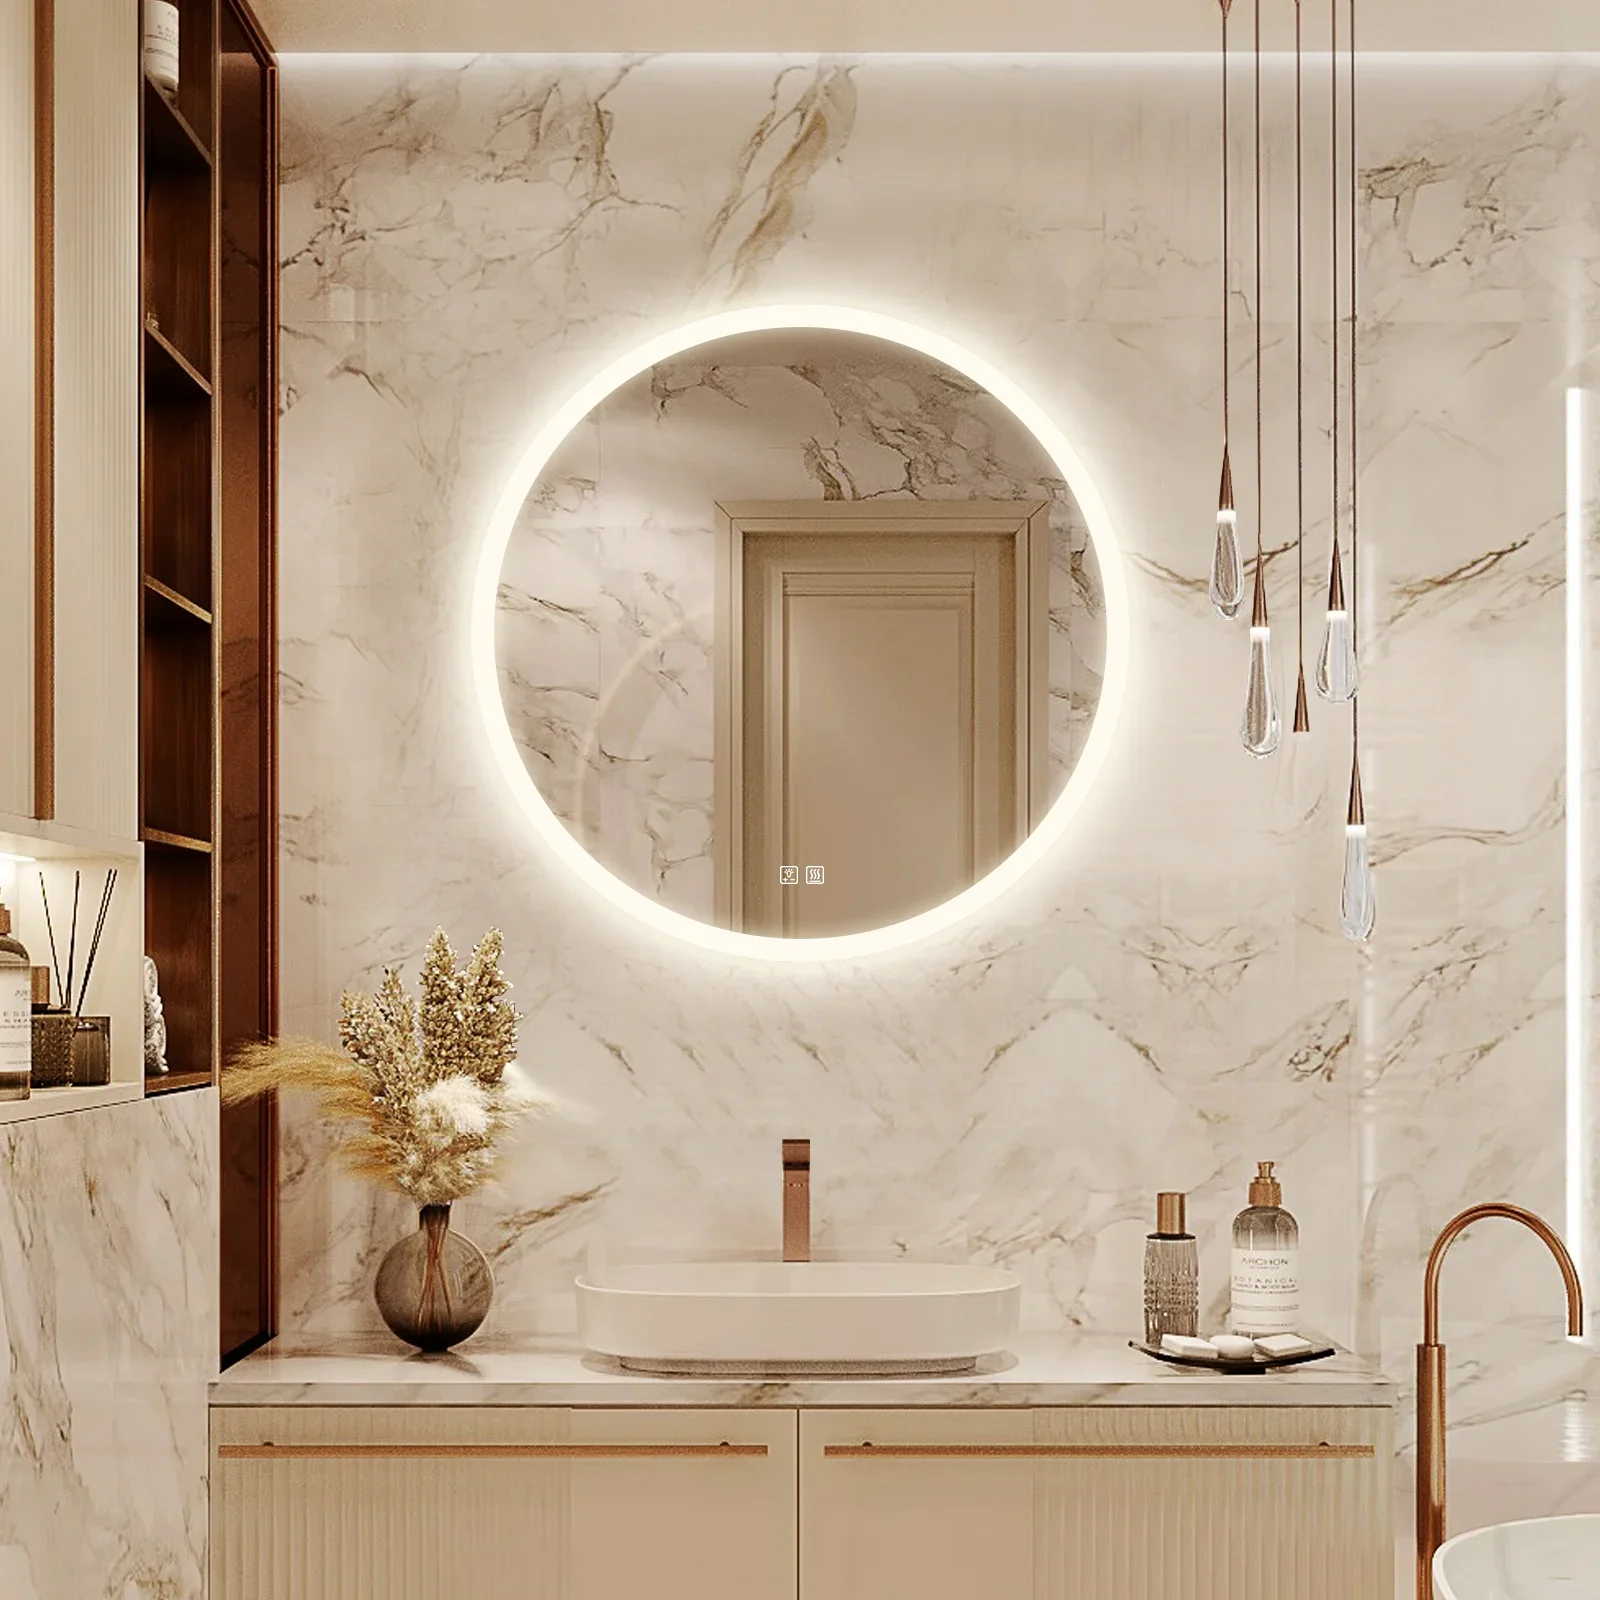
LED Mirrors: Pre-wire for lighting or use battery-operated LED strips.
Follow these steps for a secure and stylish installation. For oversized or complex mirrors, consult a professional.
Customer Reviews
Generally speaking, our order requirements are as follows: the minimum order quantity (MOQ) for large items is 50 pieces, for regular items it is 100 pieces, for small items it is 500 pieces, and for very small items (such as ceramic decorations) the MOQ is 1,000 pieces. Orders exceeding $100,000 will receive a 5% discount. The delivery timeline is determined based on the specific order quantity and production schedule. Typically, we are able to complete delivery within two months.



-scaled.jpg)







Leave a Reply