- Mirror Manufacturer USA-Custom Bathroom & LED Mirror Factory
- Mirrors French
- Mirror Austrian
- Canadian mirrors
- Mirrors British
- Mirror Dutch
- Mirror Hungarian
- Mirror Belgian
- Mirror Slovak
- Mirror Luxembourg
- Mirror Romanian
- Mirror Swiss
- Mirror Bulgarian
- Mirror Croatian
- Mirror Irish
- Mirror Serbian
- Mirror Swedish
- Mirrors Norwegian
- Mirrors Finnish
- Mirrors Danish
- Mirrors Icelandic
- Mirrors Greek
- Mirrors German
- Maltese mirrors
- Mirrors Italian
- Mirrors Cypriot
- Mirrors Spanish
- Mirrors Polish
- Mirrors Portuguese
- Mirrors Czech
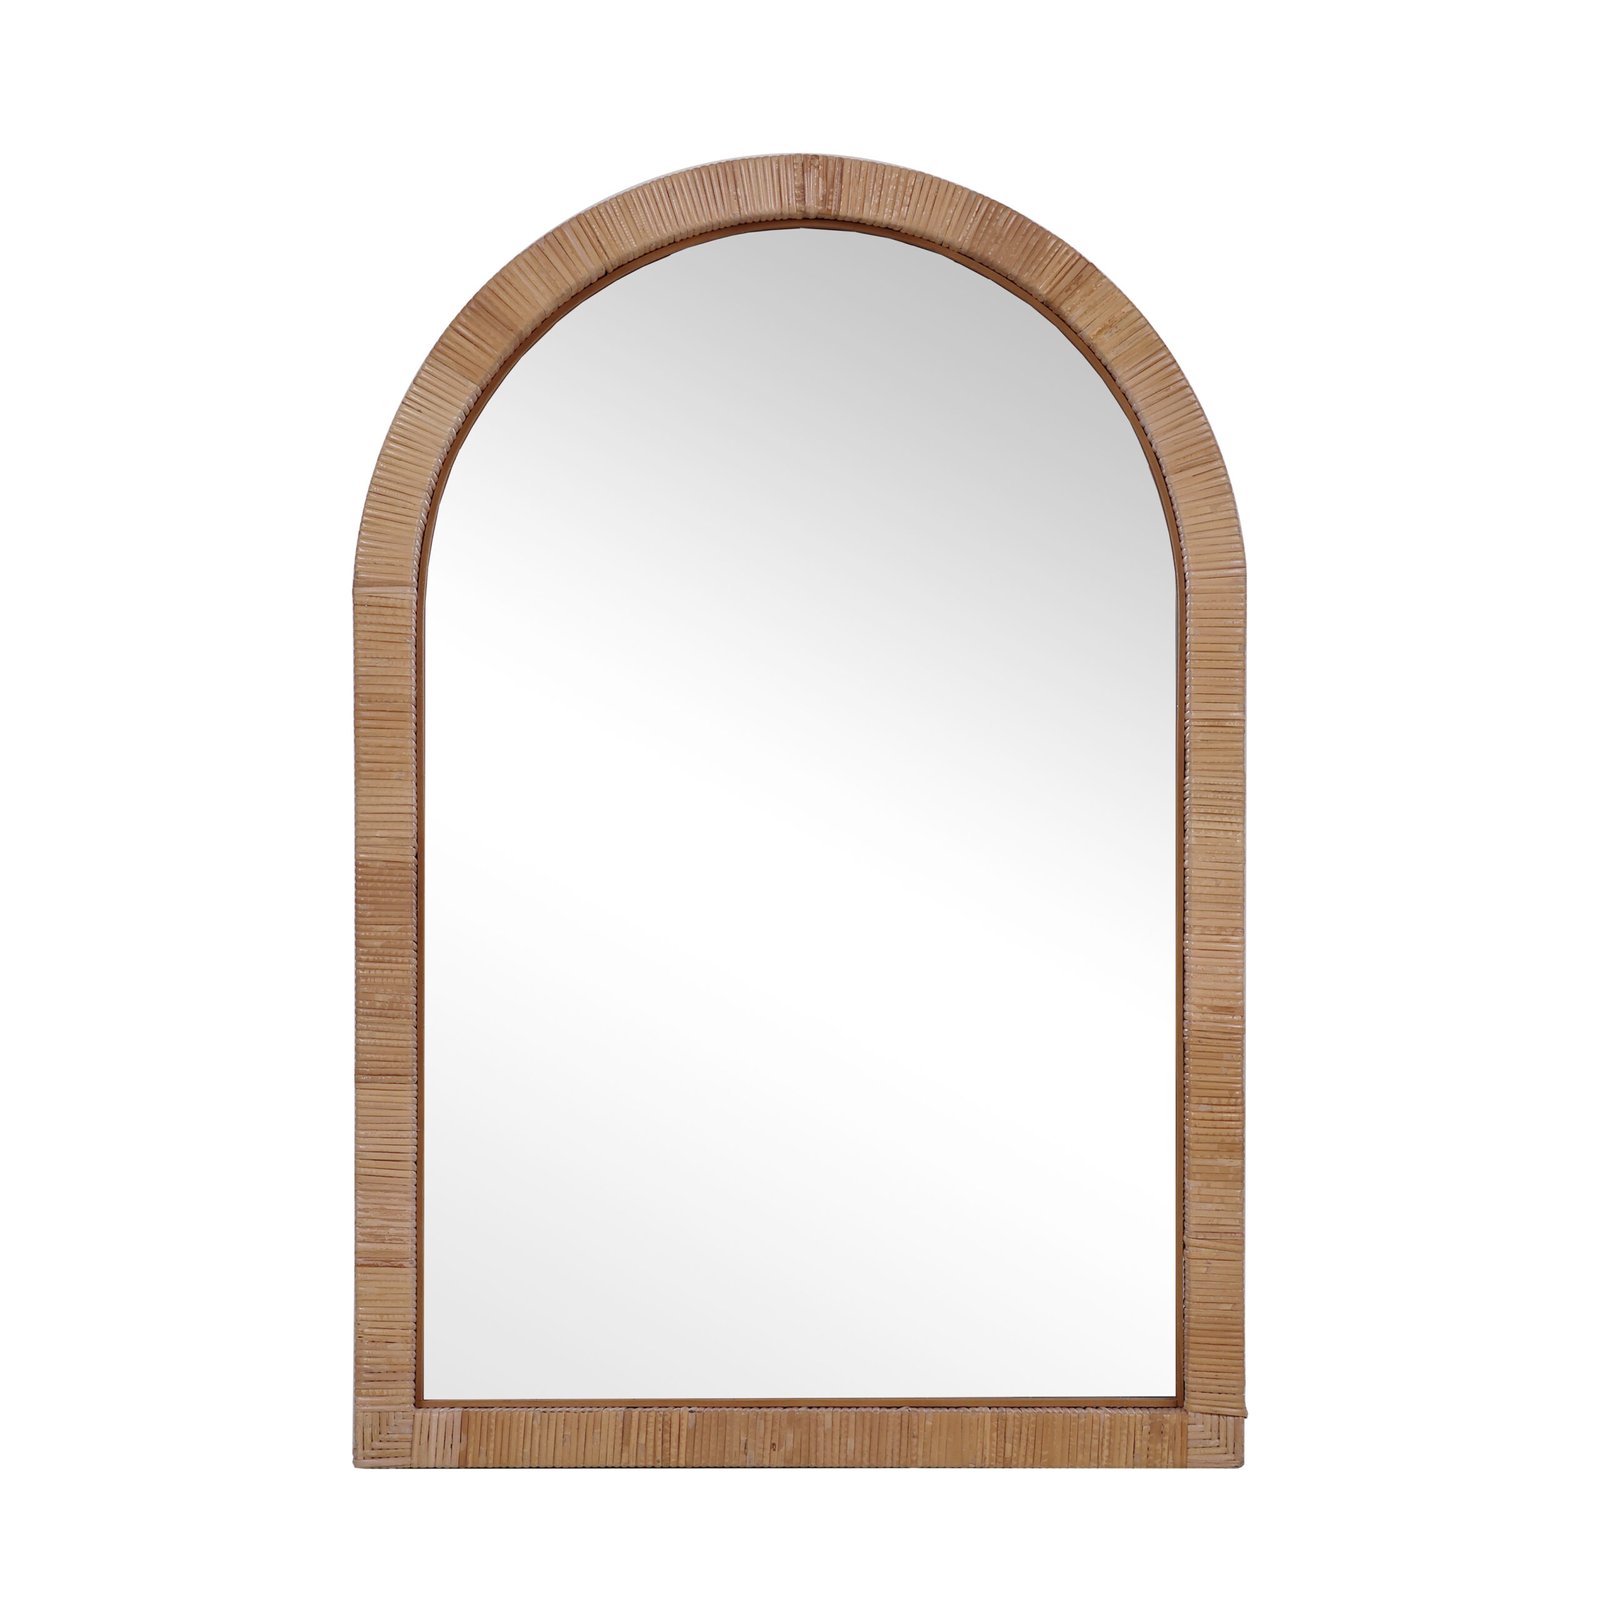
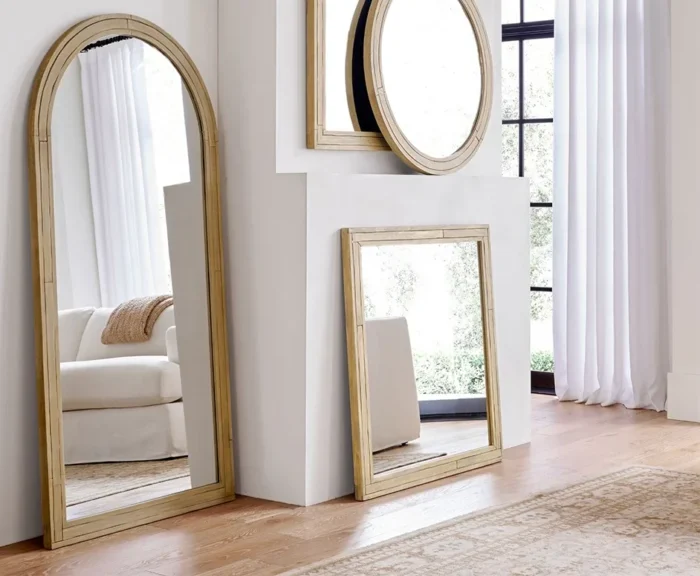
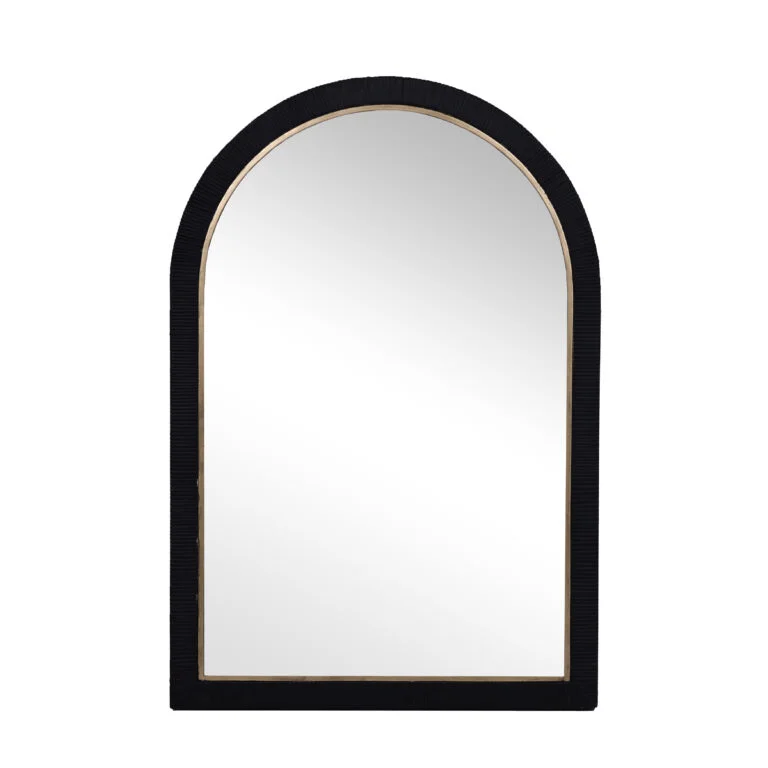
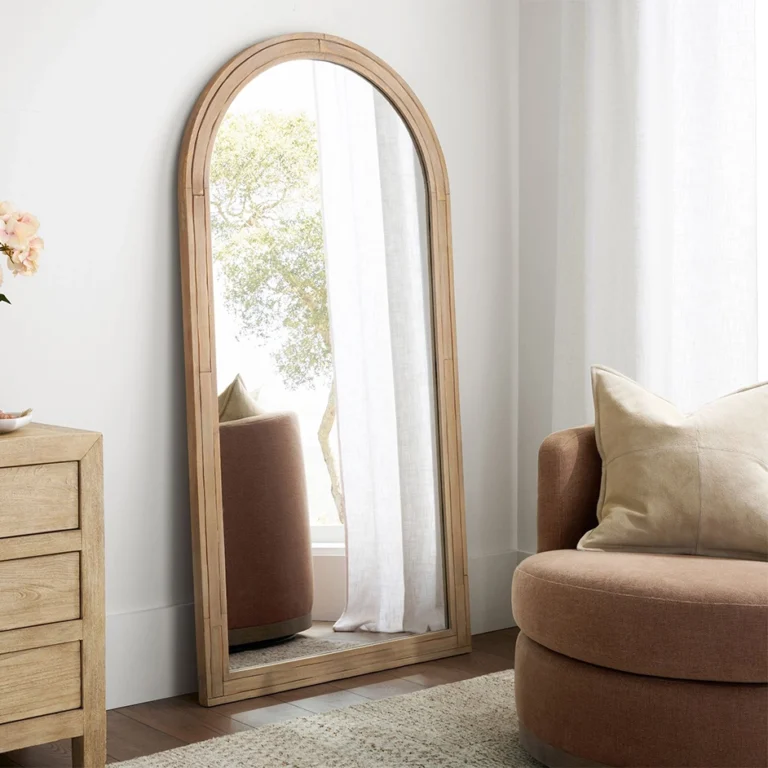
Custom Vintage Wooden Decorative Mirror Guide
1. Rustic Mirror Design Ideas
-
Reclaimed Wood Frame: Use old barn wood, pallet planks, or driftwood for a naturally aged look.
-
Live Edge Wood: Incorporate the raw, natural edge of the wood for an organic feel.
-
Branch or Twig Frame: Arrange small branches or twigs around the mirror for a forest-inspired design.
-
Distressed Paint Finish: Whitewash, chalk paint, or stain the wood for a vintage effect.
-
Geometric Rustic Frames: Combine clean shapes (hexagon, circle) with rough wood textures.
-
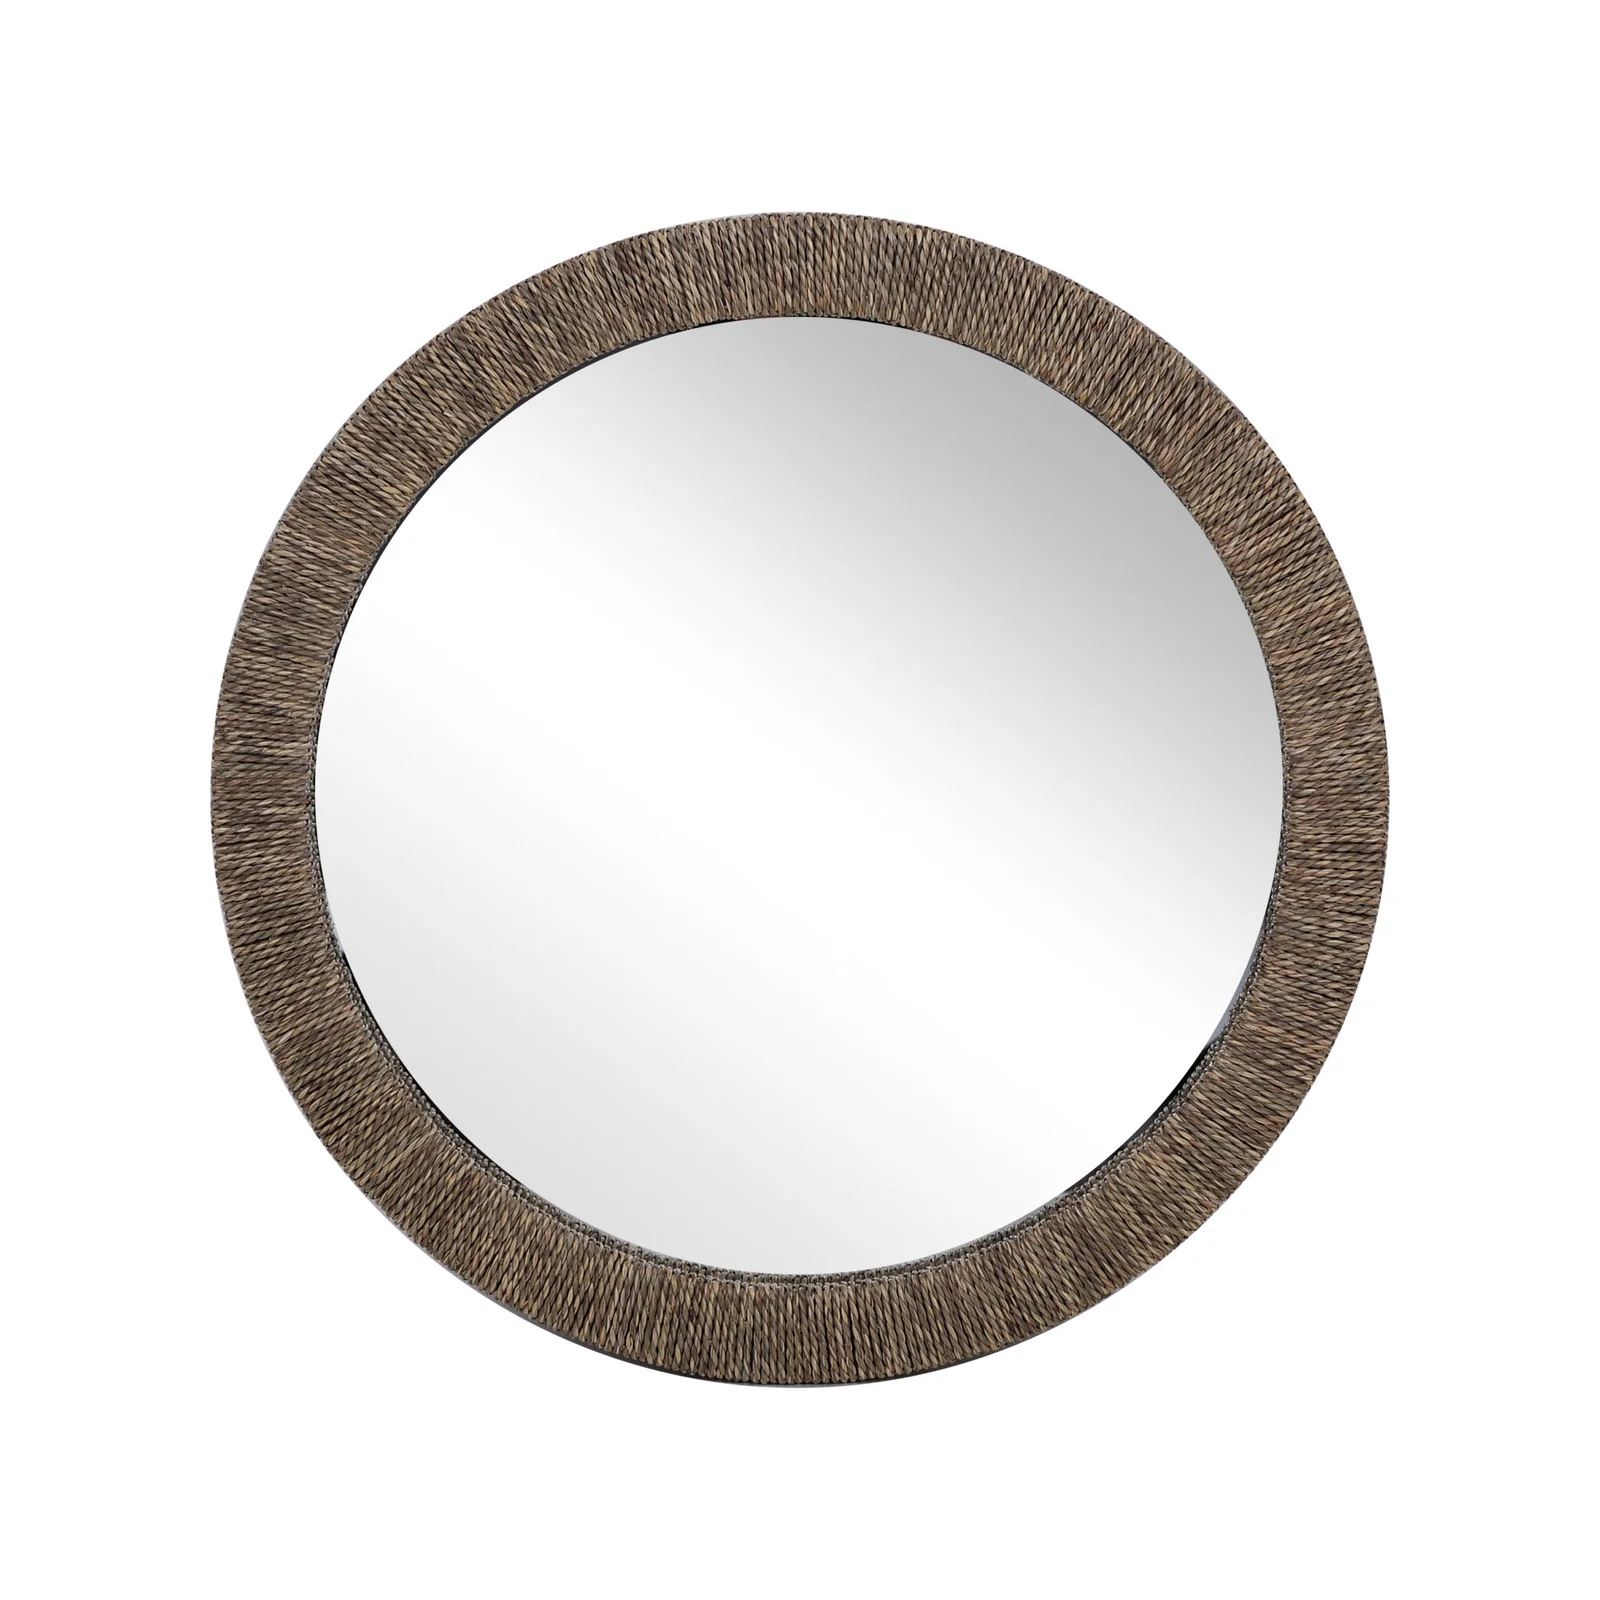
Rope or Leather Accents: Wrap the frame with jute rope or leather straps for added texture.
2. Materials Needed
-
Mirror glass (round, square, or custom-cut)
-
Wood planks, logs, or branches (pine, oak, reclaimed wood)
-
Wood stain or paint (optional: whitewash, dark walnut, gray)
-
Sandpaper (medium & fine grit for distressing)
-
Wood glue & nails/screws
-
Saw (for cutting wood to size)
-
Router or chisel (to create a groove for the mirror, if inset)
-
Hanging hardware (D-rings, wire, or sawtooth hanger)
3. Step-by-Step Guide
A. Simple Reclaimed Wood Frame Mirror
-
Cut the Wood
-
Measure and cut wood planks to form a square/rectangular frame (e.g., four 2x4s for a 24″x36″ mirror).
-
Miter the corners at 45° for a seamless look or butt-join for a more rugged style.
-
-
Distress the Wood
-
Sand edges and surfaces to create a worn look.
-
Use a hammer, chains, or nails to add dents for extra weathering.
-
Apply stain or whitewash for an aged effect.
-
-
Assemble the Frame
-
Glue and clamp the pieces, then reinforce with nails/screws.
-
Optional: Add a wooden back panel to inset the mirror.
-
-
Secure the Mirror
-
Use mirror adhesive or small metal clips to hold the mirror in place.
-
Alternatively, build a ledge so the mirror sits inside the frame.
-
-
Add Hanging Hardware
-
Attach D-rings or a sawtooth hanger to the back.
-
B. Live Edge or Branch Frame Mirror
-
Select Natural Wood
-
Choose a live-edge slab or sanded branches (peeled bark for smoothness).
-
-
Cut to Size
-
Arrange branches around the mirror in a sunburst pattern or as a border.
-
-
Attach the Mirror
-
Use strong adhesive or a backing board to secure the mirror.
-
-
Finish & Hang
-
Seal with matte varnish to preserve the wood’s natural look.
-
4. Finishing Touches
-
Rustic Stains: Dark walnut, ebony, or gray wash enhance wood grain.
-
Metal Accents: Add wrought iron corners or handles for a farmhouse vibe.
-
Personalization: Carve initials, add stenciled quotes, or attach small hooks for hanging keys/plants.
5. Where to Use Rustic Mirrors
-
Farmhouse bathrooms
-
Entryway statement pieces
-
Bohemian living rooms
-
Cottage-style bedrooms
Customer Reviews
Generally speaking, our order requirements are as follows: the minimum order quantity (MOQ) for large items is 50 pieces, for regular items it is 100 pieces, for small items it is 500 pieces, and for very small items (such as ceramic decorations) the MOQ is 1,000 pieces. Orders exceeding $100,000 will receive a 5% discount. The delivery timeline is determined based on the specific order quantity and production schedule. Typically, we are able to complete delivery within two months.


-scaled.jpg)









Leave a Reply